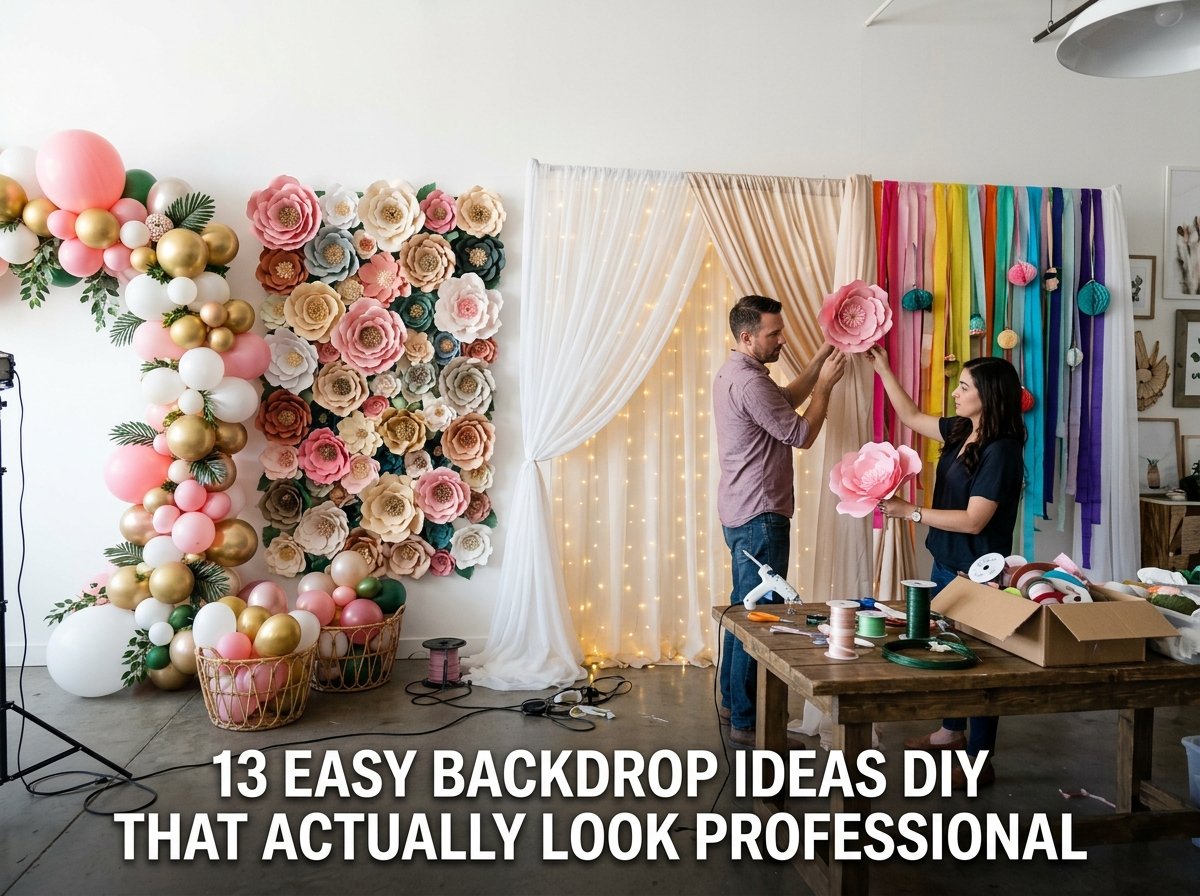
13 Easy Backdrop Ideas DIY That Actually Look Professional
I spent three hours before my friend’s birthday party hot-gluing tissue paper to a wall. The result looked like a craft project gone wrong. That experience pushed me to actually research easy backdrop ideas DIY before attempting another one, and the difference was immediate.
The good news is that a DIY backdrop does not require professional skills or expensive supplies. Most of the backdrops I cover here cost between $10 and $40 in materials and take 30 to 90 minutes to assemble. Paper, fabric, balloons, and string lights are the four most commonly used materials across all backdrop styles.
I have personally built several of these for birthday parties, a baby shower, and two photo shoots. Some looked so good that guests assumed I hired a decorator. Others taught me exactly what not to do, which I also share here.
This article covers 13 easy backdrop ideas DIY that work for parties, photography, weddings, and outdoor events. Each idea includes the materials needed, the time required, and practical tips based on what actually worked for me. Whether you want a boho floral theme or a clean minimalist setup, there is an option here that fits your event.
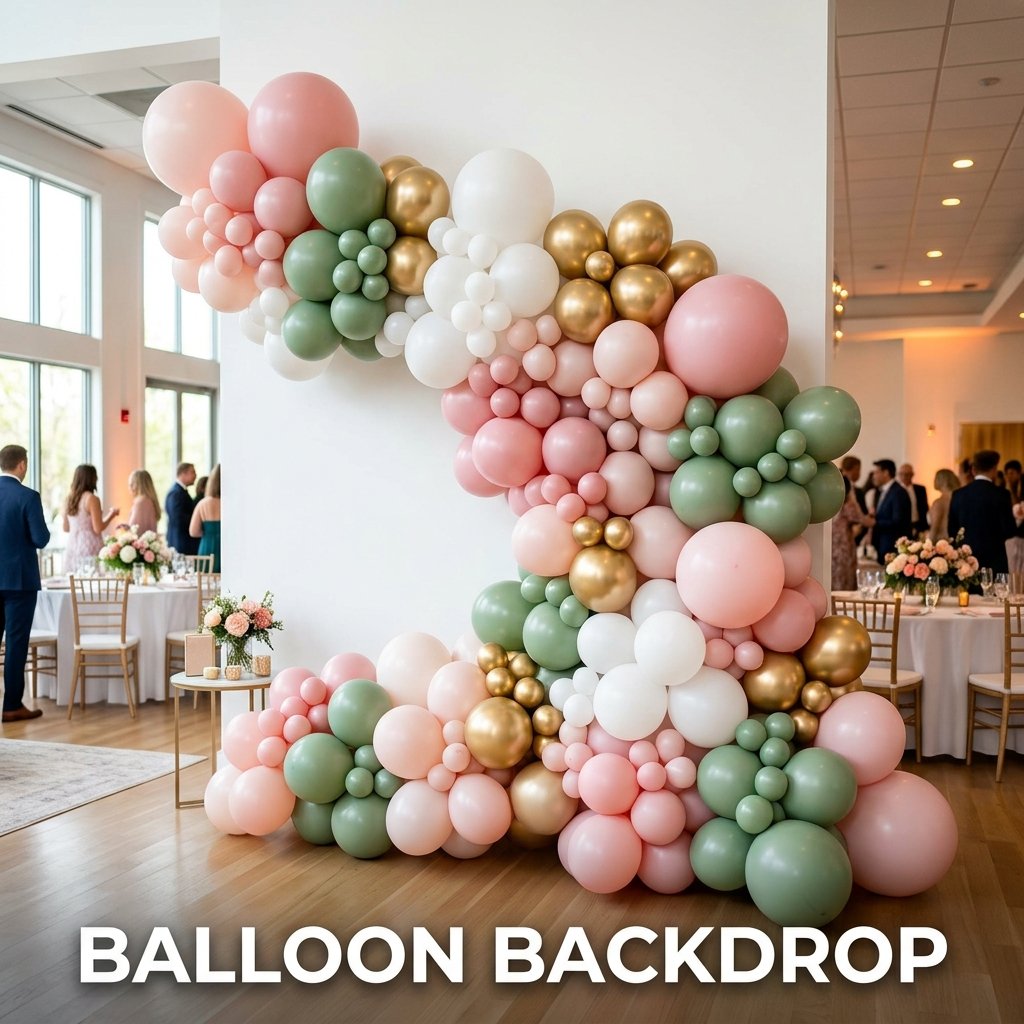
1. Balloon Backdrop
A balloon backdrop is one of the most recognizable easy backdrop ideas DIY because it works for nearly every event type, from birthday parties to baby showers. Balloons in coordinating colors are arranged in a garland or mosaic pattern against a wall or frame. The setup takes 45 to 90 minutes depending on the size and requires no special tools beyond a balloon pump and clear tape.
Materials Needed for a Balloon Backdrop
The core materials include latex balloons in 3 to 4 coordinating colors, a hand pump, a balloon decorating strip (available at craft stores for $3 to $5), and clear command strips or tape for wall mounting. For a 6-foot wide by 5-foot tall garland, use approximately 80 to 120 balloons. Sizes ranging from 5 inches to 11 inches create the layered look seen on Pinterest and event blogs.
How to Assemble a DIY Balloon Garland
Inflate balloons to different sizes first. Feed the tied ends through the holes in the decorating strip, alternating colors as you go. Attach the finished strip to the wall using command strips rated for at least 5 pounds. Fill gaps with smaller 5-inch balloons secured with clear tape. The total material cost for a standard garland runs $15 to $35 depending on balloon quantity and brand.
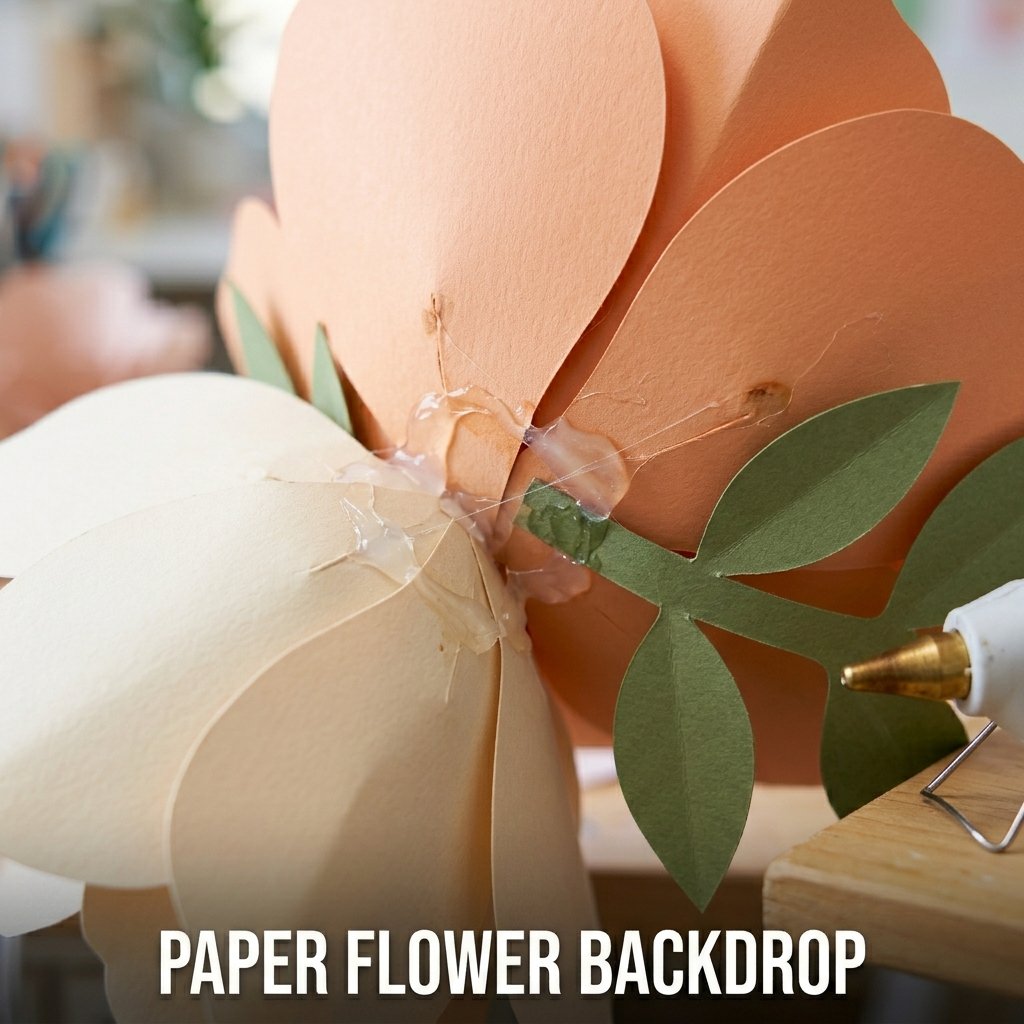
2. Paper Flower Backdrop
A paper flower backdrop produces a floral theme effect using cardstock paper, making it one of the most affordable easy backdrop ideas DIY with paper. Large paper flowers measuring 8 to 18 inches in diameter are arranged directly on a wall or attached to a foam board or fabric panel. I made a paper flower wall for a baby shower using $18 worth of cardstock and it photographed better than any store-bought decoration at the event.
How to Make Large Paper Flowers
Each paper flower requires 6 to 8 sheets of cardstock cut into petal shapes and layered around a center circle. A glue gun bonds the layers together. Standard 12×12 inch cardstock sheets from brands like Recollections or Astrobrights work well. One large flower takes 10 to 15 minutes to assemble. A full backdrop measuring 4 feet by 4 feet requires approximately 12 to 20 flowers depending on size.
Arranging Paper Flowers on a Wall
Attach flowers directly to the wall using removable adhesive putty or command strips. Arrange them in a grid pattern for a modern look or scatter them randomly for a boho style. Mixing 3 flower sizes, large at 16 inches, medium at 10 inches, and small at 6 inches, creates visual depth. Add paper leaves cut from green cardstock between flowers to fill gaps without spending extra money.
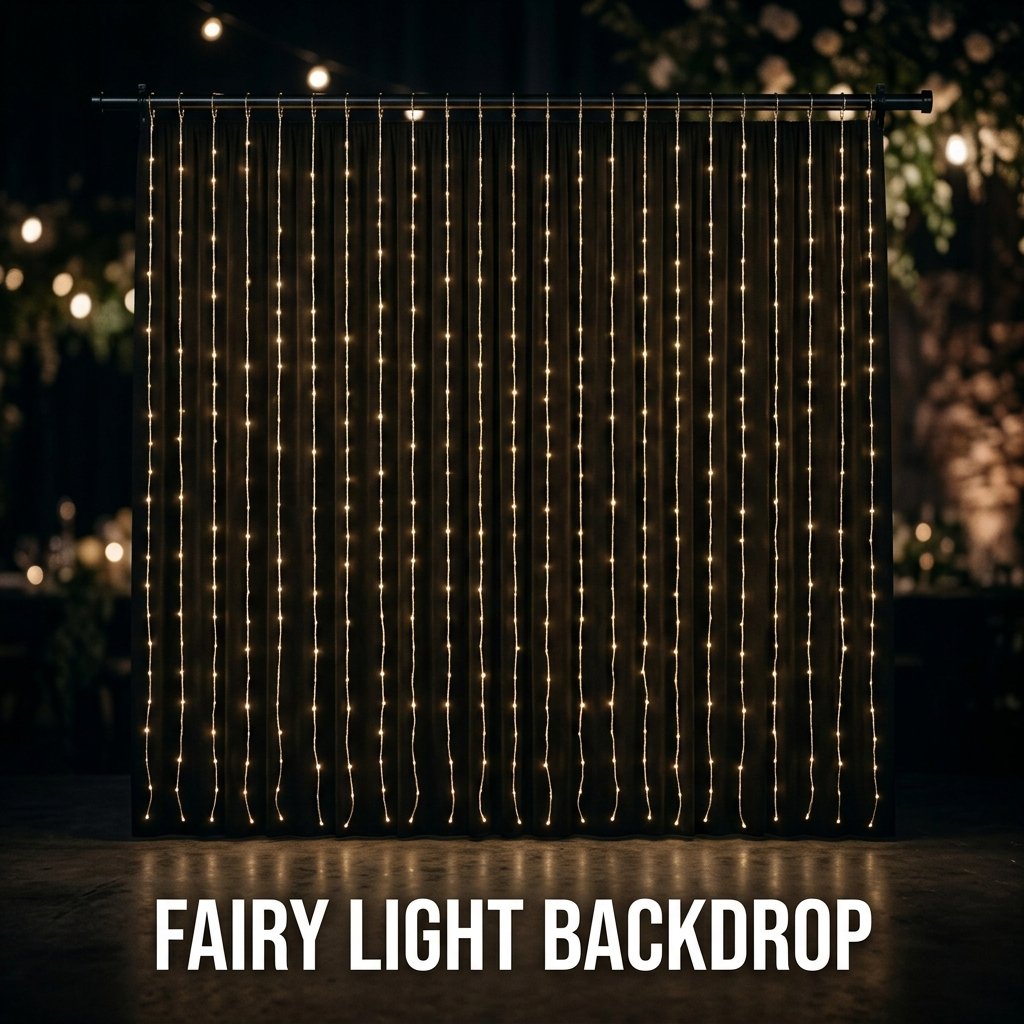
3. Fairy Light Backdrop
A fairy light backdrop creates a glam or aesthetic photography background using string lights hung vertically or draped in layers across a wall or curtain rod. This is one of the simplest DIY backdrop ideas for photography because it requires no cutting, gluing, or crafting. I used this setup for product photography, and the soft glow eliminated the need for additional lighting equipment.
How to Hang a Fairy Light Backdrop
Use a tension rod, curtain rod, or wooden dowel mounted at the top of the wall as the anchor point. Hang individual strands of warm white or cool white fairy lights vertically from the rod using small hooks or tape. Strands spaced 2 to 3 inches apart create a full, dense look. A 6-foot wide backdrop requires 8 to 12 light strands of 6 feet each. Battery-operated or plug-in options both work.
Fairy Light Backdrop Cost Breakdown
A basic fairy light backdrop costs $20 to $50 in total. Individual 6-foot fairy light strands cost $2 to $4 each at retailers like Amazon or Target. The rod or dowel costs $5 to $15 depending on material. Command hooks rated for 1 to 2 pounds hold the rod without wall damage. This backdrop is reusable across multiple events, which lowers the cost per use significantly over time.
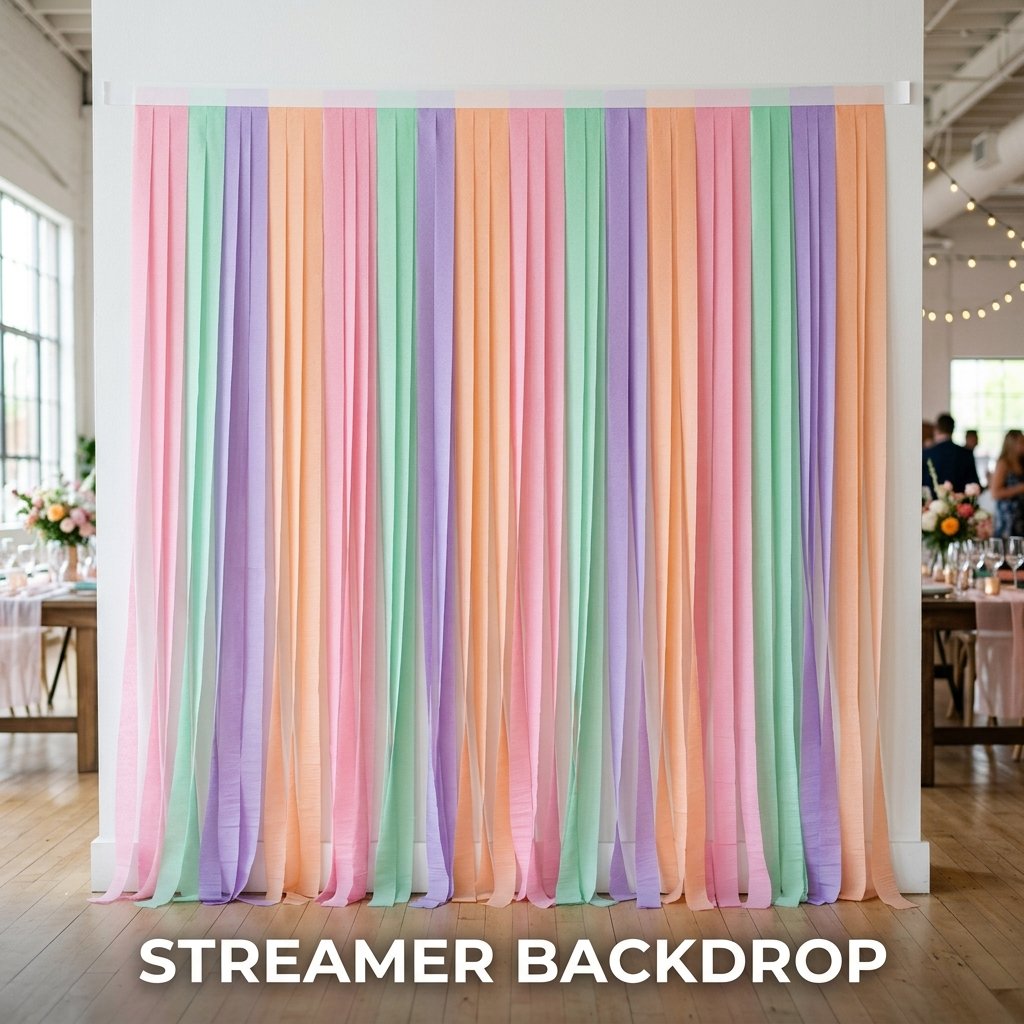
4. Streamer Backdrop
A streamer backdrop is the fastest easy backdrop idea DIY for parties and costs under $10 for most standard event sizes. Rolls of crepe paper streamers are cut into equal lengths and hung vertically from a horizontal strip of tape along the top of the wall. I set one up in 20 minutes before a graduation party and received more compliments on it than on the food, which was also good.
How to Make a Streamer Backdrop Step by Step
Cut streamers into lengths of 6 to 8 feet depending on ceiling height. Press a long strip of painter’s tape or washi tape horizontally across the top of the wall. Fold the top of each streamer over the tape and press down to secure. Space streamers 1 to 2 inches apart. Alternate 2 to 3 colors across the width for a layered look. Total setup for a 6-foot backdrop takes 15 to 25 minutes.
Best Color Combinations for Streamer Backdrops
Pastel colors including blush pink, mint, and lavender work well for baby showers and bridal events. Bold combinations like black and gold or red and white suit birthday and graduation party setups. Metallic streamers in silver or gold add a glam style without additional decoration. Crinkle the streamers before hanging to add texture. A standard 81-foot roll of crepe paper costs $1 to $2 at most craft stores.
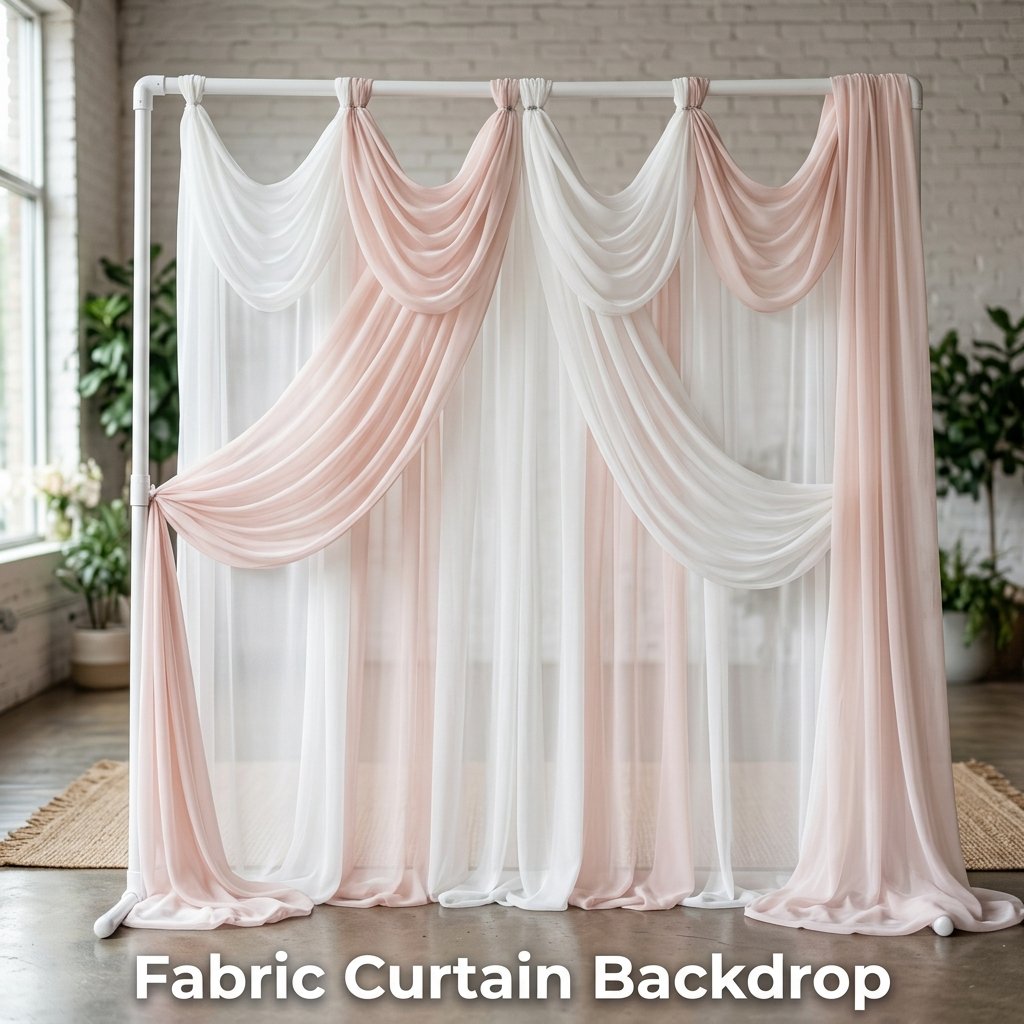
5. Fabric Curtain Backdrop
A fabric curtain backdrop suits both indoor and outdoor DIY backdrop ideas because fabric holds up in light wind and requires no adhesives or tape on walls. Lightweight fabrics like chiffon, muslin, or tulle are hung from a PVC pipe frame or tension rod. This is my preferred backdrop for outdoor photo shoots because it moves softly in the breeze and photographs well in natural light.
How to Build a PVC Pipe Backdrop Frame
A basic PVC frame uses two vertical pipes measuring 7 feet each, one horizontal pipe measuring 6 feet, four elbow joints, and two T-joints for the base feet. PVC pipes in 3/4 inch diameter from hardware stores cost $3 to $5 per 10-foot section. The full frame assembly takes 10 minutes and requires no tools. Total frame cost runs $15 to $25 depending on pipe length and joint quantity purchased.
Choosing the Right Fabric for a DIY Backdrop
Chiffon is the top choice for wedding and boho-themed backdrops because it is lightweight, semi-transparent, and available in wide widths. Muslin works better for photography backdrops because it blocks light and creates a solid, neutral background. Tulle adds volume without weight and works well layered over a solid fabric panel. Fabric widths of 54 to 60 inches are standard and cover a 5-foot wide frame with a slight overlap on each side.
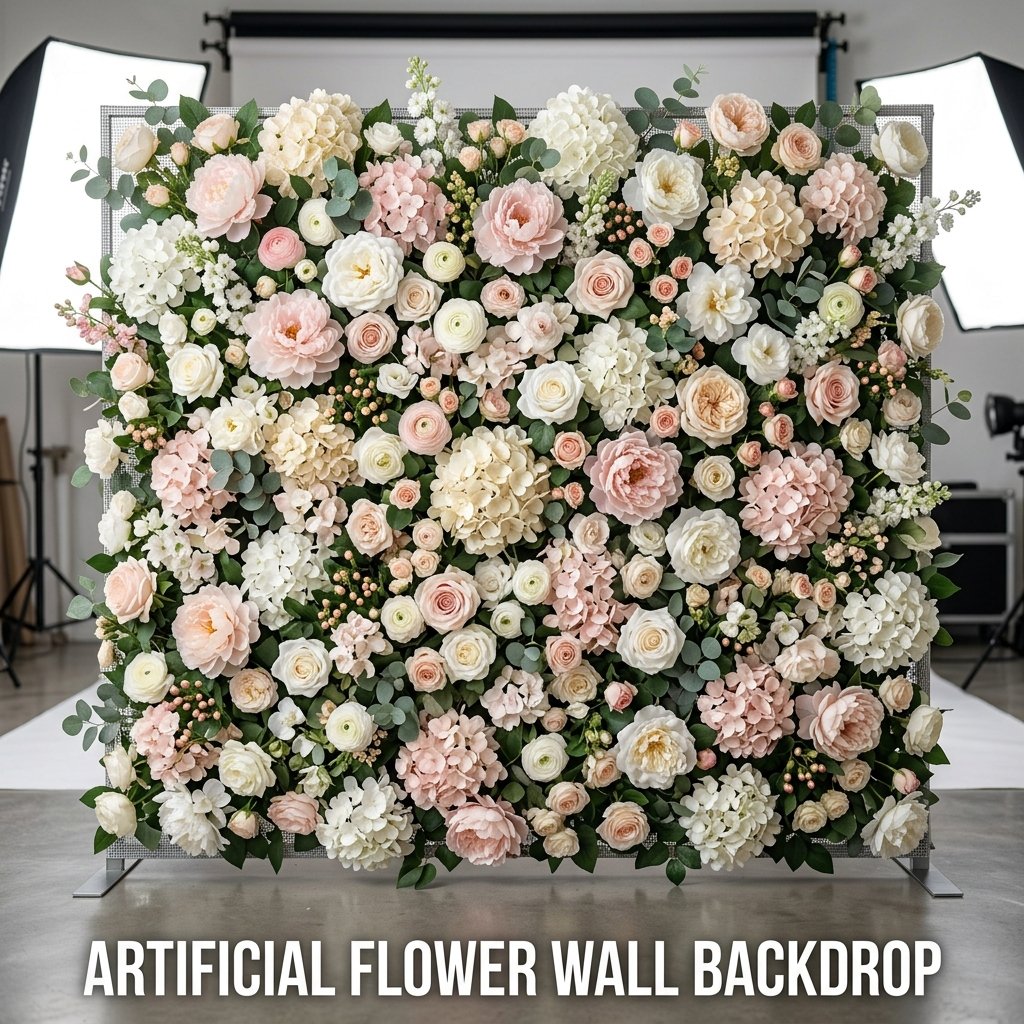
6. Artificial Flower Wall Backdrop
An artificial flower wall backdrop replicates the look of a fresh floral backdrop without the cost or time pressure of real flowers wilting. Artificial flowers are attached to a foam board, mesh panel, or fabric base to create a full floral theme backdrop. This is one of the most searched easy backdrop ideas DIY on Pinterest because the finished result consistently photographs at a professional level.
How to Make an Artificial Flower Wall
Cut artificial flower stems to 1 to 2 inches below the bloom using wire cutters. Push stems directly into a foam board or hot glue blooms onto a fabric panel stretched over a frame. Cover a 3-foot by 3-foot panel using approximately 60 to 100 flowers depending on bloom size. Mixing large blooms like peonies with smaller fillers like baby’s breath creates a natural, layered look. Foam boards measuring 20×30 inches cost $3 to $5 each at craft stores.
Where to Source Affordable Artificial Flowers
IKEA’s SMYCKA range and Amazon bulk flower packs offer the lowest per-stem pricing for large backdrop projects. Dollar Tree artificial flowers work for smaller panels where the shorter stems are not a limitation. A full 4-foot by 4-foot artificial flower wall costs $30 to $70 in materials depending on flower type and density. This backdrop stores flat and reuses across multiple events, making it a practical investment for party planners.
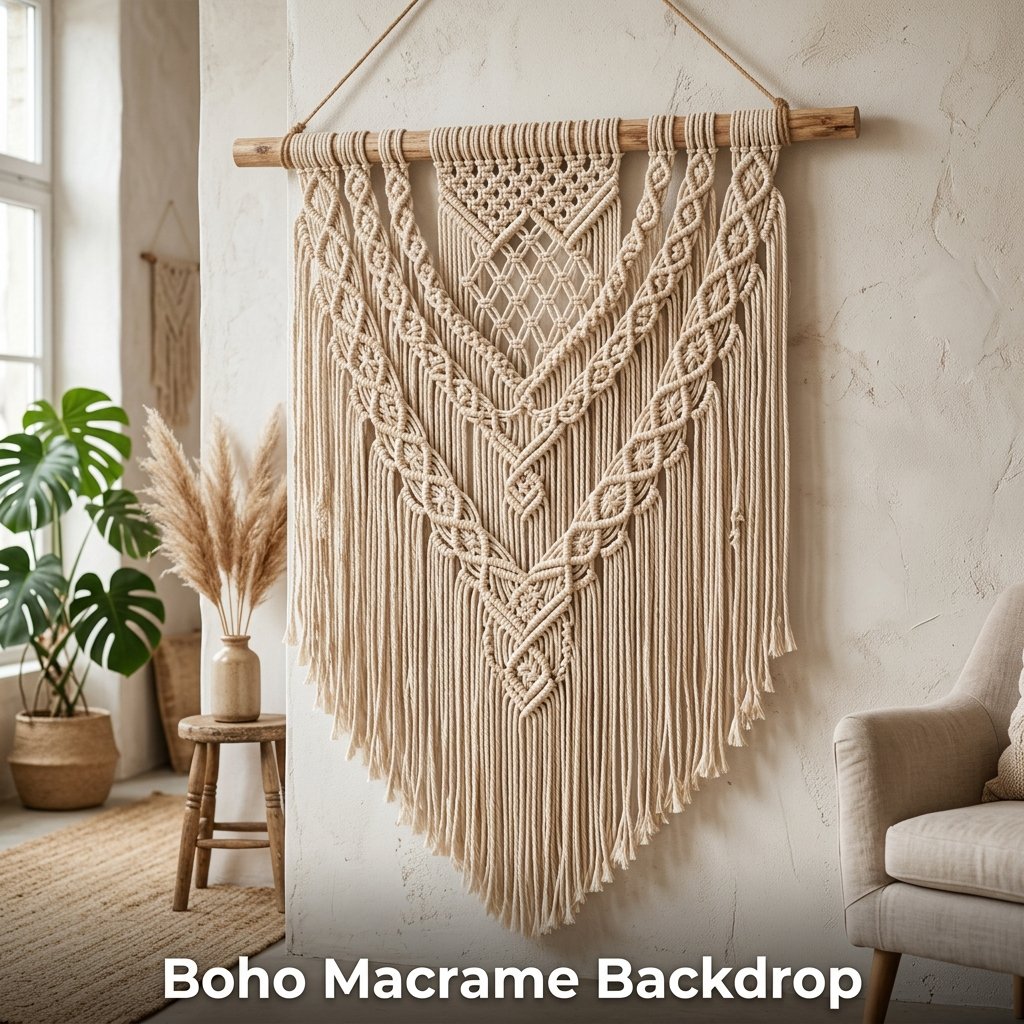
7. Boho Macrame Backdrop
A boho macrame backdrop suits wedding photo backdrops and outdoor event setups because of its textured, handmade look that photographs well in natural light. Cotton rope is knotted onto a wooden dowel to create a freehanging textile piece. I made a 3-foot wide macrame backdrop for a friend’s outdoor bridal shower using $22 in supplies, and it served as both decoration and a photo booth backdrop throughout the event.
Materials for a DIY Macrame Backdrop
The core materials are a wooden dowel measuring 36 to 48 inches, 3mm or 5mm natural cotton macrame rope, and scissors. A 200-foot spool of 3mm cotton rope costs $8 to $12 and covers a basic 3-foot wide panel. Cut rope into lengths 4 times the finished drop length to account for knotting. Basic knots used include the square knot, half hitch, and lark’s head knot, all of which are covered in free YouTube DIY tutorials.
How Long a Macrame Backdrop Takes to Make
A beginner-level macrame backdrop measuring 3 feet wide by 4 feet long takes 4 to 6 hours to complete. Intermediate crafters finish the same size in 2 to 3 hours. Starting 1 to 2 weeks before the event gives enough time to correct mistakes and add fringe trimming. The finished piece hangs from a wall hook or ceiling rod using the wooden dowel as the anchor point. No frame or stand is required.
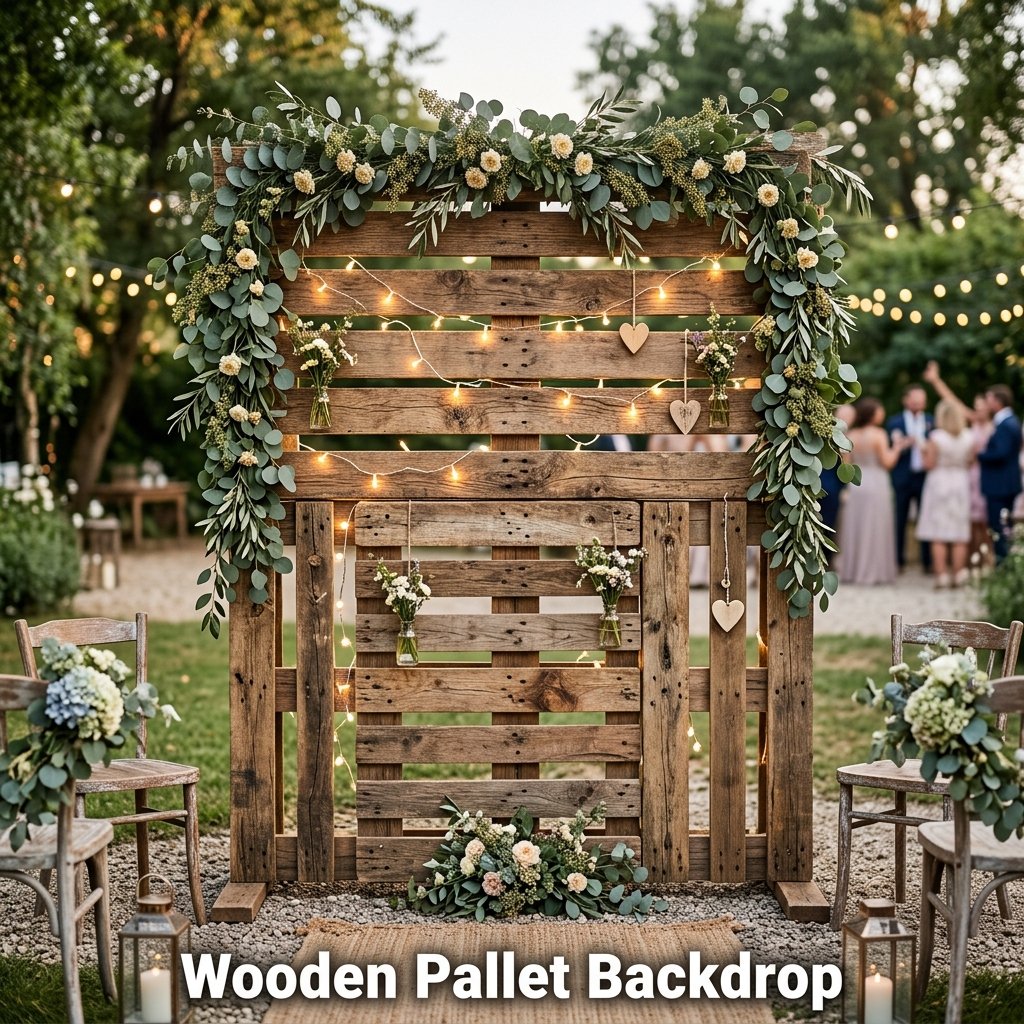
8. Wooden Pallet Backdrop
A wooden pallet backdrop creates a rustic DIY backdrop that suits outdoor weddings and graduation parties. Reclaimed wooden pallets are arranged vertically and secured together to form a freestanding wall panel. Pallets measure approximately 40×48 inches each, so 2 to 3 pallets side by side create a backdrop wide enough for group photos. I sourced 4 pallets for free from a local hardware store and built this for an outdoor birthday party in under an hour.
How to Secure Pallets for a Standing Backdrop
Pallets lean against a wall at outdoor venues without additional support. For freestanding setups, attach two pallets together at the back using 2×4 inch lumber cut into L-shaped supports and secured with wood screws. This keeps the structure stable without requiring wall contact. Add decorations like greenery garlands, string lights, or fabric panels directly onto the pallet slats using zip ties or floral wire. Total build time for a freestanding pallet frame is 30 to 45 minutes.
Decorating a Wooden Pallet Backdrop
Common decorations for a rustic pallet backdrop include dried or artificial eucalyptus garlands, white or warm fairy lights, fabric bunting, and small hanging signs. Greenery garlands from Amazon or IKEA cost $10 to $20 for a 6-foot length. Weaving garlands through the pallet slats requires no tools or adhesives. This backdrop style works for both daytime outdoor events and evening photo shoot setups with added string lighting.
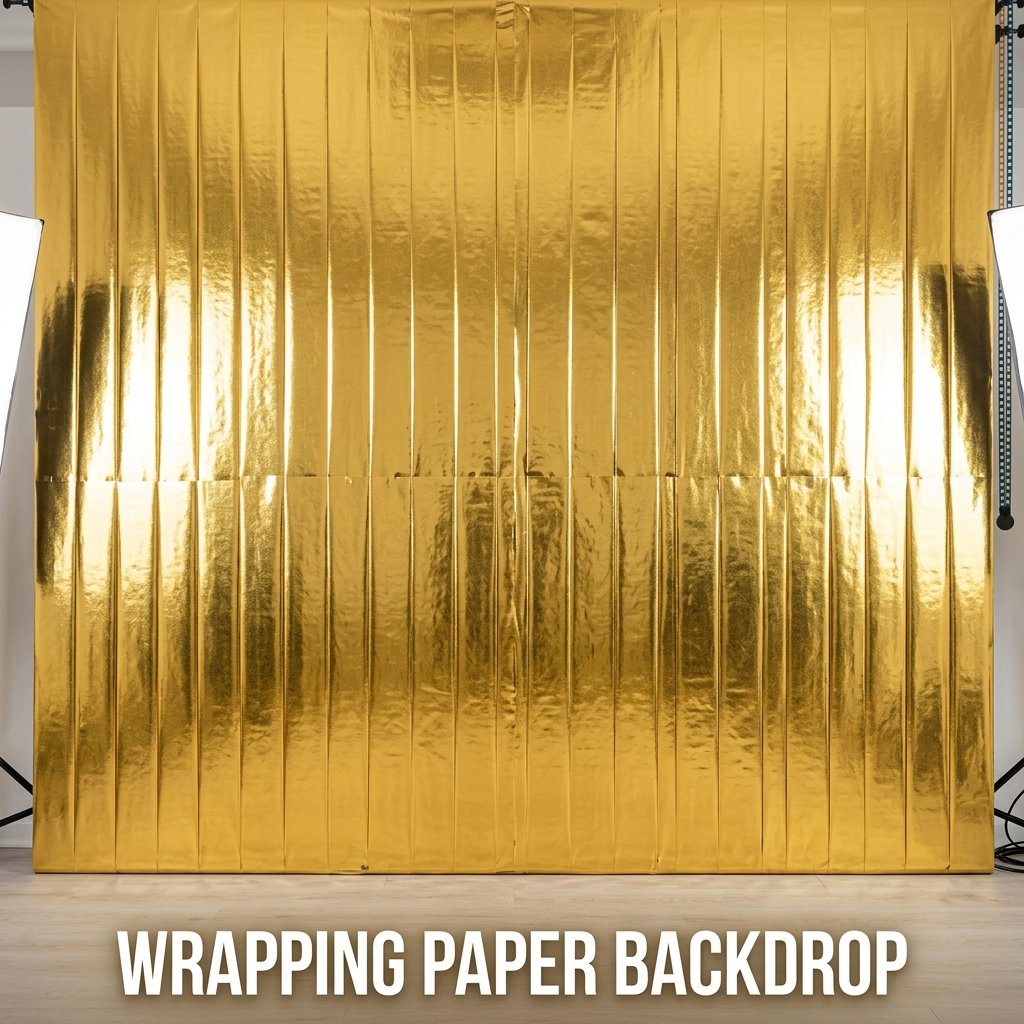
9. Wrapping Paper Backdrop
A wrapping paper backdrop is one of the cheapest easy backdrop ideas DIY at home, costing as little as $5 for a full event-sized setup. Rolls of gift wrap in solid colors or patterns are taped directly to the wall in overlapping vertical strips. I used gold foil wrapping paper for a New Year’s party backdrop and set it up in under 15 minutes. It reflected light in a way that made every photo look intentional.
How to Apply Wrapping Paper to a Wall
Cut wrapping paper into strips measuring the full height of the wall, typically 8 to 9 feet. Apply painter’s tape along the top edge and press the strip flat against the wall. Overlap adjacent strips by 1 inch to avoid visible gaps. Smooth each strip downward to remove air bubbles before taping the bottom edge. A standard 30-inch wide wrapping paper roll covers approximately 2.5 feet of backdrop width per strip. A 6-foot wide backdrop requires 3 to 4 strips.
Best Wrapping Paper Styles for Event Backdrops
Solid foil papers in gold, silver, rose gold, or black produce the strongest visual impact in photos. Geometric or polka dot patterns work for birthday party setups. Kraft paper creates a minimalist or rustic background ideal for product photography. Dollar Tree and Target both stock wide-roll wrapping paper at $1 to $4 per roll. Three rolls cover a standard 6-foot wide by 8-foot tall backdrop without needing additional supplies.
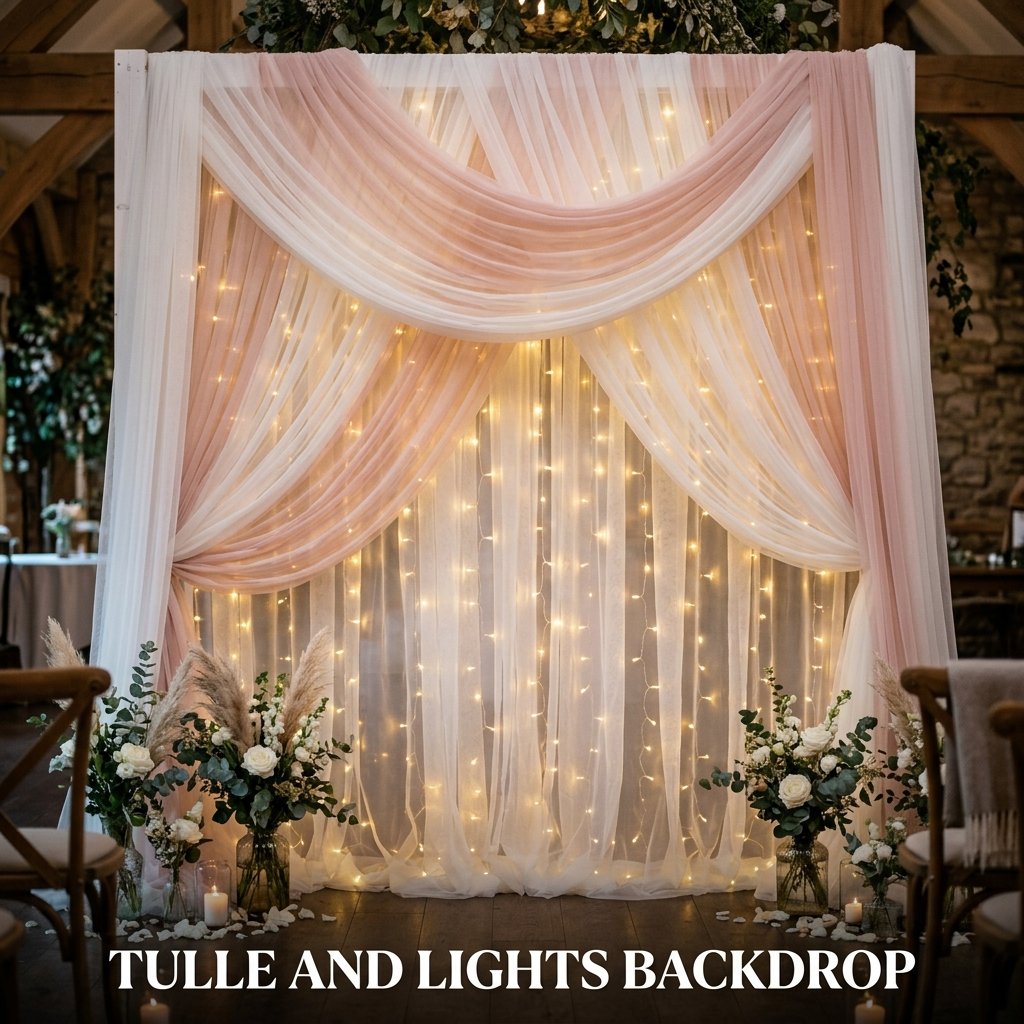
10. Tulle and Lights Backdrop
A tulle and lights backdrop combines fabric softness with light glow to create a photo backdrop that suits weddings, baby showers, and aesthetic photography setups. Tulle panels are hung from a rod and fairy lights are layered behind or through the fabric. The light diffuses through the tulle and creates a soft, even glow that photographs well without harsh shadows. This is one of the most requested DIY backdrop ideas for photography among content creators.
How to Layer Tulle and Lights Together
Hang fairy light strands vertically from a curtain rod first. Then drape tulle panels over the same rod in front of the lights. Use 54-inch wide tulle cut into 7 to 8 foot lengths and gather each panel loosely before hanging. Three to four tulle panels spaced across a 6-foot rod create sufficient coverage. White or blush tulle diffuses warm white lights most effectively. Cool white lights pair better with white or silver tulle for a modern background setup.
Cost of a Tulle and Light Backdrop
Total material cost runs $25 to $55 depending on tulle yardage and light strand quantity. Tulle costs $1 to $3 per yard at fabric retailers like JOANN or Walmart. A 6-foot wide backdrop requires 6 to 8 yards. Fairy light strands in 6-foot lengths cost $2 to $4 each and 8 to 10 strands cover the full width. A tension rod for the anchor point adds $5 to $12 to the total cost.
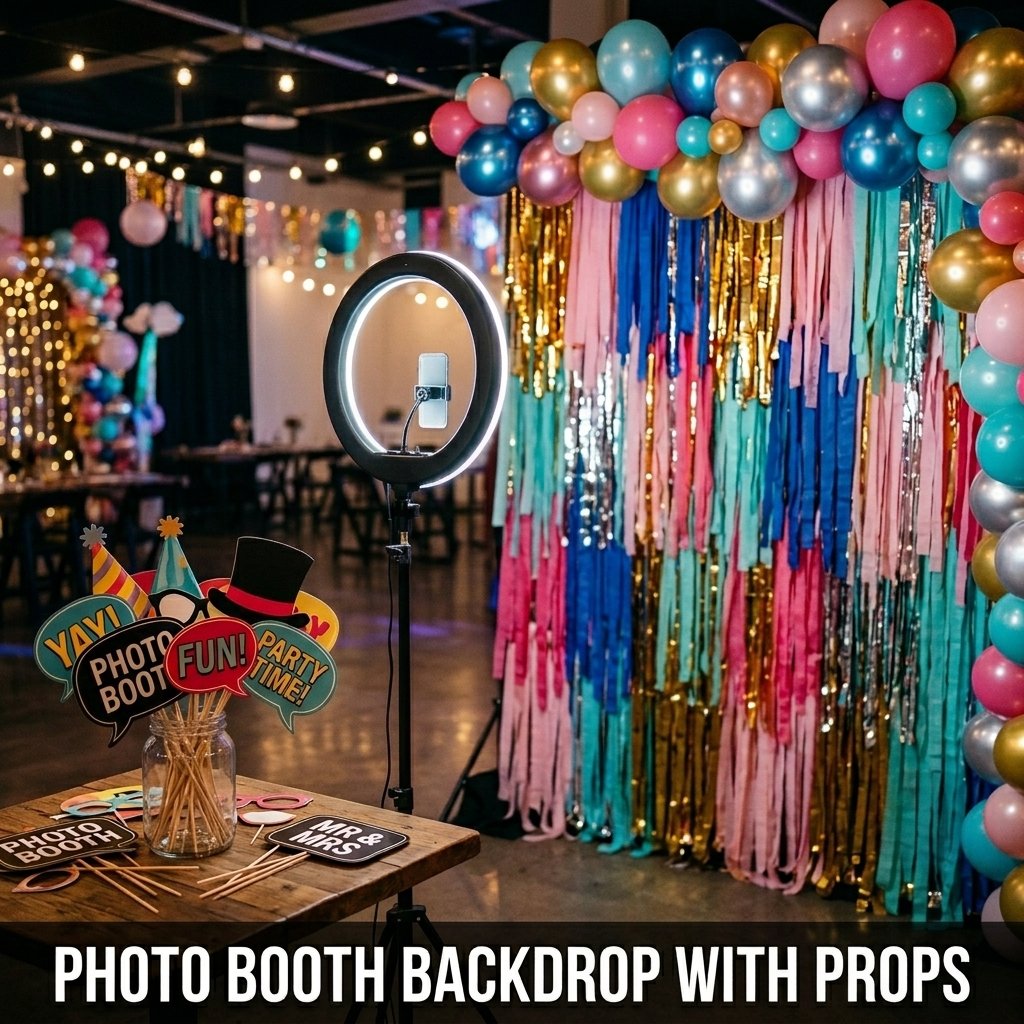
11. Photo Booth Backdrop with Props
A photo booth backdrop combines a simple DIY background with handheld props to create an interactive event station that guests use throughout the event. The backdrop itself is built using any of the methods above, and the props are made from cardstock cutouts on wooden sticks. I set this up at a graduation party using a streamer backdrop and printed props, and guests lined up to use it for the full 3 hours of the event.
How to Make DIY Photo Booth Props
Print photo booth prop templates from free sources like Canva or Pinterest. Glue each printed shape to a piece of cardstock for stiffness. Cut out the shape and attach a wooden craft stick to the back using a glue gun. Common prop shapes include speech bubbles, hats, glasses frames, and event-specific signs. A set of 20 props costs $5 to $10 in cardstock, craft sticks, and ink if printed at home.
Setting Up the Photo Booth Station
Place the backdrop against a wall with 4 to 6 feet of clear space in front for guests to stand. Arrange props in a small basket or jar on a table beside the backdrop. Add a ring light or two clip-on LED lights aimed at the backdrop to improve photo quality. A phone stand or tripod with a timer function allows guests to take their own photos. Label the station with a small sign so guests know it is available for use throughout the event.
12. Greenery and Eucalyptus Backdrop
A greenery backdrop uses real or artificial eucalyptus, ferns, and leaf garlands to create a natural, organic background for outdoor weddings, garden parties, and outdoor photo shoot setups. This is one of the most popular easy backdrop ideas DIY for weddings because greenery is inexpensive, widely available, and photographs well against both light and dark clothing.
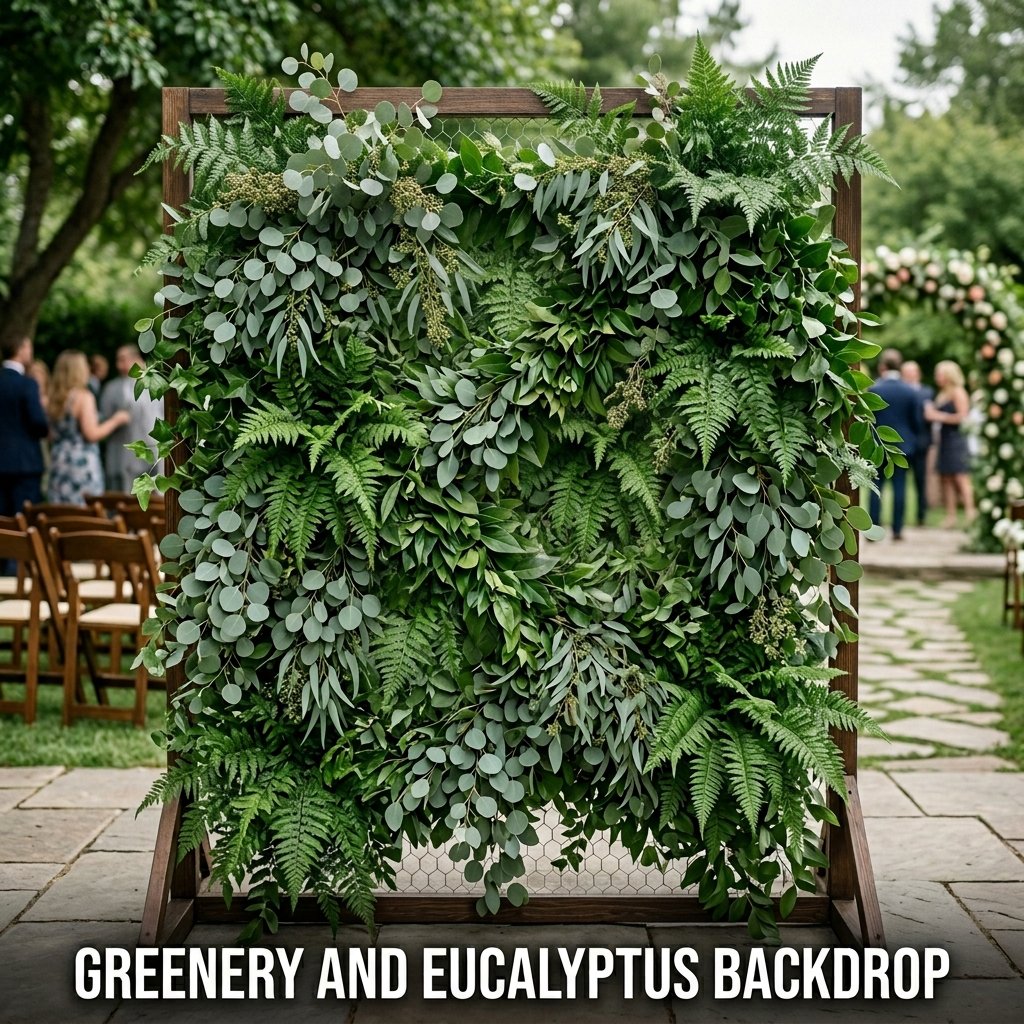
How to Build a Greenery Frame Backdrop
Start with a PVC or wooden frame measuring 6 feet wide by 7 feet tall. Attach a layer of chicken wire or mesh netting across the front using zip ties. Insert artificial eucalyptus stems, fern fronds, and leaf garlands through the mesh holes, starting from the bottom and working upward. Layer stems at different angles to fill gaps. A full 6×7 foot greenery frame requires 15 to 25 garland lengths of 6 feet each, costing $30 to $60 in total materials.
Using Real vs Artificial Greenery for Backdrops
Real eucalyptus and ferns stay fresh for 3 to 5 days when misted lightly with water twice per day. This makes real greenery practical for events lasting 1 to 2 days. Artificial greenery costs more upfront, ranging from $2 to $5 per stem, but reuses across multiple events. For outdoor setups exposed to heat or direct sunlight, artificial greenery holds its appearance longer than real foliage. Most event photographers report that both types photograph identically under standard lighting conditions.
13. Ombre Paper Backdrop
An ombre paper backdrop uses sheets of tissue paper or cardstock arranged in gradient color order to create a smooth color transition effect on any wall. This is one of the most visually impactful easy backdrop ideas DIY with paper because the gradient effect looks deliberate and designed without requiring any advanced skill. I created a blush-to-white ombre backdrop for a bridal shower in 45 minutes using 6 packs of tissue paper.
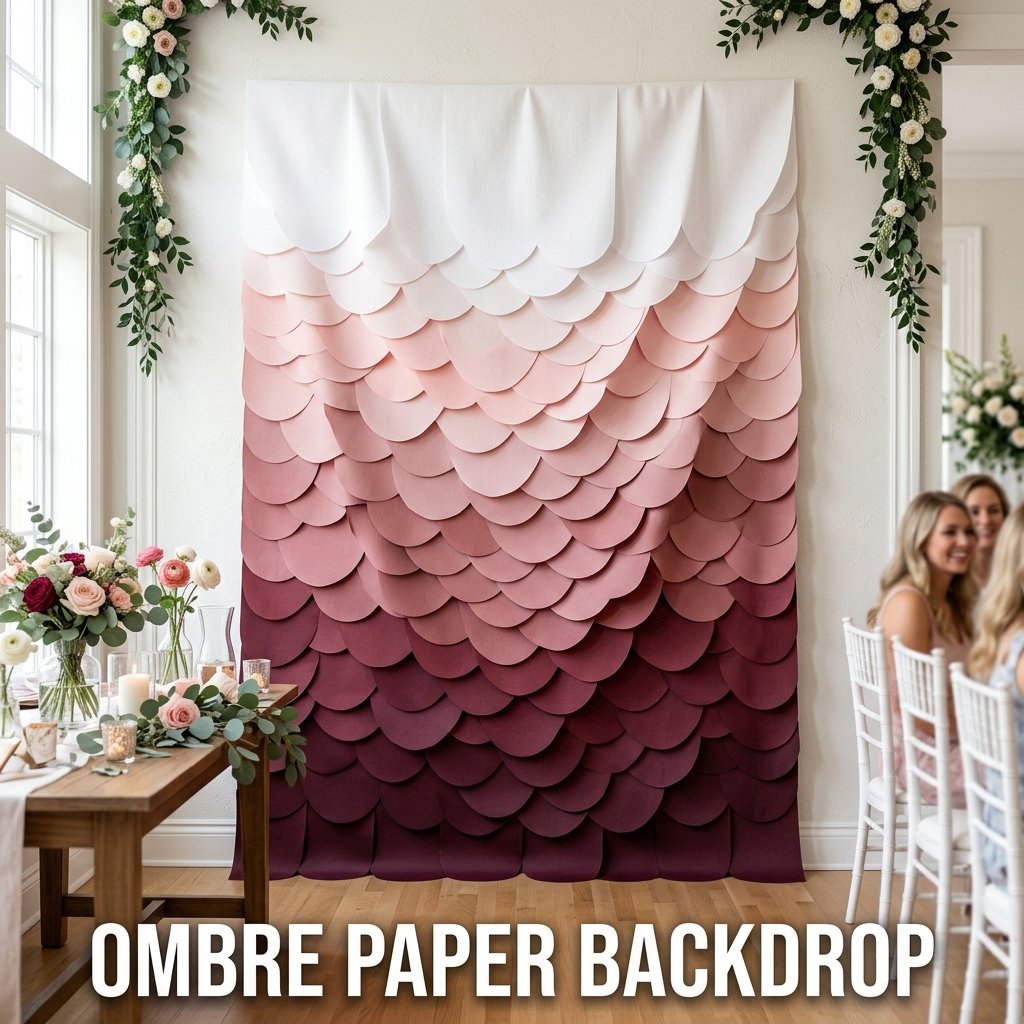
How to Create an Ombre Effect with Paper
Select 3 to 5 shades of the same color in light to dark order. Examples include white, blush, dusty rose, mauve, and burgundy for a pink ombre. Start with the darkest shade at the bottom and layer progressively lighter shades upward. Attach tissue paper sheets directly to the wall using painter’s tape rolled into loops on the back of each sheet. Overlap sheets by 2 to 3 inches to blend the color transition. Each sheet covers approximately 20×26 inches of wall space.
Materials and Cost for an Ombre Paper Backdrop
A standard pack of 10 tissue paper sheets in one color costs $1 to $3 at Dollar Tree, Target, or Walmart. A full 6-foot wide by 7-foot tall ombre backdrop requires 5 to 6 packs across 3 to 5 shades, totaling $5 to $15 in material cost. Painter’s tape costs $3 to $5 per roll and leaves no wall damage on removal. This backdrop is the lowest-cost option across all 13 easy backdrop ideas DIY covered in this article.
Frequently Asked Questions
What materials do I need for easy backdrop ideas DIY at home?
The most commonly used materials for easy backdrop ideas DIY at home are crepe paper streamers, tissue paper, fabric, balloons, fairy lights, and artificial flowers. Streamers and tissue paper cost the least, typically $1 to $3 per roll or pack. Fabric and artificial flowers cost more but reuse across multiple events. A glue gun, painter’s tape, scissors, and a tension rod or wooden dowel are the core tools needed across nearly all DIY backdrop projects. Most of these supplies are available at Dollar Tree, Walmart, Target, and Amazon.
How do I hang a DIY backdrop without damaging walls?
Hang a DIY backdrop without wall damage by using painter’s tape, removable command strips, or a tension rod that fits between two walls. Painter’s tape holds lightweight materials like tissue paper and streamers without leaving residue. Command strips rated for 3 to 5 pounds support heavier fabric panels and light frames. Tension rods work for fabric and tulle backdrops and require no wall contact at all. For outdoor events, freestanding PVC frames eliminate wall contact entirely. Always test adhesive products on a small wall section first before applying across the full backdrop area.
How much does a DIY backdrop cost on average?
A DIY backdrop costs between $5 and $75 depending on the materials and size. Streamer and wrapping paper backdrops are the least expensive, typically costing $5 to $15. Balloon garlands and paper flower backdrops run $15 to $40. Fabric, artificial flower wall, and fairy light backdrops cost $30 to $75 depending on coverage area. Reusable backdrops like fabric panels, macrame pieces, and artificial flower walls lower cost per use over time. Buying supplies in bulk from Amazon or craft stores reduces per-unit cost for large backdrop projects.
What is the easiest DIY backdrop for a birthday party?
The easiest DIY backdrop for a birthday party is a streamer backdrop because it requires only crepe paper rolls, tape, and scissors. Setup takes 15 to 25 minutes for a standard 6-foot wide section. Streamers are available at Dollar Tree in a wide range of colors for $1 to $2 per roll. A balloon garland is the second easiest option and takes 45 to 90 minutes to assemble. Both options work indoors and photograph well without additional lighting. Streamer backdrops suit quick setups, while balloon garlands suit events where the backdrop is a central decoration.
Can I reuse a DIY backdrop for multiple events?
Fabric backdrops, artificial flower walls, macrame panels, wooden pallet frames, and PVC frames are all fully reusable across multiple events. These materials hold their shape and appearance after careful disassembly and storage. Fabric panels fold flat for storage in a bag or bin. Artificial flower panels store in a flat box with tissue paper between layers to prevent crushing. Streamer, tissue paper, and wrapping paper backdrops are single-use because removal damages the material. Balloon garlands deflate after 12 to 24 hours and are not practical to reuse. Plan reusability based on how frequently you host events.