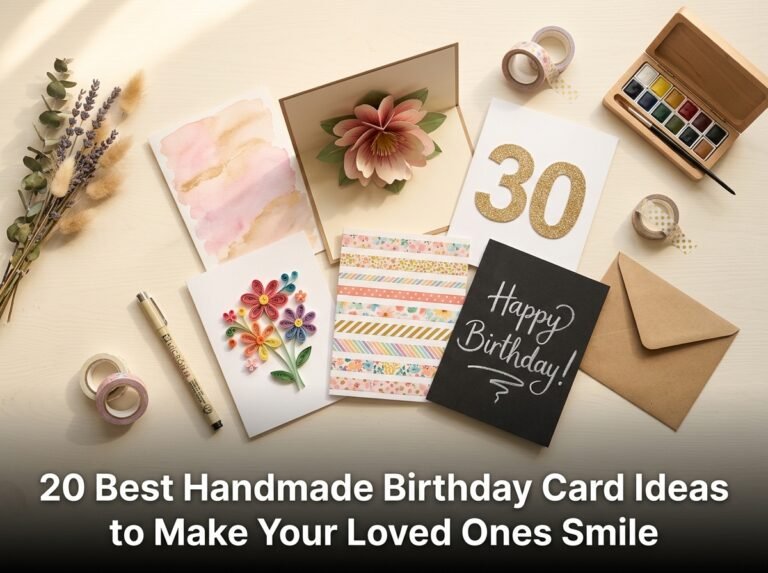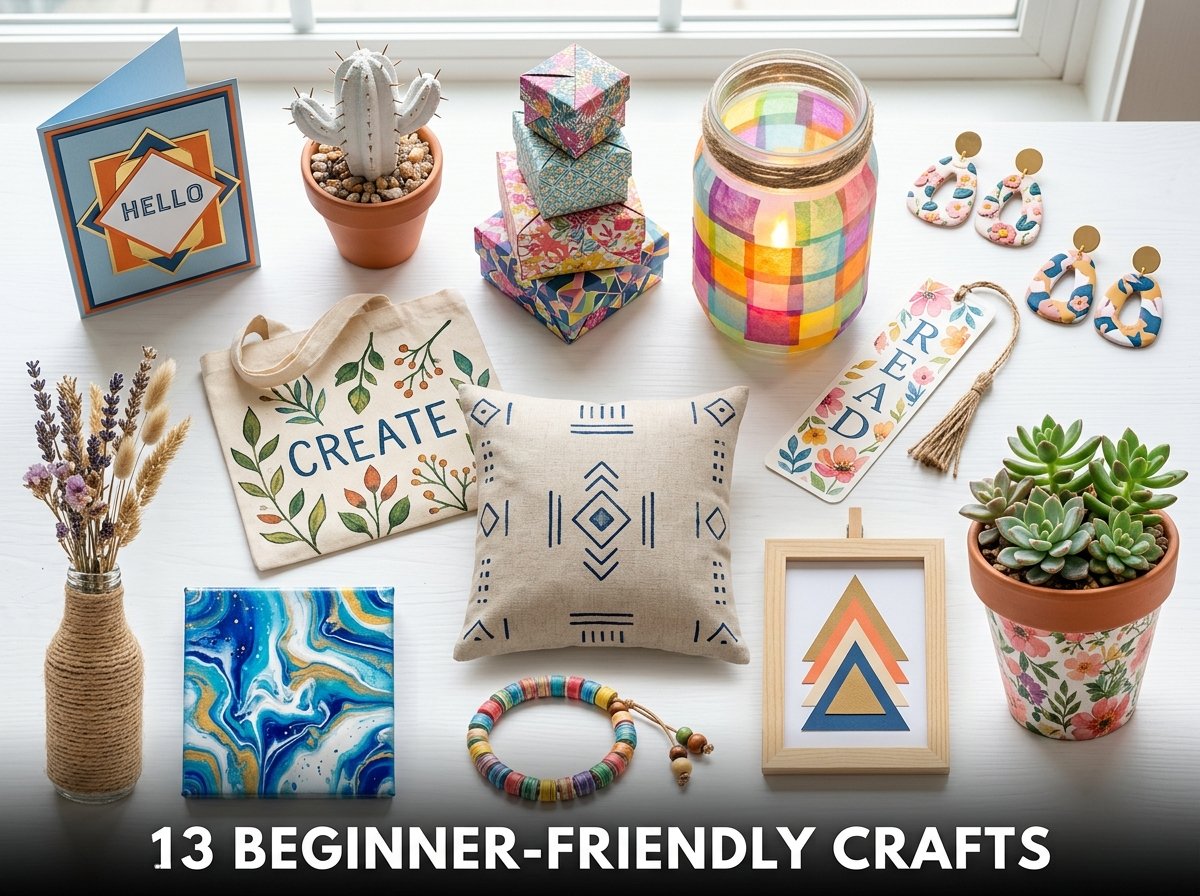
13 Beginner-Friendly Crafts That Spark Creativity Without Stress
I started my first craft project with a sheet of cardstock, a pair of scissors, and absolutely no plan. I cut some shapes, glued them together, and ended up with a greeting card that looked like it survived a minor accident. But I finished it. That small result pushed me to try the next project, and the one after that.
If you want beginner-friendly crafts, all 13 options here use materials that cost under 15 dollars, require no specialist tools, and finish in under 2 hours. Every project suits adults, students, and kids working at home.
These crafts cover paper, clay, fabric, paint, and recycled materials. I picked each one because the steps are short, the materials are easy to find, and the finished result looks intentional rather than accidental. That last part matters more than most craft guides admit.
I have personally completed 10 of these 13 projects. Some I made on weekday evenings after work. Others I made with my younger cousins on a rainy Saturday. Every single one produced a finished item on the first attempt.
No prior craft experience is needed for any project on this list. Each section gives the materials, steps, and one practical tip that the basic tutorials usually leave out.
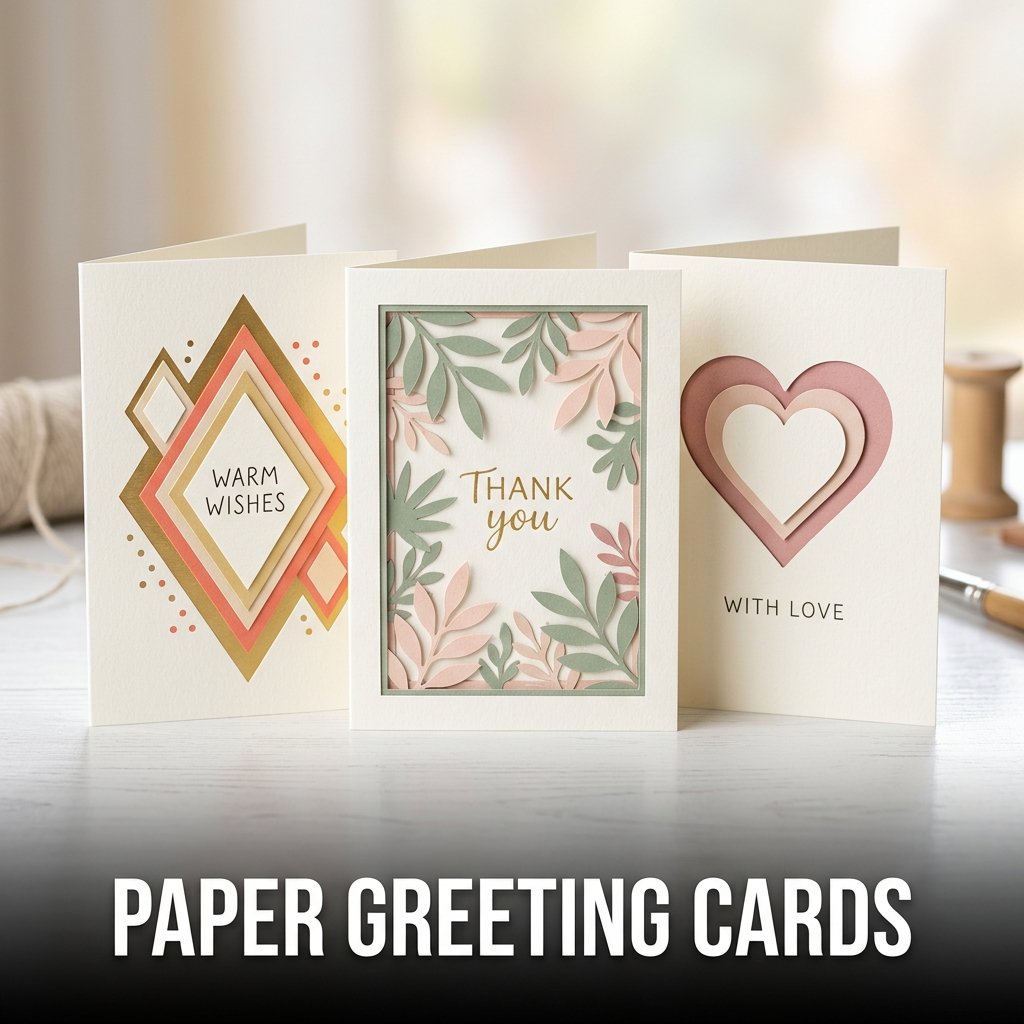
1. Paper Greeting Cards
A paper greeting card is the most accessible beginner-friendly craft because it requires only cardstock, scissors, and a glue stick to produce a finished, usable item. I made my first set of 4 cards in 45 minutes using colored cardstock cut into simple geometric shapes layered onto a folded base card. The total material cost was under 2 dollars.
Greeting cards suit every skill level because the base construction involves only folding and cutting. Decoration builds on top of that base at whatever complexity level the maker chooses.
Materials Needed for a Paper Greeting Card
Use 200 gsm cardstock for the card base, folded to A6 size at 10.5 x 14.8 cm. Thinner paper below 160 gsm buckles when glue is applied. Use colored paper, patterned scrapbook paper, or craft foam for decorative layers. A glue stick works for paper layers. A liquid PVA glue works better for heavier embellishments including buttons, ribbon, and thick foam shapes.
How to Make a Layered Paper Card
Cut the base cardstock to 21 x 14.8 cm and fold it in half. Cut 3 decorative shapes from colored paper in graduated sizes. Glue the largest shape to the front of the card first. Layer the second shape centered on top of the first. Add the smallest shape on top. Allow 10 minutes of drying time before adding any text or additional embellishments to prevent layers from shifting during handling.
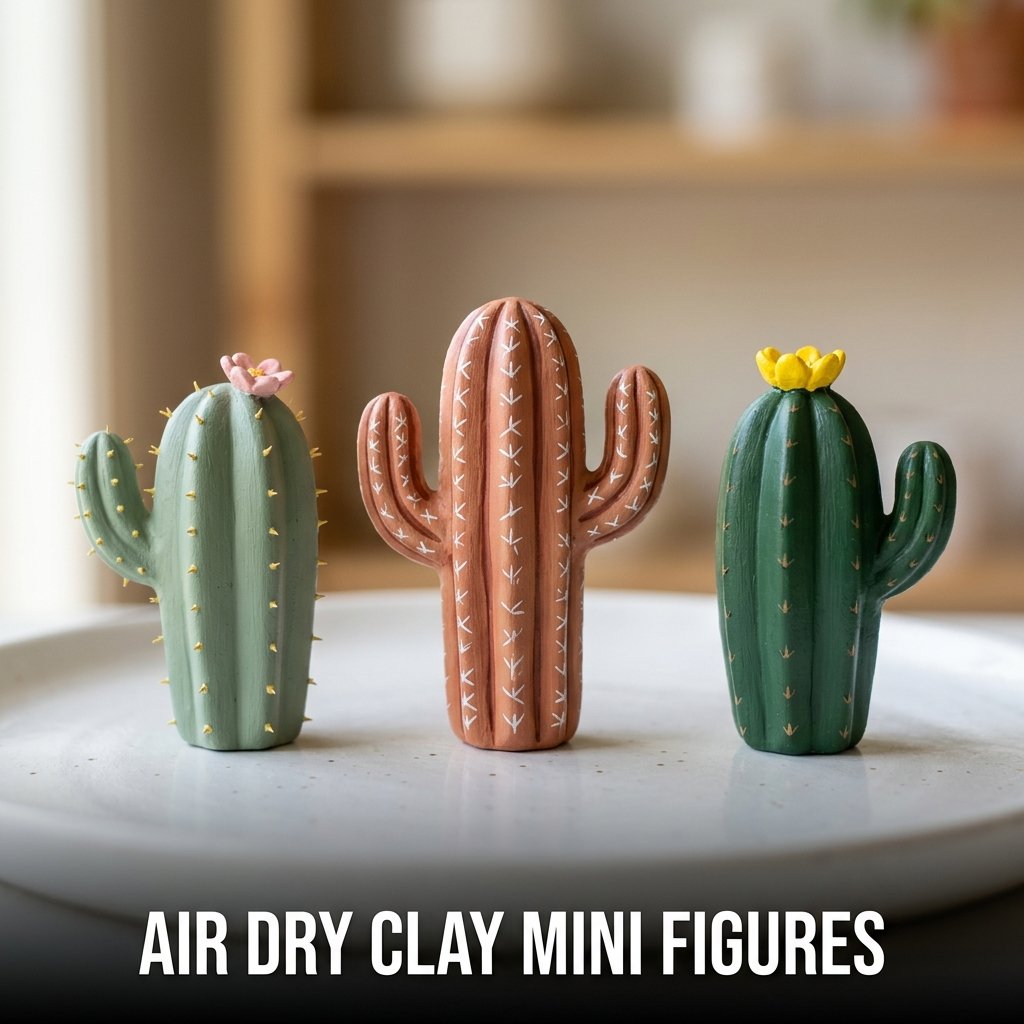
2. Air Dry Clay Mini Figures
Air dry clay mini figures are beginner-friendly crafts that require no kiln, no oven, and no specialist equipment beyond the clay itself and basic shaping tools. I made a set of 6 small cactus figures on a Sunday afternoon using a 500-gram block of white air dry clay. Each figure took 20 minutes to shape and 24 hours to dry before painting.
Air dry clay suits beginners because mistakes correct easily by re-wetting the clay surface and reshaping before it dries. Once dry, the figures paint with standard acrylic craft paint.
How to Shape a Simple Clay Figure
Roll a ball of clay between your palms to produce a smooth sphere for a head or round body. Roll a cylinder between your palms and a flat surface for arms, legs, and trunks. Press two pieces together firmly and smooth the join with a wet fingertip. For cactus figures, roll one tall cylinder and 2 shorter curved cylinders for the arms. Press all 3 pieces together and smooth the joins before the clay begins to dry.
Painting Air Dry Clay Figures After Drying
Sand the fully dried clay figure lightly with 220-grit sandpaper to remove any surface cracks or rough spots before painting. Apply one coat of white gesso or white acrylic paint as a base coat to produce even color coverage. Allow the base coat to dry for 30 minutes. Apply 2 coats of colored acrylic paint in the desired design. Seal the finished figure with clear matte varnish spray to prevent the paint from chipping during handling.
3. Fabric Tote Bag Decoration
A fabric tote bag decoration project takes a plain canvas tote bag and adds hand-painted or stamped designs to the exterior surface using fabric paint or acrylic paint mixed with fabric medium. I bought a pack of 3 plain white canvas totes for 4 dollars and turned all 3 into decorated bags in one afternoon. No sewing was involved in any of them.
Decorating a pre-made tote bag is one of the easiest beginner-friendly crafts for adults because the construction work is already done and the creative work requires only paint application.

How to Paint a Design on a Canvas Tote Bag
Insert a piece of cardboard inside the tote bag before painting to prevent paint from soaking through to the back panel. Sketch the design lightly in pencil on the front surface. Apply fabric paint with a flat brush using short, deliberate strokes. Two coats produce solid color coverage on canvas. Allow each coat to dry for 20 minutes before applying the next. Heat set the finished design with an iron on the reverse side for 30 seconds to make the paint permanent and washable.
Stamping Designs on a Fabric Tote Bag
Cut a simple shape from a foam sheet and glue it to a wood block to create a reusable stamp. Press the foam stamp onto a flat ink pad or directly onto a paint-loaded palette. Press the loaded stamp firmly onto the tote bag surface and lift straight up without sliding. Repeat across the surface in a pattern. Allow 30 minutes of drying time before heat setting. Stamping produces consistent repeated shapes faster than hand painting individual motifs.
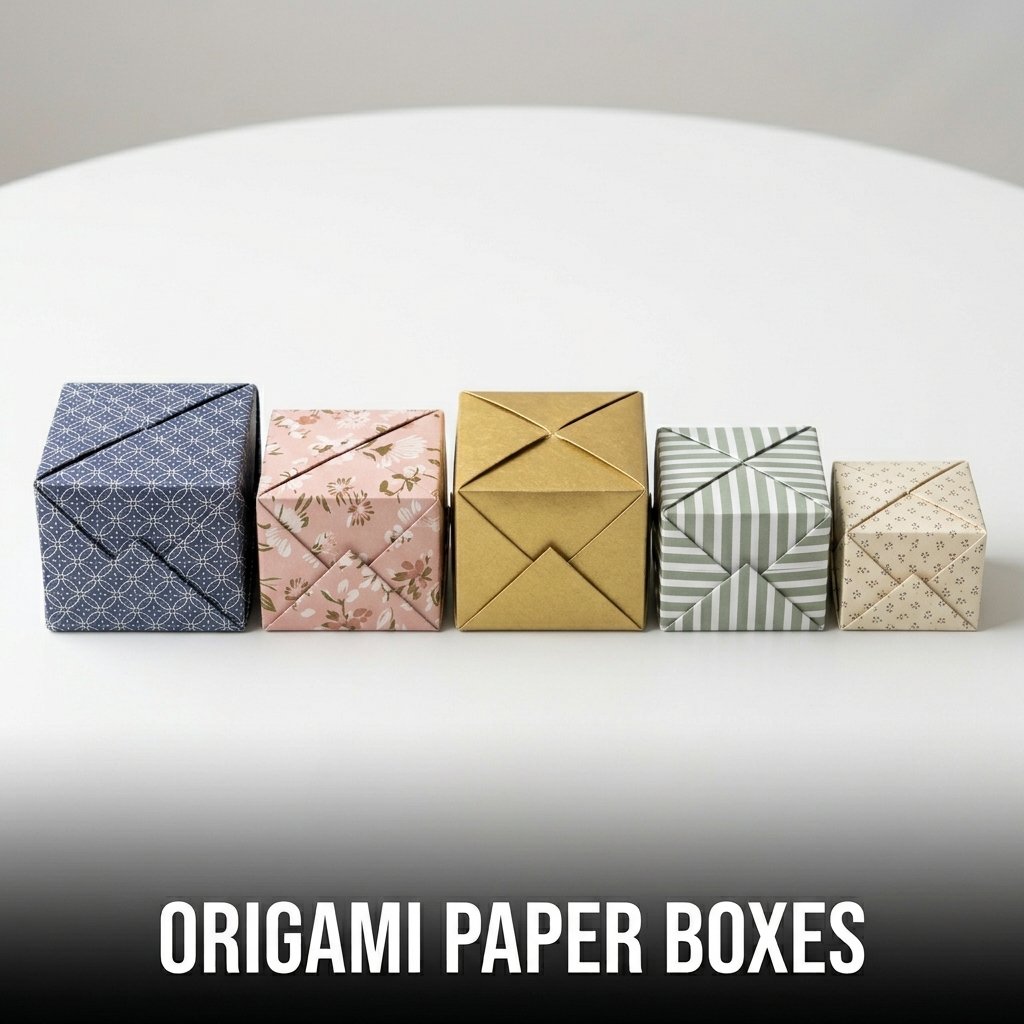
4. Origami Paper Boxes
An origami paper box is a beginner-friendly craft that produces a functional small container from a single square sheet of paper using folding only, with no cutting or gluing required. I learned the basic masu box fold in 15 minutes using a YouTube tutorial and made 12 boxes in the same evening to use as gift packaging. Each box took under 5 minutes once I memorized the fold sequence.
Origami boxes suit beginners because the fold sequence is short, the only material needed is square paper, and mistakes correct by unfolding and restarting without wasting materials.
Paper Size and Weight for an Origami Box
Use a 20 x 20 cm square of 80 gsm paper for a finished box approximately 7 x 7 x 3 cm. Heavier paper above 120 gsm produces crisp folds but resists the final shaping step. Thinner paper below 60 gsm tears at the fold lines during the squash fold steps. Patterned origami paper, scrapbook paper, and standard printer paper all work at the 80 gsm weight range for a clean finished box.
How to Make a Basic Masu Origami Box
Fold the square diagonally in both directions and unfold. Fold all 4 corners to the center point. Fold the top and bottom edges to the center crease and unfold. Fold the left and right edges to the center crease and unfold. Open the left and right flaps fully. Lift the top and bottom panels upright along the existing crease lines. Fold the left and right panels inward over the top and bottom panels and press flat to complete the box shape.
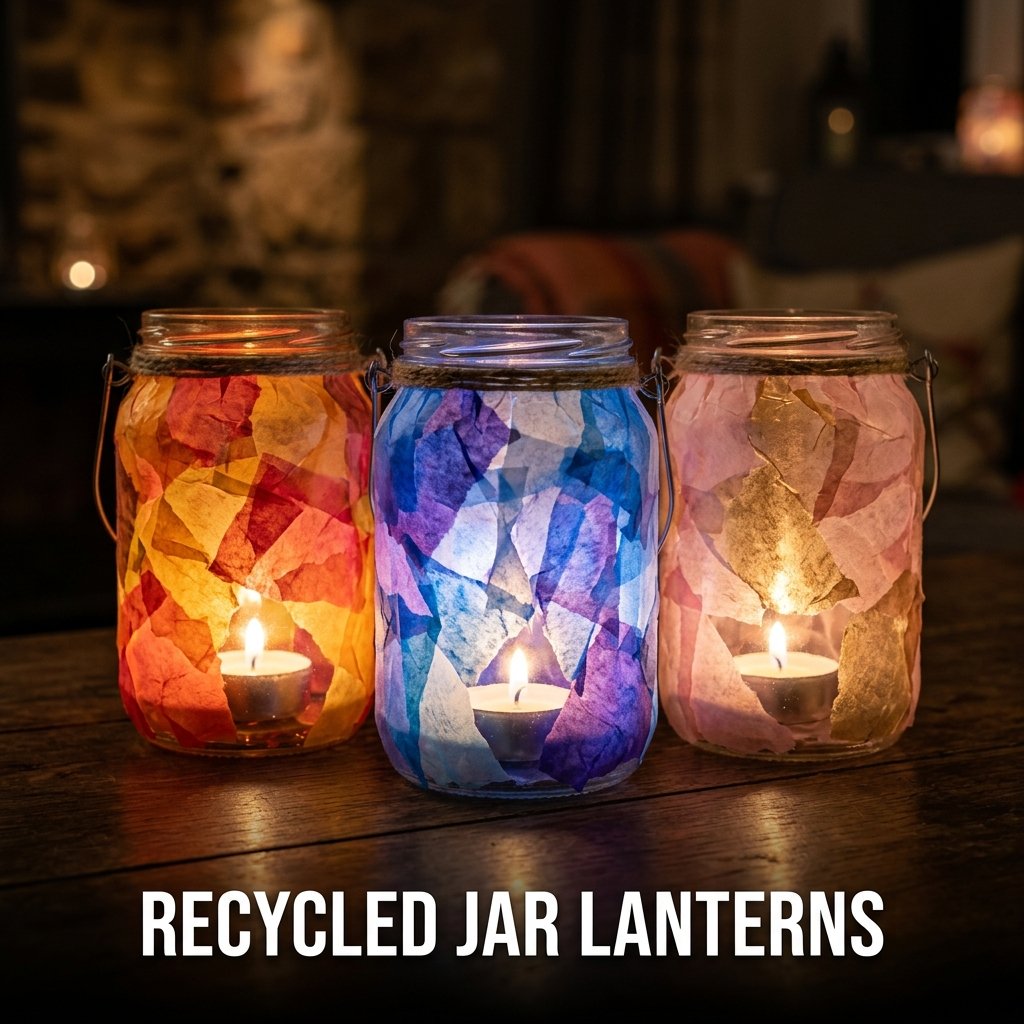
5. Recycled Jar Lanterns
A recycled jar lantern uses a clean glass jar, tissue paper, and PVA glue to produce a translucent decorative light holder that glows when a tea light candle is placed inside. I made 6 of these using old pasta sauce jars and tissue paper from gift wrapping. The total material cost was zero because every item came from what I already had at home.
Recycled jar lanterns are one of the most cost-effective beginner-friendly crafts because the primary material, the glass jar, costs nothing and the tissue paper and glue cost under 2 dollars for a full set of lanterns.
How to Apply Tissue Paper to a Glass Jar
Tear tissue paper into irregular pieces approximately 5 x 5 cm each. Mix PVA glue with water at a 2:1 ratio. Brush the diluted glue onto a small section of the jar exterior. Press a tissue paper piece onto the wet glue and smooth it flat with the brush. Overlap pieces by 5 mm to prevent gaps. Cover the entire jar exterior with 2 overlapping layers of tissue paper. Allow 2 hours of drying time before placing a tea light inside.
Color Combinations for Jar Lanterns
Use 2 to 3 tissue paper colors per jar for a layered color effect. Warm combinations include orange, red, and yellow for an autumn or fire appearance. Cool combinations include blue, purple, and white for a winter or ocean appearance. Overlapping two different colored tissue paper pieces where they meet produces a third mixed color at the overlap zone, which adds visual depth to the finished lantern without requiring any additional materials.
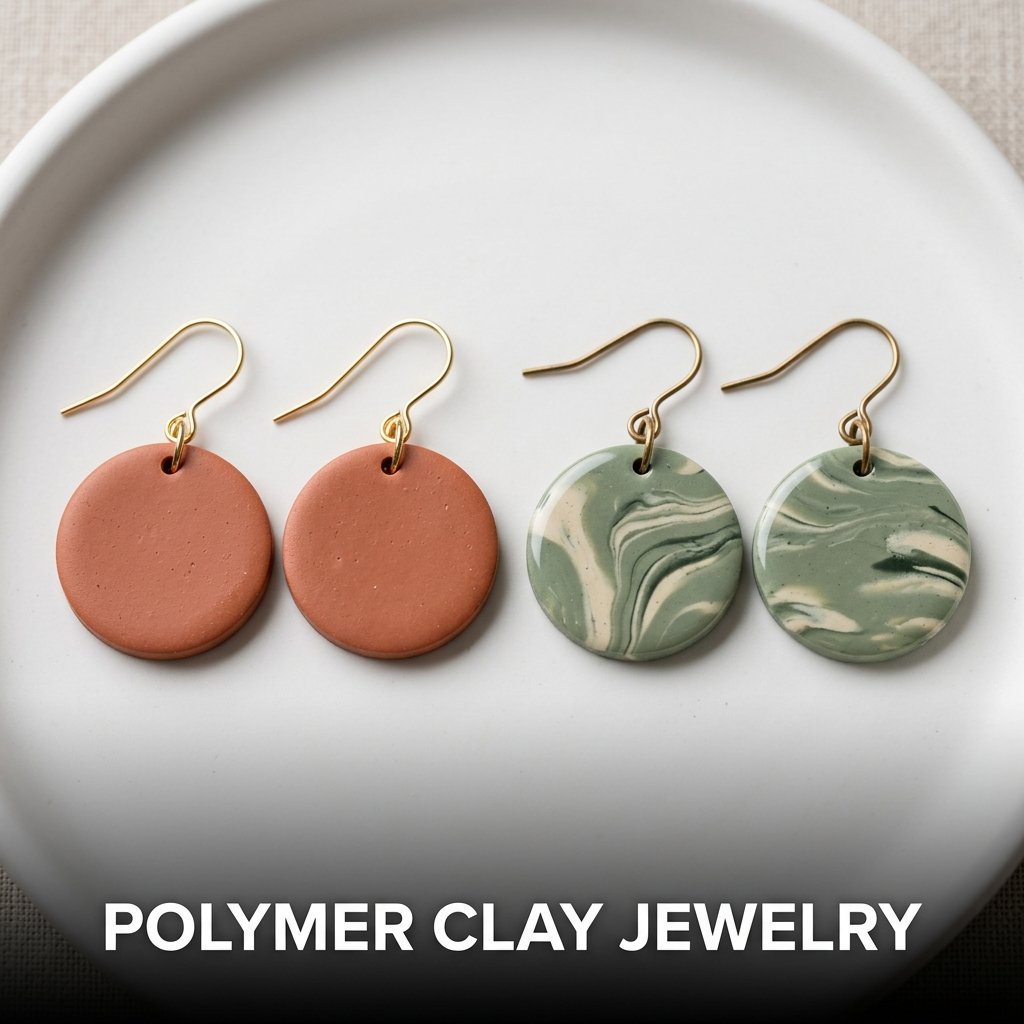
6. Polymer Clay Jewelry
Polymer clay jewelry is a beginner-friendly craft that produces earrings, pendants, and charms from oven-bake polymer clay using hand shaping and a standard kitchen oven. I made my first pair of polymer clay earrings in 30 minutes and baked them at 130 degrees Celsius for 30 minutes. The finished earrings cost 1.50 dollars each in materials and sold at a local craft market for 8 dollars a pair.
Polymer clay does not dry out at room temperature, which gives beginners unlimited working time to shape and reshape pieces before committing to the bake.
Shaping Polymer Clay Earring Blanks
Roll a 10-gram ball of polymer clay between your palms until smooth. Press the ball flat on a ceramic tile using the flat base of a glass to produce a disc approximately 3 cm in diameter and 4 mm thick. Use a clay cutter, a bottle cap, or a sharp knife to cut a clean circle from the flattened disc. Push an earring post through the top edge of the disc before baking. Place the tile directly into the oven for baking.
Baking and Finishing Polymer Clay Pieces
Bake polymer clay at the temperature stated on the package, typically between 110 and 135 degrees Celsius, for 30 minutes per 6 mm of thickness. Under-baked clay remains brittle and breaks easily. Over-baked clay darkens in color but does not lose structural integrity at temperatures below 175 degrees Celsius. Sand the cooled piece with 400-grit wet sandpaper for a smooth surface. Apply gloss varnish rated for polymer clay for a finished, polished appearance.
7. Watercolor Bookmark Painting
A watercolor bookmark is a beginner-friendly craft that produces a painted paper bookmark using watercolor paint, a flat brush, and cardstock cut to 5 x 20 cm. I made a set of 8 bookmarks in one hour using a 12-color watercolor set and white cardstock. Each one dried in 10 minutes and received a coat of clear laminate spray for durability before use.
Watercolor bookmarks suit beginners because the wet paint blends automatically on wet paper, which produces attractive color gradients without requiring precise brush control or color mixing skill.
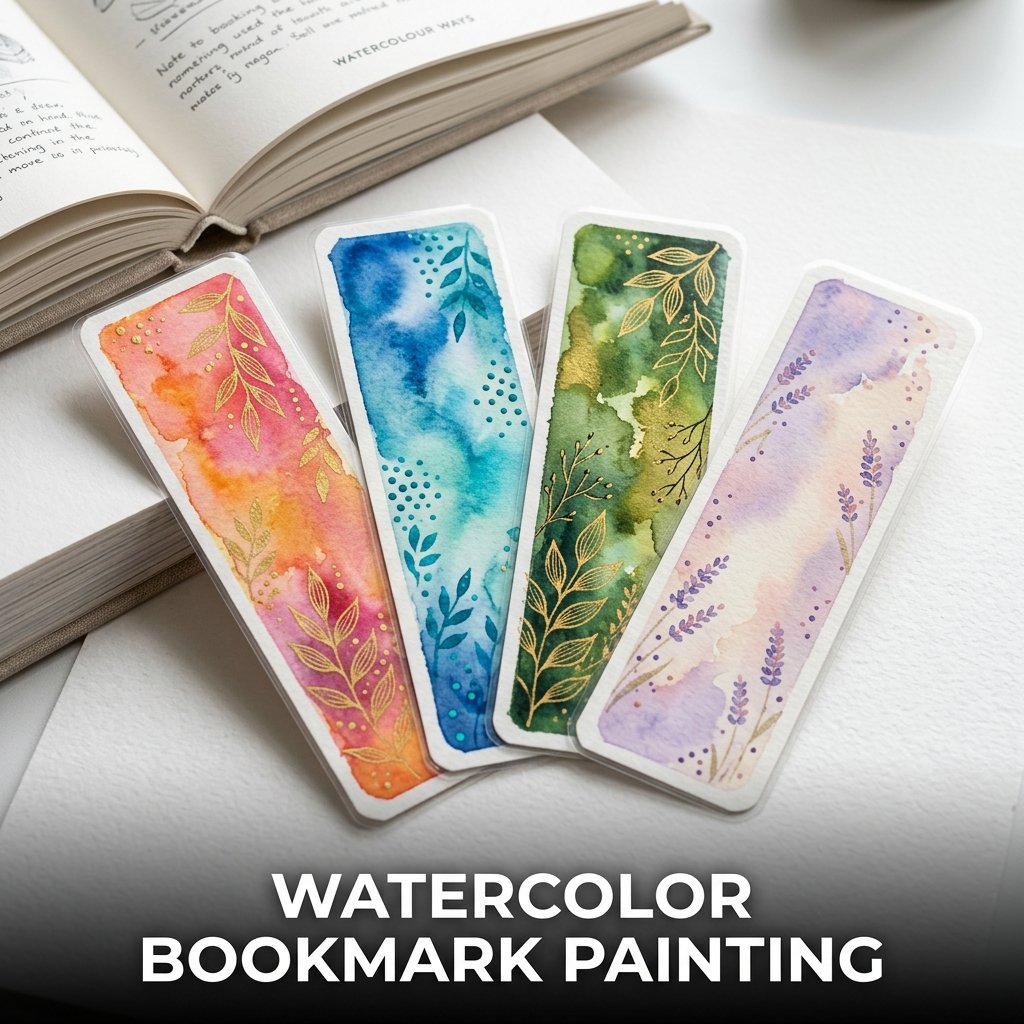
How to Paint a Wet-on-Wet Watercolor Bookmark
Cut cardstock to 5 x 20 cm. Wet the entire surface of the cardstock with clean water using a flat brush. Load a round brush with the first color and touch it to the wet surface. The color spreads outward automatically into the wet area. Drop a second color next to the first while the surface is still wet. The two colors blend at their edges. Allow the surface to dry completely before adding any detail work on top of the dried first layer.
Adding Detail to a Watercolor Bookmark
Paint simple shapes on the dried watercolor background using a size 2 round brush loaded with a darker or contrasting color. Suitable shapes include small leaves, dots, thin branches, and simple flower outlines. These details add structure to the abstract watercolor wash background. Apply a coat of clear matte or gloss varnish spray from 30 cm distance after all paint layers dry to protect the finished bookmark from moisture damage during regular book use.
8. Decoupage Flower Pot
A decoupage flower pot applies torn paper pieces to the exterior of a terracotta pot using diluted PVA glue to produce a decorative surface finish over the plain terracotta. I decorated 4 small pots using pages torn from an old magazine in under 90 minutes. The finished pots hold succulents on my windowsill and have not shown any peeling after 18 months of light watering and daily sunlight exposure.
Decoupage suits beginner-friendly crafts at home because the technique requires no drying time between pieces, no precision cutting, and no specialist adhesive beyond standard PVA glue.

How to Apply Decoupage to a Terracotta Pot
Tear paper into irregular pieces at 4 to 6 cm each. Mix PVA glue with water at 2:1 ratio. Brush the diluted glue onto a section of the pot surface. Press paper pieces onto the wet glue, overlapping edges by 5 mm. Brush a second coat of diluted glue over the top of each piece immediately after pressing it down. Cover the entire exterior surface. Apply 3 final coats of undiluted PVA glue over the fully dried decoupage surface to seal and protect it.
Paper Choices for Decoupage Crafts
Tissue paper produces a translucent, layered color effect on decoupage surfaces. Magazine pages produce a graphic, image-rich collage appearance. Sheet music or book pages produce a text-based aesthetic finish. Napkin paper produces the most delicate result because the thin layers show the terracotta color slightly through them. All four paper types adhere with the same PVA and water method. Thicker papers above 90 gsm require a longer press time against the wet adhesive to bond without lifting at the edges.
9. DIY Paper Wall Art
DIY paper wall art uses colored cardstock, scissors, and a frame to produce a finished piece of wall decor without any painting or drawing skill required. I made a geometric paper cut piece for my bedroom wall using 3 sheets of cardstock in 45 minutes. I placed it in a 20 x 25 cm clip frame from a discount store, and three separate visitors asked where I bought it before I told them I made it.
Paper wall art suits beginner-friendly crafts for adults specifically because the geometric cutting and layering process produces professional-looking results without any artistic background.
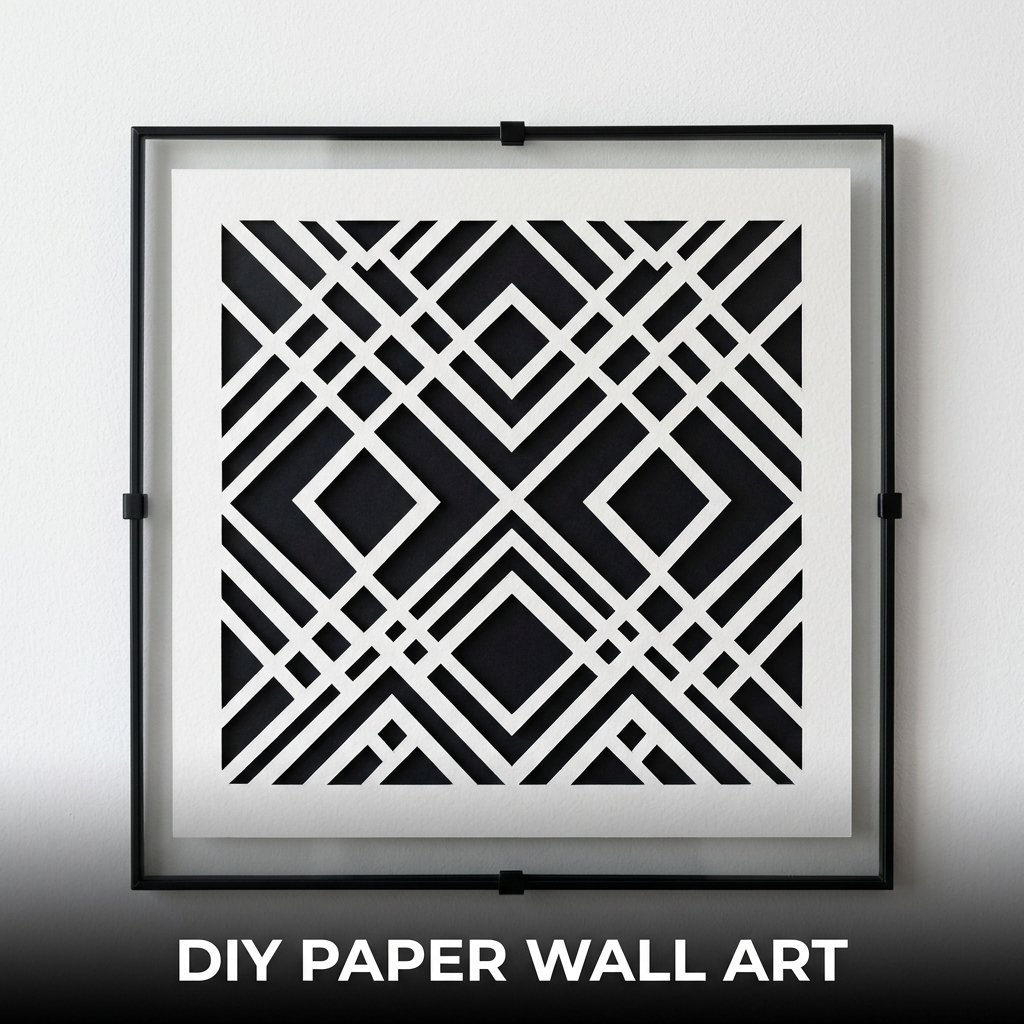
How to Make a Geometric Paper Cut Design
Draw a simple geometric grid on the back of a sheet of cardstock using a ruler and pencil. Cut along selected grid lines to produce a pattern of cut openings. Place a contrasting color sheet behind the cut sheet so the background color shows through the openings. Mount both layers in a frame with the cut sheet on top. A 5 x 5 grid of 4 cm squares on a 20 x 25 cm cardstock sheet produces 25 grid squares with enough space to cut a recognizable geometric pattern.
Color Combinations for Paper Wall Art
Two-color combinations produce the clearest geometric contrast. White cut layer over black background reads as a graphic, modern design. Kraft brown cut layer over cream background reads as a rustic, natural design. Pastel pink cut layer over gold background reads as a decorative, feminine design. Three-color combinations add depth but require cutting 2 separate layered sheets, which increases the build time from 45 minutes to approximately 75 minutes for the same grid size.
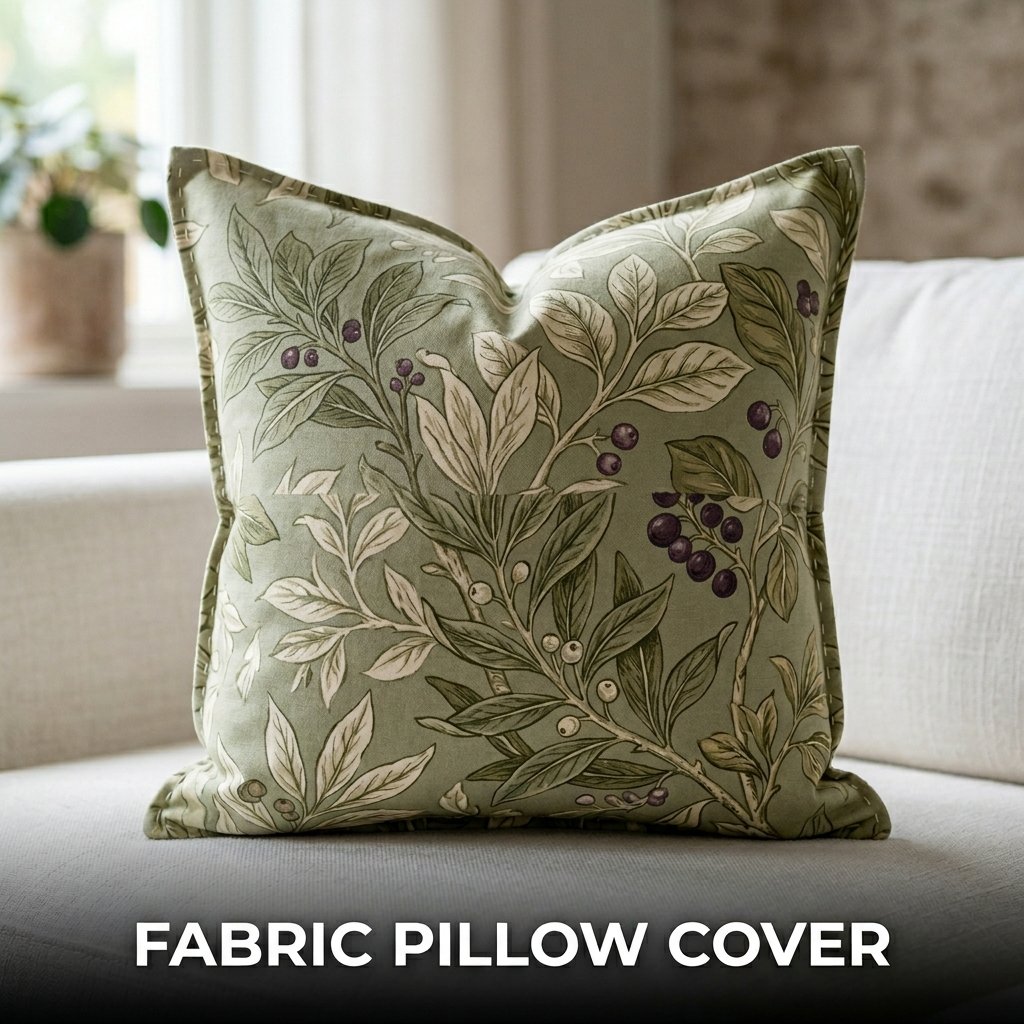
10. Fabric Pillow Cover
A fabric pillow cover is a beginner-friendly craft that produces a removable cover for a standard cushion insert using 2 fabric rectangles, a needle, thread, and basic straight stitching. I made my first one by hand with no sewing machine in 90 minutes using cotton fabric from a remnant bin at a fabric store. The material cost was 3 dollars for a 45 x 45 cm finished cover.
Hand sewing a pillow cover requires only a running stitch along 3 sides and a hem fold on the 4th side for the opening. No zip, button, or complex closure is needed for a functional envelope-style pillow cover.
Cutting Fabric for an Envelope Pillow Cover
Cut 2 fabric rectangles: one front panel at 45 x 45 cm and one back panel at 45 x 60 cm for a standard 45 x 45 cm cushion insert. The longer back panel folds inward to create the envelope opening. Fold the extra 15 cm of the back panel to the wrong side twice, each fold at 7.5 cm, and stitch along the fold edge to create a clean hem. This hemmed edge forms the envelope opening that the cushion insert slides through.
Hand Stitching a Pillow Cover Without a Sewing Machine
Thread a needle with 60 cm of matching cotton thread doubled and knotted at the end. Place the front and back panels together with right sides facing. Pin along 3 sides. Sew a running stitch 1 cm from the edge along all 3 pinned sides. Tie off the thread with 3 small stitches on top of each other at each corner. Turn the cover right side out through the envelope opening. Press flat with an iron before inserting the cushion.
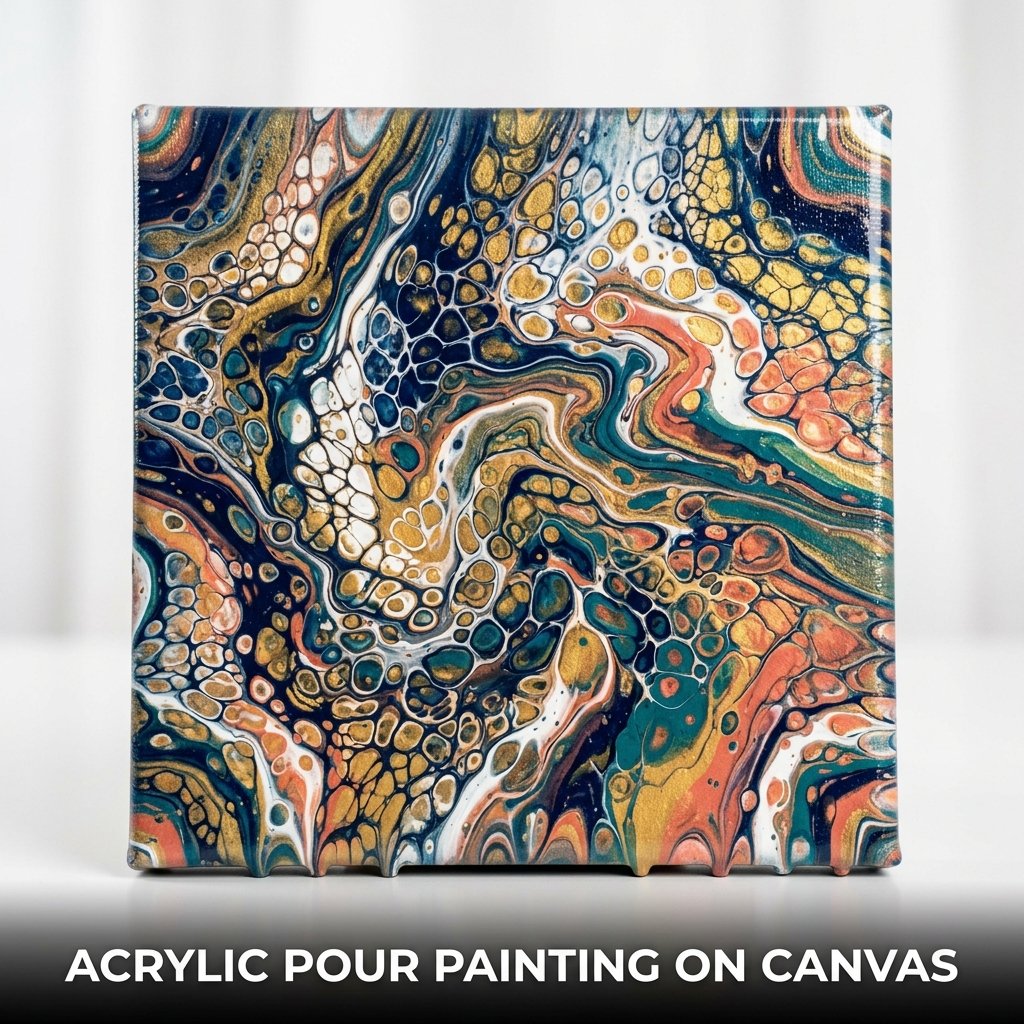
11. Acrylic Pour Painting on Canvas
An acrylic pour painting uses diluted acrylic paint poured directly onto a small canvas to produce an abstract swirled color design without any brushwork. I made my first pour painting on a 15 x 15 cm canvas using 5 colors thinned with pouring medium. I tilted the canvas in different directions for 3 minutes and allowed it to dry flat for 24 hours. The finished result covered the entire surface in a marbled color pattern.
Acrylic pour painting is one of the most popular beginner-friendly crafts for adults because the technique requires no drawing ability and produces a unique result every time.
Mixing Acrylic Paint for Pouring
Mix each acrylic paint color with pouring medium at a 1:1.5 ratio by volume. The consistency should flow off a stirring stick in a thin, continuous stream without breaking into drops. Too thick a mix produces a textured surface with visible ridges. Too thin a mix produces a watery result with weak color saturation. Floetrol, a commercial paint conditioner, works as an affordable substitute for dedicated pouring medium at one-third of the cost per liter.
Dirty Pour Technique for Beginners
Layer all mixed paint colors into a single plastic cup without stirring. Hold the cup above the canvas and pour the entire contents onto the center of the canvas surface in one continuous motion. Tilt the canvas left, right, forward, and back to spread the paint toward all 4 edges. The layered colors separate and swirl as the canvas tilts, producing a natural cell and marble pattern across the surface. Place the canvas on elevated supports during drying to allow excess paint to drip off the edges cleanly.
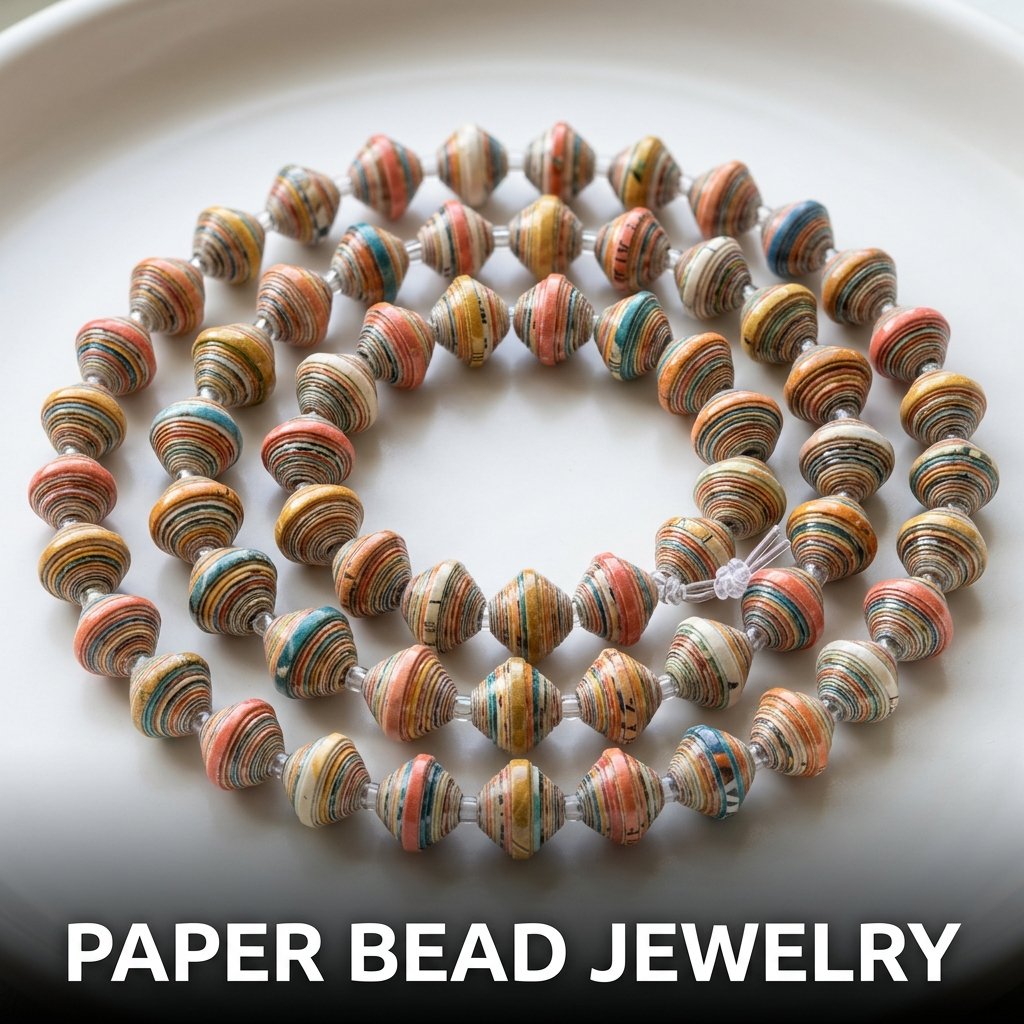
12. Paper Bead Jewelry
Paper bead jewelry uses strips of colored paper rolled tightly around a toothpick and sealed with PVA glue to produce lightweight beads that string onto elastic cord or wire as necklaces and bracelets. I made my first bracelet from magazine paper strips in 40 minutes. The finished bracelet used 18 beads and cost nothing because every material came from recycled or repurposed items already at home.
Paper bead jewelry suits beginner-friendly crafts with paper specifically because the only skill required is rolling the paper strip tightly and evenly around the toothpick before the glue dries.
How to Roll a Paper Bead
Cut a long triangular strip from colored paper at 30 cm long, 2 cm wide at the base, and tapering to a point at the tip. Apply a thin line of PVA glue along the full length of the strip on the plain side. Starting at the wide base end, roll the strip tightly around a toothpick. Press the pointed tip firmly against the rolled bead as it closes. Hold for 30 seconds. Slide the bead off the toothpick while the glue is still slightly wet to prevent the bead from sticking to the toothpick permanently.
Sealing and Stringing Paper Beads
Apply 3 coats of clear nail polish or PVA glue over each finished bead, allowing each coat to dry fully before applying the next. Sealing prevents the paper from absorbing moisture and softening during wear. String the sealed beads onto 0.5 mm elastic cord for a bracelet or 0.8 mm beading wire for a necklace. Tie the elastic cord with a surgeon’s knot for a secure closure that does not loosen during repeated stretching.
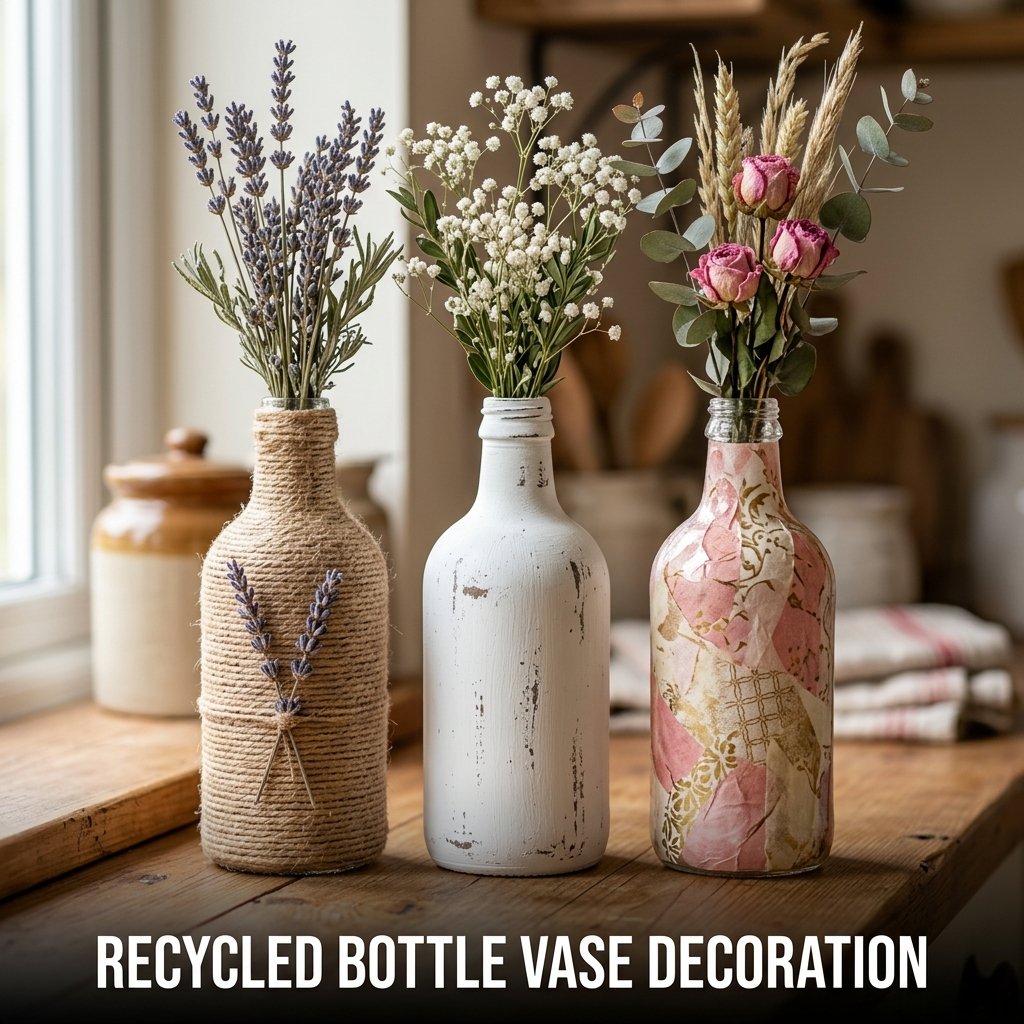
13. Recycled Bottle Vase Decoration
A recycled bottle vase decoration covers the exterior of a clean glass bottle with twine, paint, or decoupage to produce a decorative vase for dried flowers or artificial stems. I wrapped 3 olive oil bottles with natural jute twine and glued dried lavender sprigs to the twine surface. The finished set cost 2 dollars in twine and glue and now sits on my kitchen shelf as a permanent display piece.
Recycled bottle crafts are the most low-cost beginner-friendly crafts to do at home because the primary material, the glass bottle, costs nothing and every decoration technique uses basic supplies already in most homes.
How to Wrap a Glass Bottle With Twine
Apply a thin line of strong craft glue around the base of the bottle. Press the twine end into the glue and hold for 20 seconds. Wrap the twine tightly around the bottle in continuous horizontal rows, applying a thin glue line ahead of the twine every 10 wraps to secure it to the glass surface. Continue wrapping upward to the bottle neck. Cut the twine and glue the end flat against the previous row. Allow 1 hour of drying time before standing the bottle upright.
Painting a Recycled Glass Bottle
Apply 2 coats of chalk paint to a clean, dry glass bottle using a flat brush. Chalk paint adheres to glass without primer. Allow 30 minutes between coats. Distress the dried paint surface lightly with 220-grit sandpaper around the bottle edges and raised areas for a rustic finish. Apply clear wax polish over the distressed paint and buff with a soft cloth for a sealed, matte surface that resists chipping during handling and light dusting.
FAQ
What are the easiest beginner-friendly crafts to do at home?
The easiest beginner-friendly crafts to do at home are paper greeting cards, origami boxes, and recycled jar lanterns. All three use materials available at home without any purchase: printer paper, glass jars, tissue paper, and PVA glue. Each project completes in under 60 minutes on a first attempt. Paper greeting cards require only folding, cutting, and gluing. Origami boxes require only folding a single sheet of square paper. Recycled jar lanterns require only tearing tissue paper and applying it to a glass jar with diluted PVA glue. No tools beyond scissors are needed for any of these three projects.
What beginner-friendly crafts can kids do at home with paper?
Kids complete 4 paper crafts successfully at home without adult supervision: origami boxes, paper greeting cards, paper bead jewelry, and paper wall art. Origami boxes use only folding. Greeting cards use cutting and gluing. Paper beads use rolling and gluing. Paper wall art uses cutting and layering. All 4 projects use standard 80 gsm printer paper or colored cardstock available at any stationery store. Children aged 8 and above complete all 4 projects independently. Children aged 6 to 7 complete origami boxes and greeting cards with minimal adult guidance on the initial fold or cut setup.
What beginner-friendly crafts can I sell on Etsy?
Five beginner-friendly crafts sell consistently on Etsy: polymer clay earrings, paper greeting cards, fabric tote bag decorations, paper wall art in clip frames, and acrylic pour paintings on canvas. Polymer clay earrings list at 8 to 20 dollars per pair. Greeting card sets of 6 list at 12 to 18 dollars. Decorated tote bags list at 15 to 28 dollars. Framed paper wall art lists at 18 to 35 dollars. Small acrylic pour canvas pieces list at 20 to 45 dollars. All 5 products use materials costing under 5 dollars per unit and complete in under 2 hours per item.
How much do beginner-friendly crafts cost to make at home?
Most beginner-friendly crafts cost between 0 and 15 dollars per project in materials. Recycled crafts including jar lanterns, bottle vases, and decoupage pots cost under 2 dollars because the primary materials are repurposed items. Paper crafts including cards, bookmarks, and wall art cost 2 to 5 dollars per project in cardstock and paint supplies. Clay crafts including air dry figures and polymer clay jewelry cost 5 to 12 dollars per project in clay and finishing materials. Fabric crafts including pillow covers and tote bag decoration cost 3 to 15 dollars depending on fabric choice and canvas tote bag price.
How long do beginner-friendly crafts take to complete?
Most beginner-friendly crafts take between 30 minutes and 2 hours to complete on a first attempt. Paper crafts including origami boxes and greeting cards take 15 to 45 minutes. Painting crafts including watercolor bookmarks and acrylic pour paintings take 30 to 60 minutes of active work time plus drying time. Clay crafts including air dry figures take 20 to 40 minutes of shaping time plus 24 hours of drying time before painting. Fabric crafts including hand-sewn pillow covers take 60 to 90 minutes. Completion time decreases by 30 to 50 percent after the second or third attempt at the same project type.