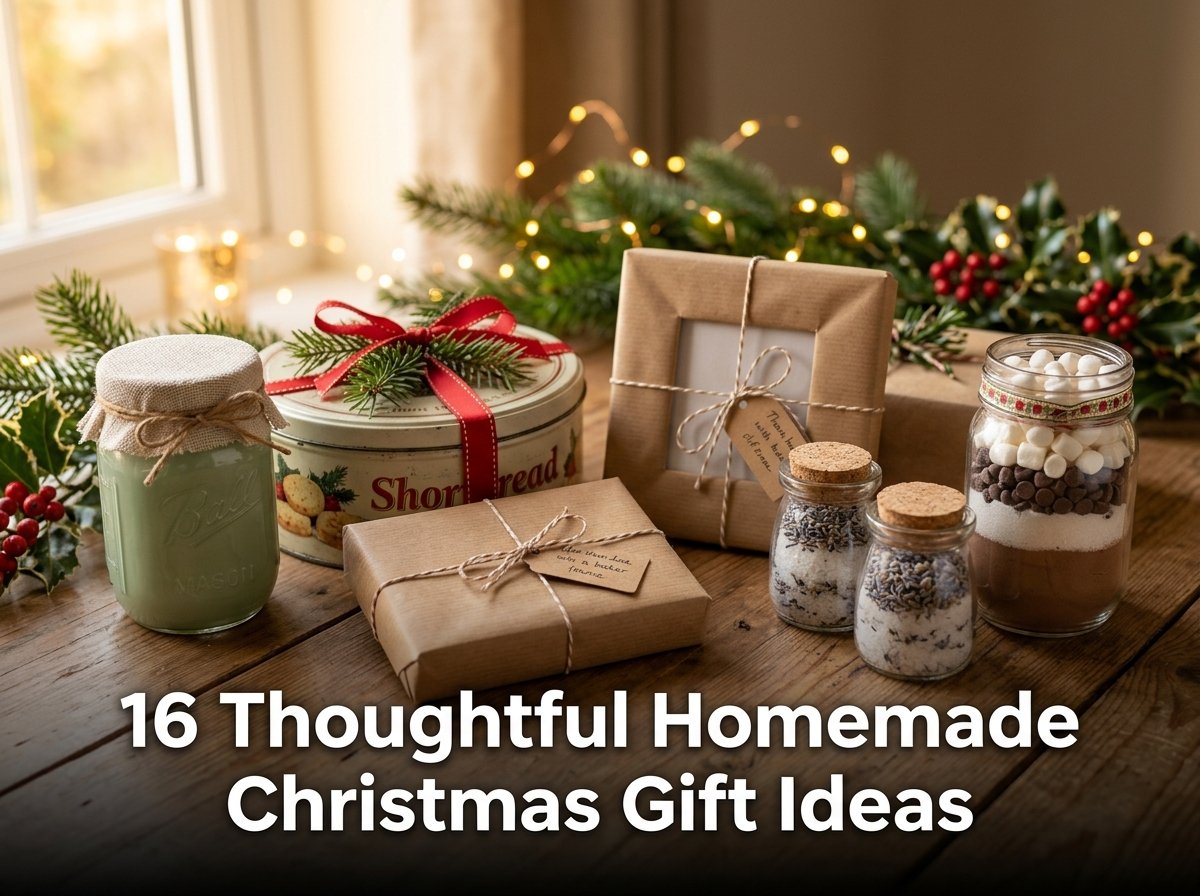
16 Thoughtful Homemade Christmas Gift Ideas
I spent 47 dollars on store-bought gifts one Christmas and watched every single one get set aside within minutes of opening. The following year I made 12 gifts by hand and spent 38 dollars total. Every recipient remembered those gifts a year later. That difference told me everything I needed to know about homemade versus purchased presents.
If you want homemade Christmas gift ideas, all 16 options here cost between 2 and 20 dollars in materials per gift. Every project suits adults working at home without specialist tools or prior craft experience.
These gifts cover food items, bath and beauty products, home decor, wearable accessories, and personalized keepsakes. I selected each one because the finished result looks intentional and gift-ready rather than last-minute and improvised.
Most projects here finish in under 2 hours. Several qualify as last-minute DIY Christmas gift ideas that complete in under 45 minutes using materials available at any supermarket or craft store.
I have personally made and given 12 of these 16 gifts. The ones I gave to family consistently generated more conversation and appreciation than any purchased gift I have given in the same period.
Each section states the total material cost, completion time, and who the gift suits best.
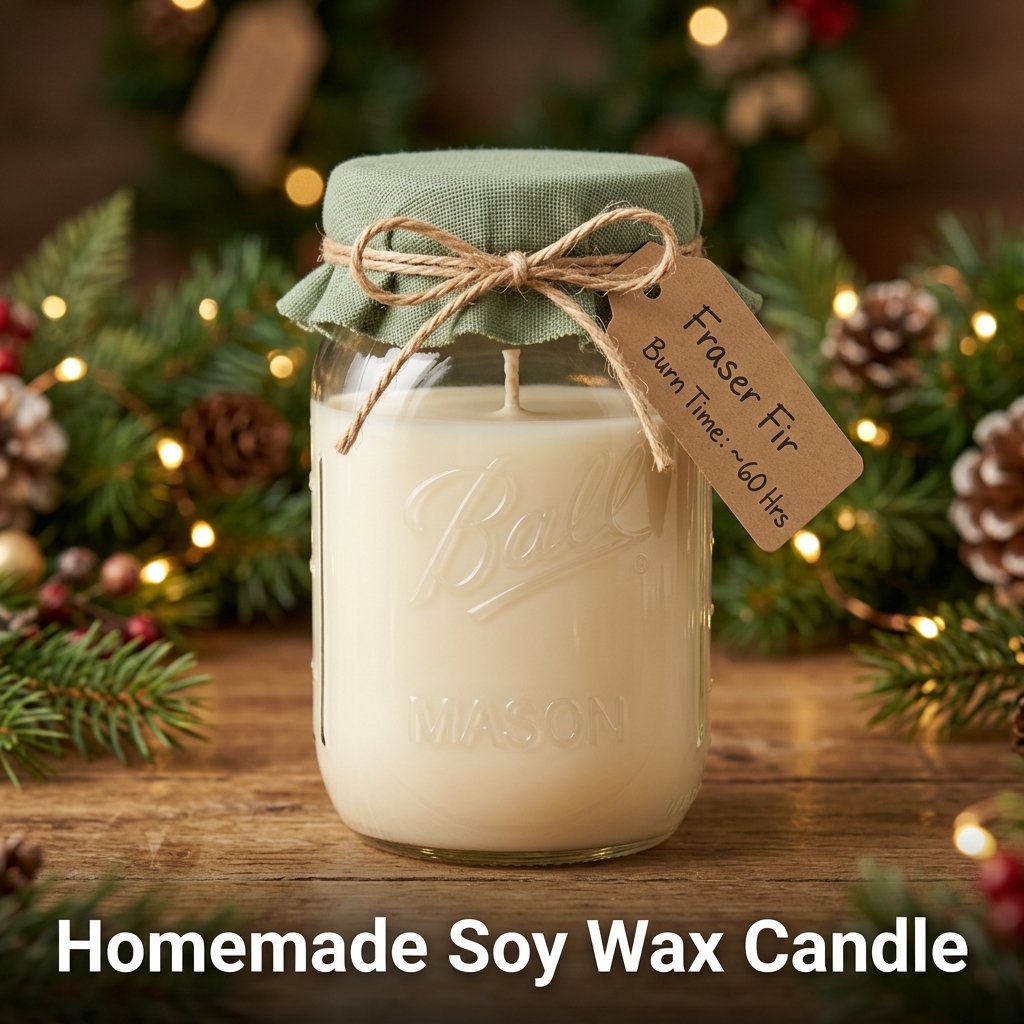
1. Homemade Soy Wax Candle
A homemade soy wax candle poured into a glass jar or tin produces one of the most appreciated homemade Christmas gift ideas for adults because it is a consumable item with a high perceived value relative to its actual material cost. I made a batch of 8 pint-size soy candles in December using vanilla and cedarwood fragrance oils. The total material cost was 32 dollars for all 8, which equals 4 dollars per candle. Recipients who received them as gifts purchased the same candle style commercially for 18 to 22 dollars each.
Soy wax candles suit gift recipients of any age, gender, and lifestyle because candles serve a functional purpose in every home regardless of personal taste.
Materials Needed for a Homemade Soy Candle
Melt 200 grams of soy wax flakes per candle in a double boiler at 80 degrees Celsius. Add 20 ml of fragrance oil at 75 degrees Celsius. Stir for 2 minutes. Center a pre-waxed cotton wick in a clean pint mason jar using a wick holder or two pencils laid across the jar rim. Pour the wax at 65 degrees Celsius. Cure for 48 hours before trimming the wick to 6 mm above the surface. Pouring above 70 degrees causes surface cracking during cooling.
Packaging a Homemade Candle as a Christmas Gift
Place a fabric circle cut at 15 cm diameter over the jar lid and secure with the lid ring. Tie a ribbon bow around the jar neck. Attach a handwritten tag listing the fragrance name, burn time of 40 to 45 hours, and safety instructions. Safety information is legally required on commercially sold candles in the UK, US, and EU. Including it on handmade gifts demonstrates care and increases the professional appearance of the finished gift presentation.
2. Homemade Shortbread Cookies in a Decorated Tin
Homemade shortbread cookies packaged in a decorated tin produce a classic homemade Christmas gift for family members of any age. I baked 3 batches of shortbread last Christmas using 250 grams of butter, 125 grams of icing sugar, and 375 grams of plain flour per batch. Each batch produced 24 cookies. I packed 12 per tin, decorated the tins with ribbon and a handwritten recipe card, and gave them to 6 family members at a total cost of 18 dollars for all 6 gifts.
Shortbread keeps fresh in a sealed tin at room temperature for 14 days, which makes it one of the most practical last-minute DIY Christmas gift ideas that recipients use immediately.
Basic Shortbread Recipe for Christmas Gifts
Beat 250 grams of softened butter with 125 grams of icing sugar until pale and smooth. Add 375 grams of plain flour and mix until a firm dough forms. Roll to 8 mm thickness on a floured surface. Cut with Christmas cookie cutters. Place on a lined baking tray and refrigerate for 20 minutes before baking. Bake at 160 degrees Celsius for 18 to 20 minutes until pale golden at the edges. Cool completely before packaging to prevent condensation forming inside the sealed tin.
Decorating Shortbread Cookies for Gift Packaging
Apply royal icing to cooled shortbread using a piping bag with a 2 mm round tip. Royal icing sets hard in 2 hours and does not smear during packaging. Outline each cookie shape first with a slightly thicker icing consistency, then flood the interior with a thinner consistency for a smooth flat finish. Add colored sugar crystals or edible silver balls before the icing sets. Decorated cookies produce a more gift-appropriate presentation than plain undecorated shortbread packed in a tin.
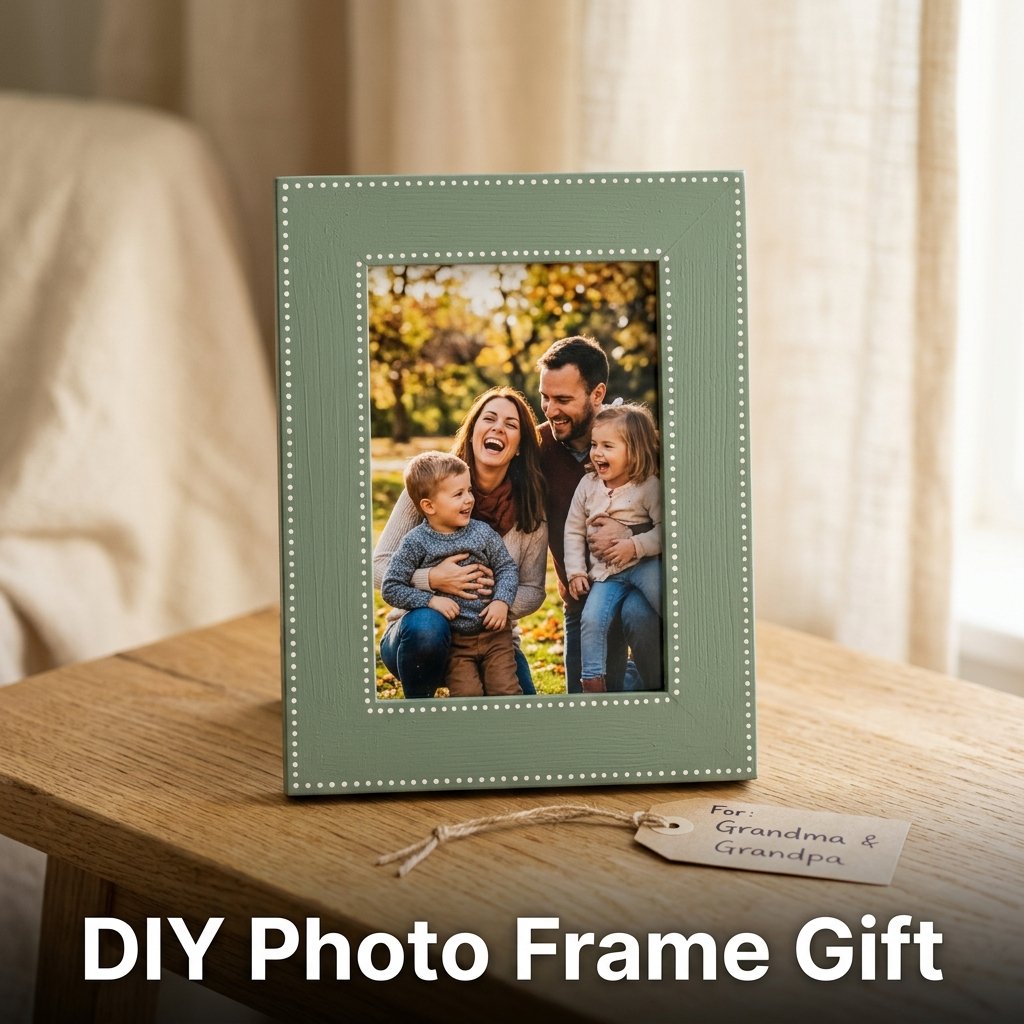
3. DIY Photo Frame Gift
A DIY photo frame gift uses a plain wooden frame, acrylic paint, and a printed photo to produce a personalized homemade Christmas gift for family members and close friends. I made 4 of these last Christmas using plain pine frames from a craft store at 2 dollars each. I painted each frame in a color that matched the recipient’s home decor, inserted a printed photo, and wrapped it in brown kraft paper. All 4 recipients displayed the frames immediately after unwrapping them.
A photo frame gift suits family members, partners, parents, and grandparents specifically because the personalized photo content gives the gift individual meaning that a purchased item cannot replicate.
Painting and Decorating a Wooden Photo Frame
Sand the frame surface with 180-grit sandpaper before painting. Apply 2 coats of acrylic craft paint, allowing each coat to dry for 20 minutes. Add decorative details using a small round brush: dots, stripes, or simple holly leaf patterns on the frame border. Apply a coat of clear matte varnish over the finished paint surface to protect it from chipping during daily handling. Choose a photo at the correct print size for the frame before purchasing the frame to avoid needing to trim the photo after framing.
Personalizing a Photo Frame Gift
Write a short message on the back of the frame using a paint marker: the date, a name, and a short sentence. This written detail transforms the frame from a generic craft into a dated keepsake that the recipient keeps for its personal reference value beyond the decorative display purpose of the gift. Print the photo on matte photo paper rather than glossy paper because matte paper resists fingerprint marks visible through the glass front of the frame during daily display use.
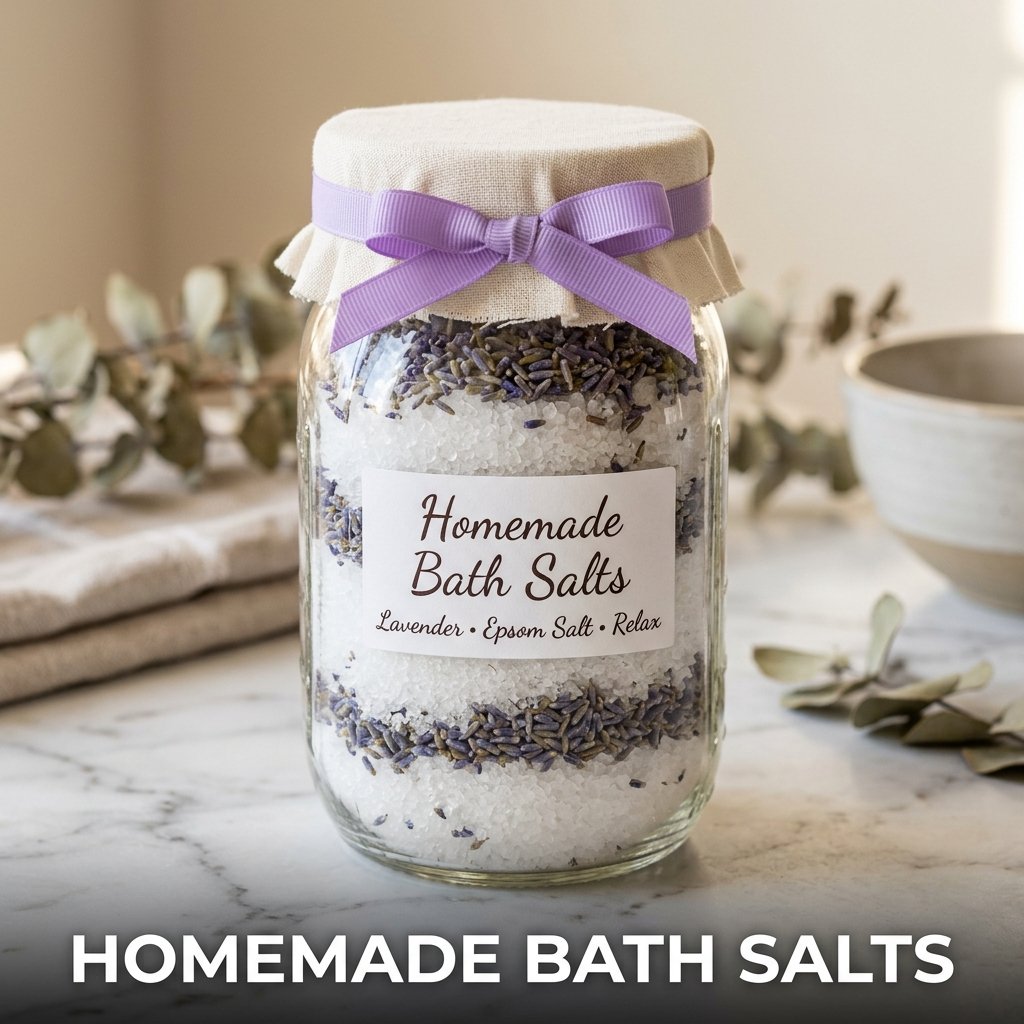
4. Homemade Bath Salts
Homemade bath salts mix Epsom salt, sea salt, and essential oils into a scented bathing product packaged in a glass jar as a homemade Christmas gift for her, for family members, and for friends. I made 6 jars of lavender and eucalyptus bath salts last December using 2 kilograms of Epsom salt, 500 grams of fine sea salt, and 60 ml of essential oil blend. Total cost was 14 dollars for all 6 jars. The same quantity of commercial bath salts in comparable packaging costs 12 to 18 dollars per jar.
Mixing Homemade Bath Salts
Combine 300 grams of Epsom salt with 100 grams of fine sea salt in a mixing bowl. Add 10 ml of essential oil per 400-gram batch and stir until the oil distributes evenly through the salt without visible oil pooling. Add 1 tablespoon of dried lavender flowers or dried rose petals for visual decoration inside the jar. Spoon the mixture into a clean, dry wide-mouth pint mason jar, pressing lightly to settle the contents. Fill to within 1 cm of the jar top before sealing.
Packaging Bath Salts as a Christmas Gift
Attach a handwritten label to the jar front listing the salt type, fragrance, and usage instructions: add 2 to 3 tablespoons to a warm bath and soak for 20 minutes. Add a fabric lid cover and ribbon bow as described in the candle gift packaging section. Include a small card listing the ingredients, which is particularly important for recipients with known skin sensitivities to specific essential oils. The ingredient list increases the safety and thoughtfulness of the gift for recipients who check product contents before skin contact.
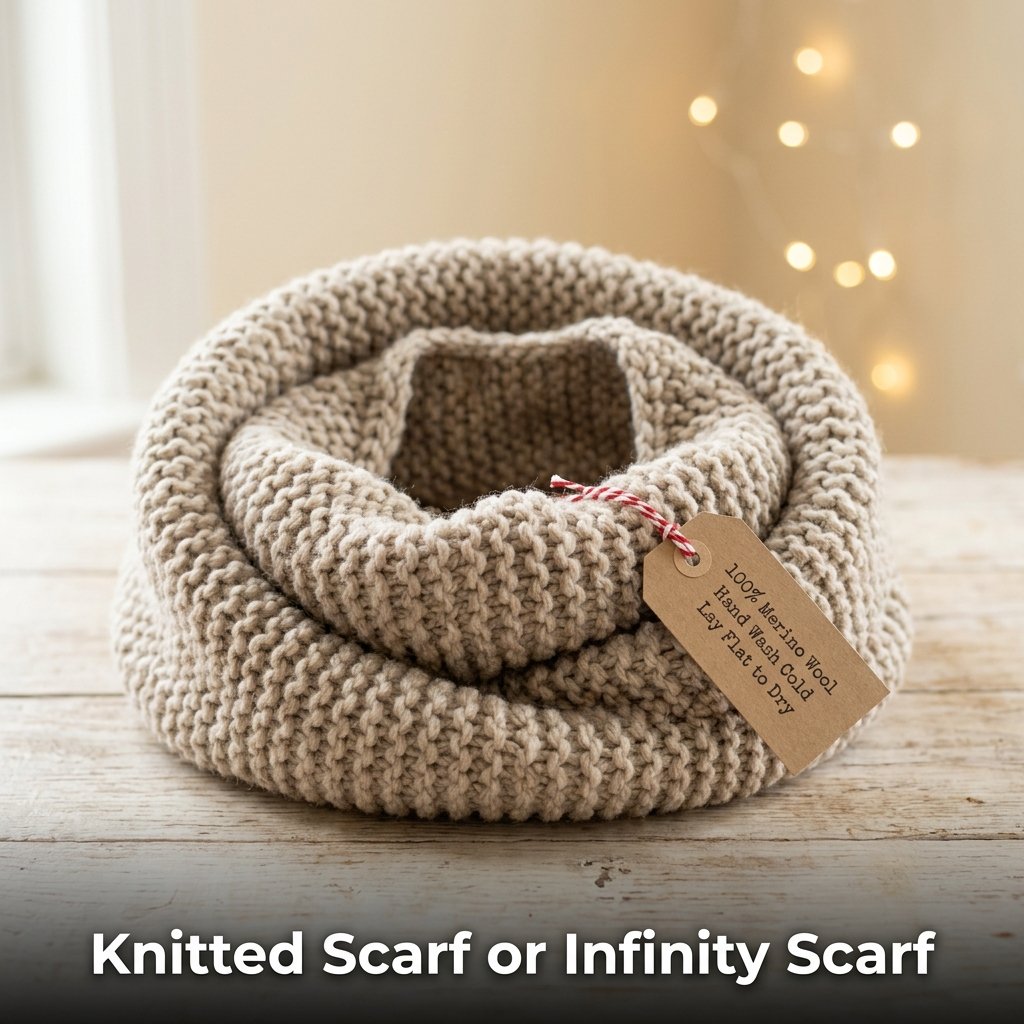
5. Knitted Scarf or Infinity Scarf
A knitted scarf or infinity scarf uses bulky weight yarn and large needles to produce a wearable homemade Christmas gift for her, for family, and for close friends that takes between 2 and 4 hours to knit at a beginner pace. I knitted an infinity scarf for my mother using 200 grams of chunky merino blend yarn on 10 mm needles. The scarf measured 150 cm in circumference and 25 cm wide. Total material cost was 12 dollars and she has worn it every winter since I made it.
A knitted scarf suits adult recipients of any age. Chunky yarn in neutral colors including oatmeal, grey, and cream suits the widest range of recipients.
Knitting a Simple Infinity Scarf
Cast on 20 stitches using 10 mm straight or circular needles and 200-gram bulky weight yarn. Knit every row in garter stitch for 150 cm of scarf length. Cast off loosely. Seam the two short ends together using mattress stitch to produce the continuous loop of an infinity scarf. The finished loop sits doubled around the neck or worn as a single loop over a coat. Garter stitch produces a reversible fabric with no wrong side, which makes the finishing and seaming step more forgiving for beginner knitters.
Choosing Yarn for a Handmade Scarf Gift
Use a yarn with at least 50% natural fiber content for a Christmas gift scarf: merino wool, alpaca blend, or cashmere blend. Natural fiber yarn feels softer against skin than 100% acrylic and communicates higher material quality to the recipient. Check the yarn label for washing instructions and include them on the gift tag because recipients who wash a hand-wash-only yarn in a machine will felt and shrink the scarf on the first wash. Machine-washable merino blend yarn eliminates this risk entirely.
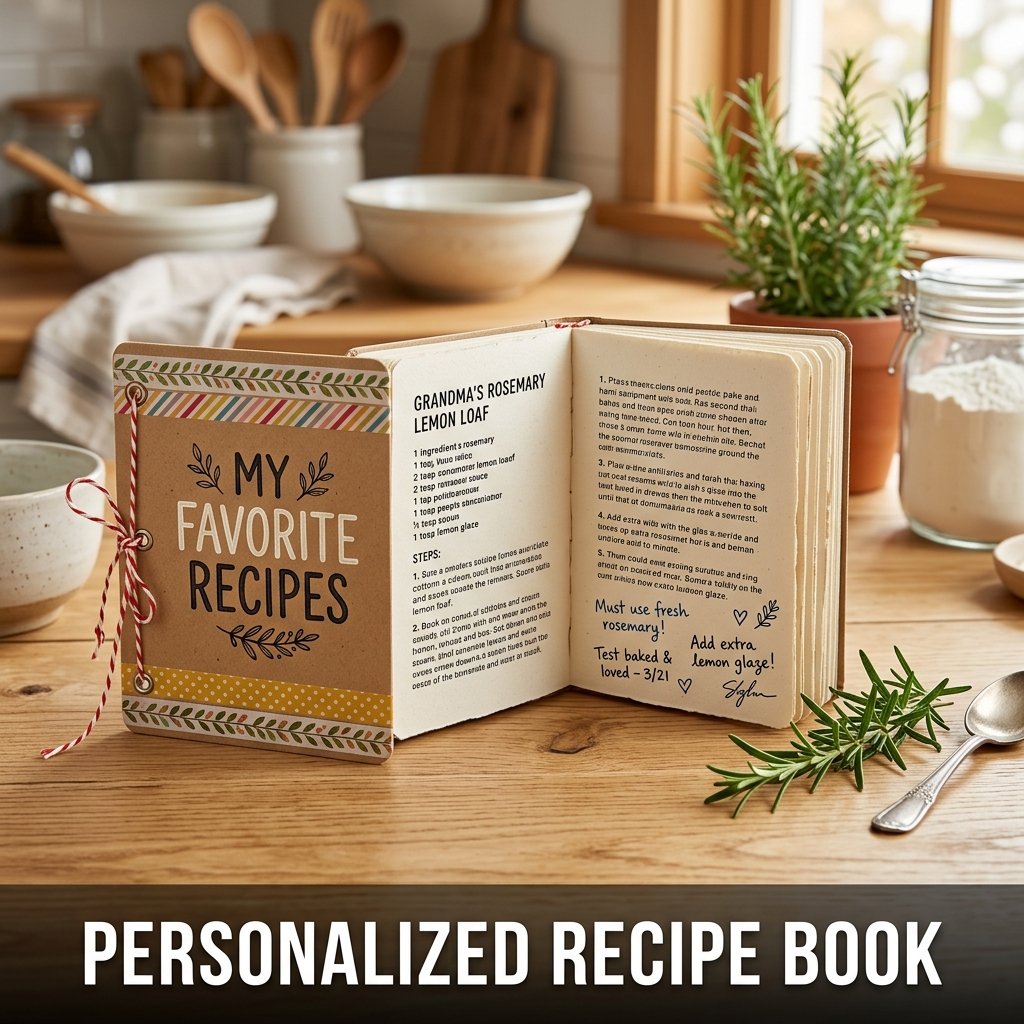
6. Personalized Recipe Book
A personalized recipe book compiles family or personal recipes into a handwritten or printed booklet presented in a decorated binder or notebook as a homemade Christmas gift for family members. I made one for my aunt using 30 family recipes typed and printed at home, organized into 6 sections, and bound in a kraft paper cover decorated with washi tape. The total cost was 5 dollars including printing. She called it the most personally meaningful gift she had received in years.
Organizing a Homemade Recipe Book
Divide the recipe book into 6 sections: Breakfast, Soups and Salads, Main Dishes, Side Dishes, Desserts, and Drinks. Include at least 5 recipes per section. Type each recipe in a consistent format: recipe name as the heading, servings, ingredients list, and numbered method steps. Print on standard A5 paper for a compact book size. Add a handwritten note at the bottom of each recipe page stating who originally made the recipe and the occasion it was associated with, which increases the personal significance of each page.
Binding and Decorating a Recipe Book
Punch 2 holes along the left edge of all printed pages and the cover. Thread a 30 cm length of baker’s twine through both holes from front to back and tie a bow at the front cover. This binding method produces a flat-opening book that stays open during cooking use without a spine. Decorate the front cover with a recipe title, the recipient’s name, and a small hand-drawn or printed kitchen illustration. Laminate the cover page for a more durable finish that resists kitchen moisture and grease splatter during regular use.
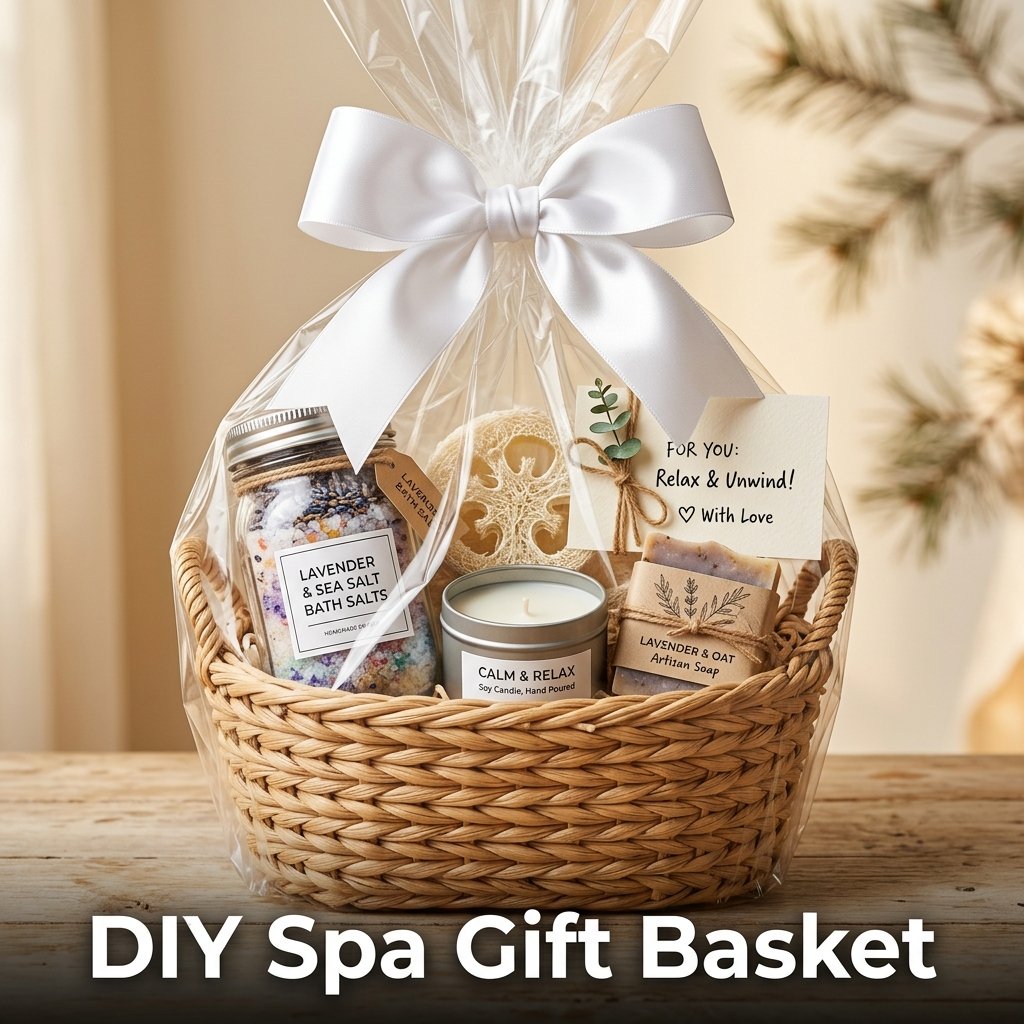
7. DIY Spa Gift Basket
A DIY spa gift basket assembles homemade and store-bought bath and beauty items in a decorated basket as a homemade Christmas gift for her, for a girlfriend, and for close female family members. I made 3 spa baskets last Christmas, each containing homemade bath salts, a purchased face mask, a small loofah, a scented candle, and a handwritten note. Total cost per basket was 14 dollars. Every recipient said it was one of their best Christmas gifts that year.
A spa gift basket suits adult women of any age because the items inside address universal self-care needs rather than specific personal preferences.
Choosing Items for a Homemade Spa Basket
Include 5 to 7 items in a standard spa gift basket: homemade bath salts at 250 grams, a purchased clay face mask sachet, a small natural loofah or bath sponge, a 1-ounce bottle of body oil, a tea light candle, a printed or handwritten relaxation playlist card, and a small bar of artisan soap. Price each item between 1 and 4 dollars to keep the total basket cost under 20 dollars. Arrange the tallest items at the back of the basket and the smallest items at the front for a layered display visible through the basket weave.
Wrapping and Presenting a Gift Basket
Cut a square of clear cellophane at 80 x 80 cm. Place the filled basket in the center of the cellophane. Gather all 4 corners of the cellophane upward above the basket and tie them together with a ribbon bow at the gathered top. This wrapping method keeps all basket contents visible through the cellophane while securing them against movement during transport. Attach a gift tag to the ribbon bow. A cellophane-wrapped basket presents as a professionally assembled gift without requiring any specialist wrapping equipment or skill.
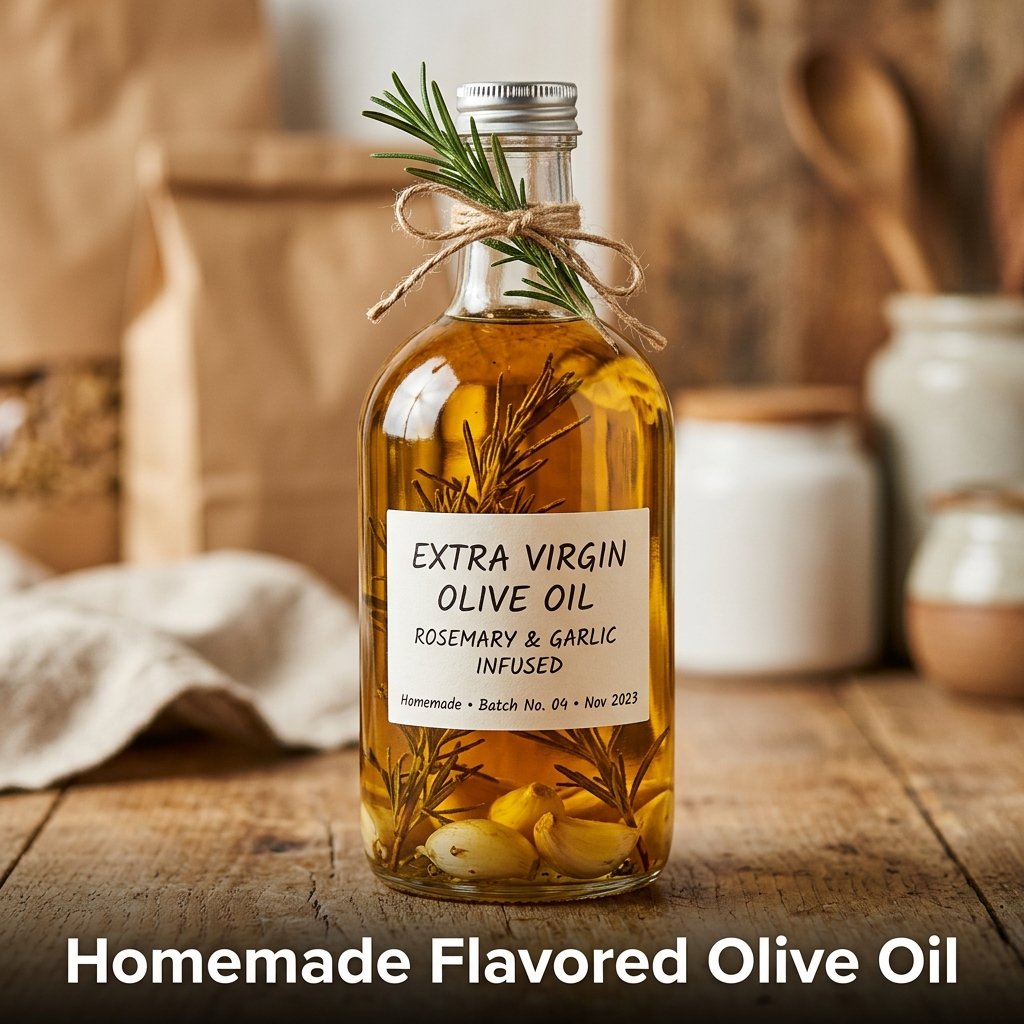
8. Homemade Flavored Olive Oil
Homemade flavored olive oil infuses extra virgin olive oil with herbs, garlic, or chili in a sealed glass bottle to produce a gourmet homemade Christmas gift for food lovers and home cooks. I made 4 bottles of rosemary and garlic infused olive oil last Christmas using 500 ml bottles, fresh rosemary, and whole garlic cloves. Total cost was 12 dollars for all 4 bottles. The same flavored oil sells in specialty food shops for 10 to 15 dollars per 250 ml bottle.
Safe Method for Infusing Olive Oil
Use only dried herbs for room-temperature infused olive oil gifts because fresh herbs in oil create conditions for Clostridium botulinum bacterial growth, which produces a serious food safety risk. Dry fresh rosemary, thyme, or chili in a 100-degree Celsius oven for 30 minutes before infusing. Place the dried herbs in a clean glass bottle. Pour extra virgin olive oil over the herbs to fill the bottle completely. Seal and allow the oil to infuse at room temperature for 5 days before giving as a gift.
Labeling a Flavored Olive Oil Gift
Apply a handwritten or printed label to the bottle front listing the oil type, infusion ingredients, bottling date, and a use-by date of 3 months from the bottling date. Include a suggested use on the label: drizzle over pasta, use as a dipping oil for bread, or use as a marinade base. Tie a small sprig of the infusing herb to the bottle neck with kitchen twine for a decorative detail that communicates the flavor contents before the label is read. Present in a kraft paper gift bag with tissue paper filler.
9. Handmade Christmas Ornaments
Handmade Christmas ornaments use salt dough, air dry clay, or polymer clay to produce personalized tree decorations as homemade Christmas gift ideas for family members who collect ornaments or decorate a tree annually. I made a set of 6 salt dough ornaments for my parents last Christmas, each stamped with a different family member’s name and the year. Total material cost was 3 dollars. My parents hung all 6 on their tree and have kept them as annual keepsakes.
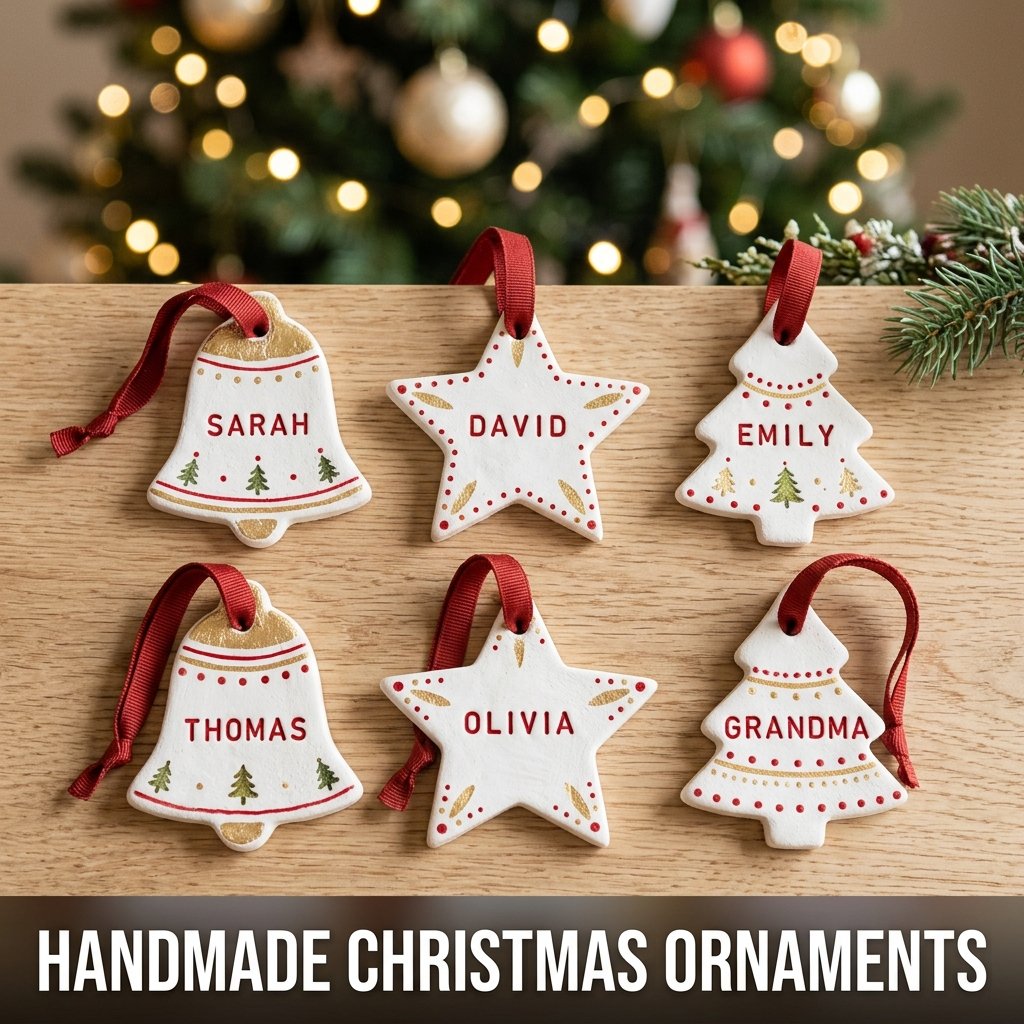
Making Salt Dough Christmas Ornaments
Mix 2 cups of plain flour, 1 cup of table salt, and 1 cup of water into a firm dough. Roll to 6 mm thickness on a floured surface. Cut with Christmas cookie cutters: stars, trees, and bells. Stamp each ornament with a letter stamp set to add names, dates, or words before baking. Pierce a 5 mm hanging hole at the top of each ornament using a toothpick. Bake at 120 degrees Celsius for 2 hours until fully hard throughout.
Painting and Finishing Homemade Ornaments
Paint cooled ornaments with white acrylic paint as a base coat. Apply a second color coat in red, green, or gold. Add detail work using a size 0 round brush. Apply 2 coats of clear gloss varnish after all paint dries to seal the ornament surface against humidity. Thread a 20 cm ribbon loop through the hanging hole and tie it at the top. Varnished salt dough ornaments stored in a dry box last for multiple years without crumbling or losing paint adhesion at the surface.
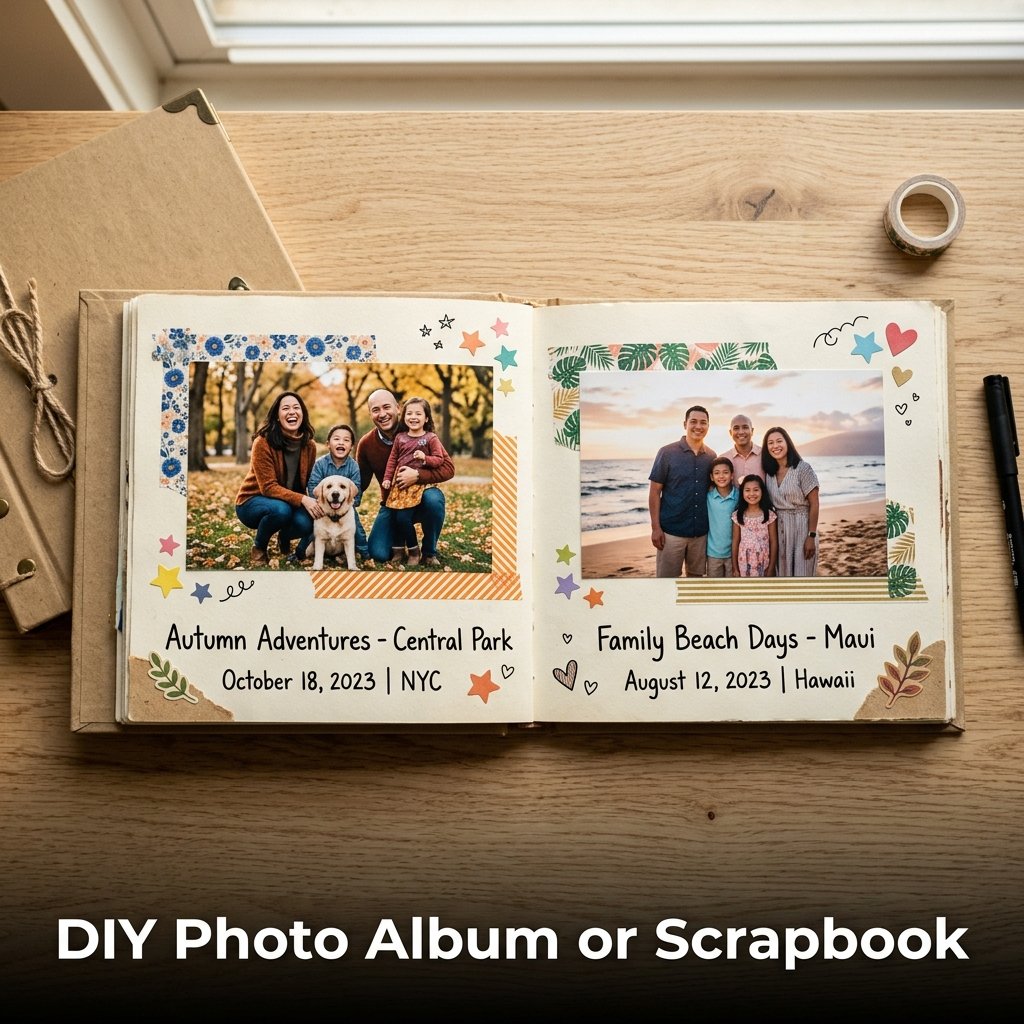
10. DIY Photo Album or Scrapbook
A DIY photo album or scrapbook arranges printed photographs in a decorated album with handwritten captions, washi tape borders, and small paper embellishments to produce a personalized homemade Christmas gift for parents, grandparents, and close friends. I made one for my grandmother using 40 photos printed at a pharmacy for 8 cents each, a plain kraft cover album, and washi tape from a stationery store. Total cost was 9 dollars. She keeps it on her coffee table and shows it to every visitor.
Selecting and Printing Photos for a Scrapbook Gift
Select 30 to 50 photos that cover a specific theme: a full year of family events, a single holiday trip, or childhood through present-day photos of the recipient. Print at 4 x 6 inch size on matte paper for the cleanest adhesive attachment to album pages. Matte prints accept handwritten captions added directly on the photo surface with a fine-tip marker, which glossy prints do not allow without smearing. Order prints at a pharmacy or online printing service at 8 to 15 cents per print for the most cost-effective production method.
Decorating Scrapbook Pages
Apply photos to each page using double-sided adhesive tape rather than liquid glue. Liquid glue causes photo paper to buckle and warp against the album page. Frame each photo with a washi tape border in a contrasting pattern. Add handwritten captions below each photo using a fine-tip black marker with the date, location, and a short description. Include small paper embellishments including die-cut stars, hearts, and arrows from a craft store to fill empty page space between photos. Keep the overall page design consistent by limiting each page to 2 to 3 washi tape patterns maximum.
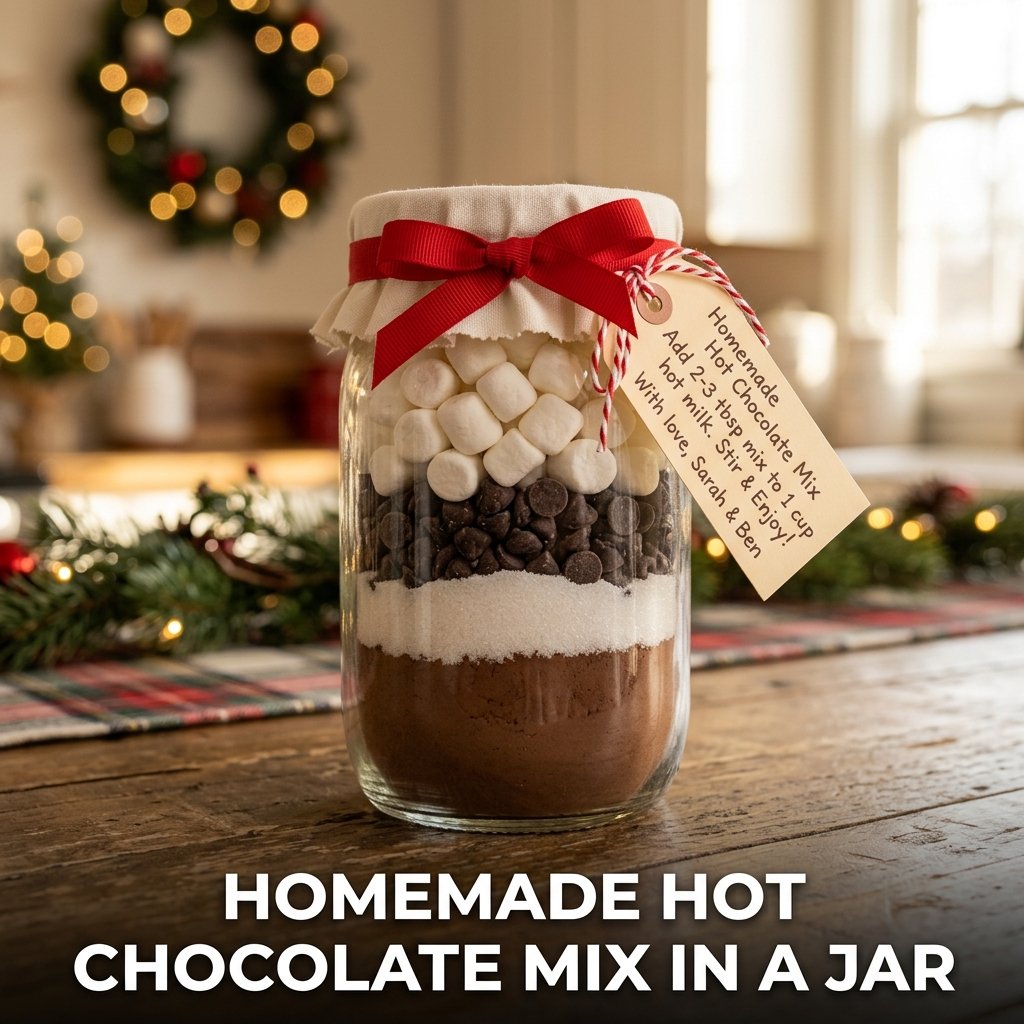
11. Homemade Hot Chocolate Mix in a Jar
A homemade hot chocolate mix jar layers cocoa powder, sugar, chocolate chips, and mini marshmallows in a sealed mason jar to produce a ready-to-use drink mix as a homemade Christmas gift idea on a budget. I made 8 of these for last-minute gifts in under 30 minutes using half-pint jars. Total cost was 16 dollars for all 8 jars. Each jar makes 4 to 6 servings of hot chocolate with the addition of warm milk only.
Hot chocolate mix jars are one of the best last-minute DIY Christmas gift ideas because every ingredient is available at a supermarket and the assembly requires no cooking, baking, or specialist skill.

Layering a Hot Chocolate Mix Jar
Add the following layers in order to a clean half-pint mason jar: 3 tablespoons of unsweetened cocoa powder at the base, 4 tablespoons of granulated sugar, 3 tablespoons of chocolate chips, and a top layer of 3 tablespoons of mini marshmallows. Press each layer lightly with a spoon before adding the next to maintain distinct visible bands through the clear glass. The visual layering through the glass jar constitutes the primary presentation appeal of the finished gift.
Attaching Instructions to a Hot Chocolate Jar
Write preparation instructions on a small card: empty the full jar contents into a saucepan, add 600 ml of whole milk, stir over medium heat until the chocolate chips melt completely, and serve immediately. Attach the instruction card to the jar neck using baker’s twine. Add a fabric lid cover and ribbon bow. Include a personal note on the reverse of the instruction card. The handwritten personal note differentiates this budget gift from a purchased product and increases its perceived thoughtfulness regardless of the low material cost.
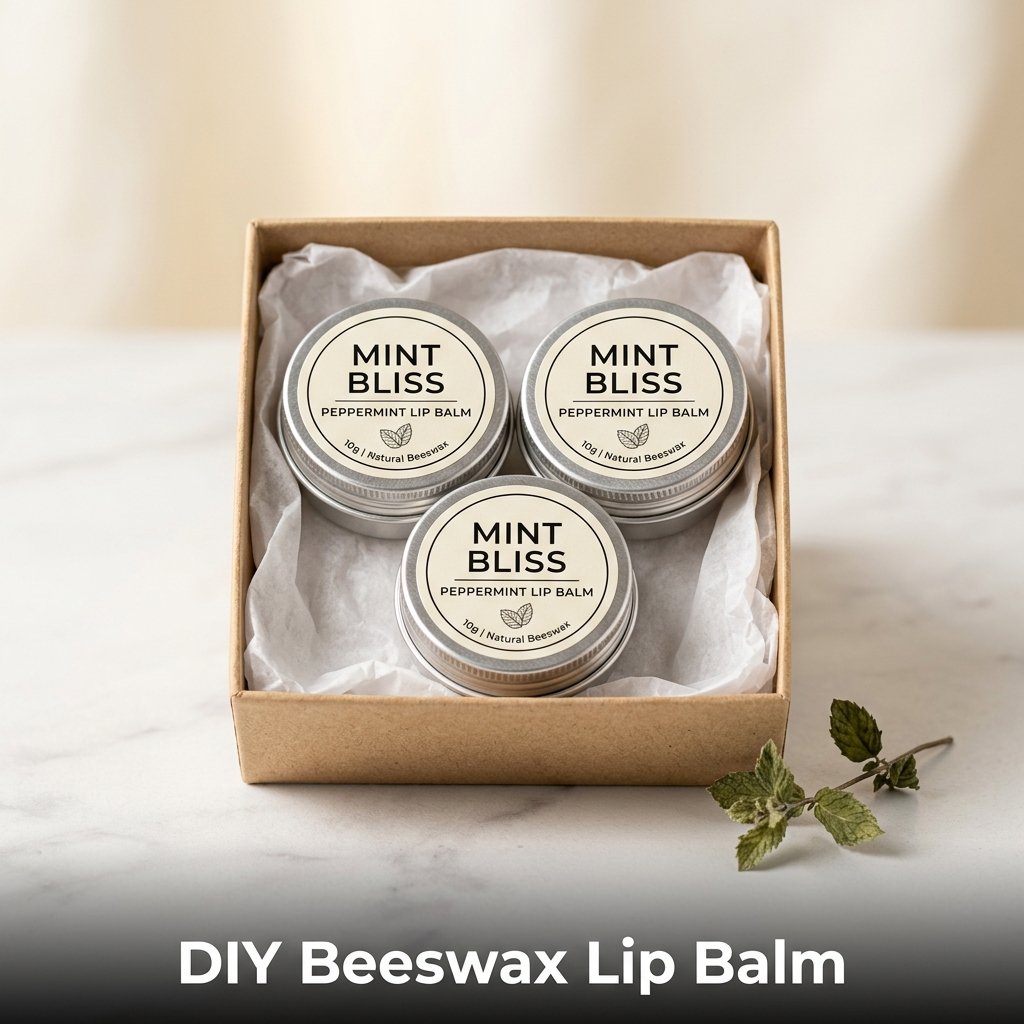
12. DIY Beeswax Lip Balm
DIY beeswax lip balm pours a melted mixture of beeswax, coconut oil, and sweet almond oil into small tins or tubes to produce a natural skin care product as a homemade Christmas gift for her and for family members. I made a batch of 12 lip balm tins last Christmas using 30 grams of beeswax, 60 grams of coconut oil, 30 grams of sweet almond oil, and 5 ml of peppermint essential oil. Total material cost was 8 dollars for all 12 tins. The same natural lip balm sells commercially for 4 to 8 dollars per unit.
Making and Pouring Beeswax Lip Balm
Melt 30 grams of beeswax pellets in a double boiler. Add 60 grams of coconut oil and 30 grams of sweet almond oil and stir until all 3 ingredients combine into a clear liquid. Remove from heat and allow to cool to 60 degrees Celsius before adding 5 ml of peppermint essential oil. Adding essential oil above 70 degrees Celsius causes the fragrance compounds to evaporate before the balm sets. Pour the mixture into clean lip balm tins immediately after adding the essential oil, as the mixture begins to set within 3 to 4 minutes of the essential oil addition.
Labeling and Packaging Lip Balm Tins
Print circular labels at 3.5 cm diameter to fit standard 10 ml lip balm tins. Include the product name, flavor, ingredients, and net weight on the label. Apply the label to the tin lid. Package 3 tins in a small kraft paper box lined with tissue paper for a gift set presentation. Include a card listing all ingredients because recipients with nut allergies need to know about the sweet almond oil content before skin application. Substituting sweet almond oil with jojoba oil produces a nut-free alternative suitable for recipients with tree nut allergies.
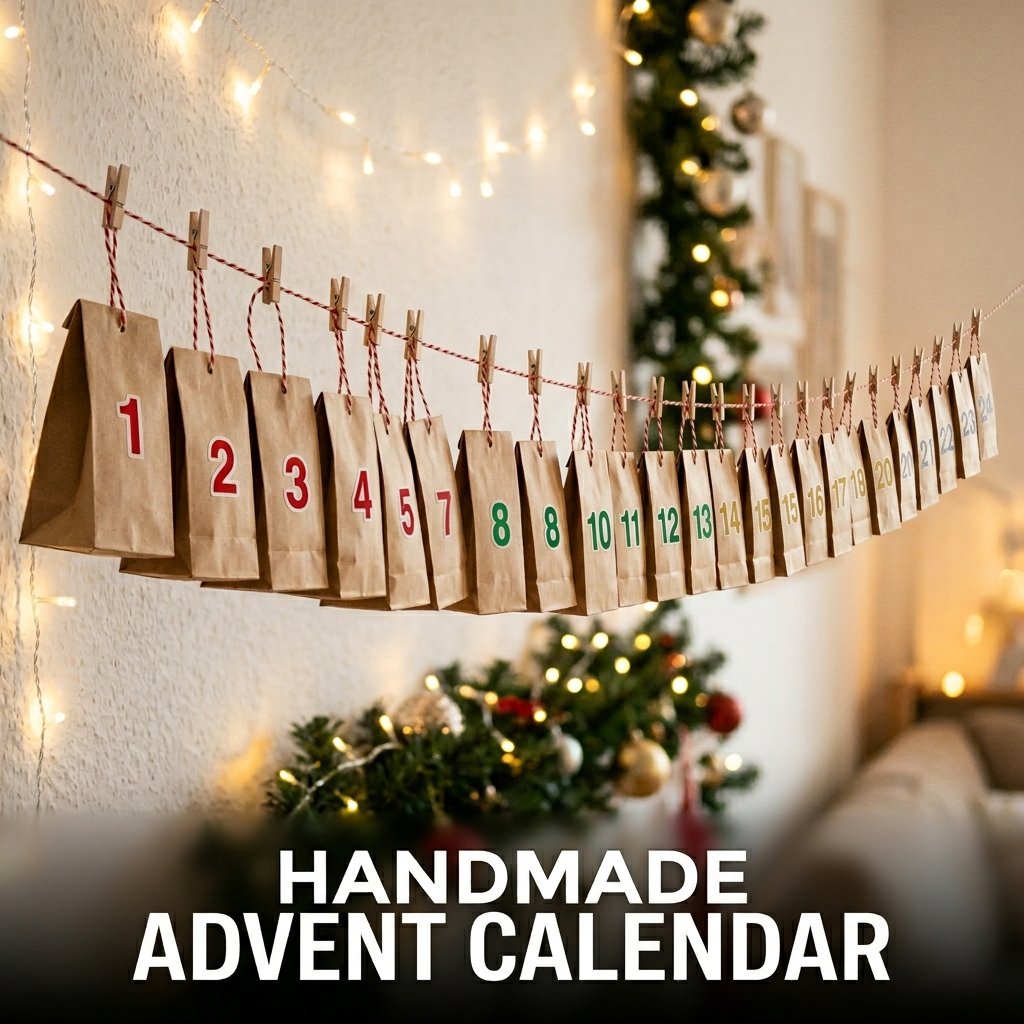
13. Handmade Advent Calendar
A handmade advent calendar uses 24 small paper bags, envelopes, or boxes filled with small treats and numbered 1 to 24 to produce a personalized homemade Christmas gift for children and adults. I made one for my niece using 24 small kraft paper bags filled with chocolate coins, small stickers, hair ties, and activity cards. Total cost was 11 dollars. She started it on December 1st and talked about it for the full month. A purchased advent calendar at equivalent quality costs 20 to 35 dollars.
Assembling a 24-Bag Advent Calendar
Fill 24 small kraft paper bags with individual treats or small items. Seal each bag by folding the top down twice and securing with a number sticker from 1 to 24. Use a different sticker color per week: red for week 1, green for week 2, gold for week 3, and silver for week 4. String all 24 bags on a 2-meter length of baker’s twine using mini wooden clothespins, spacing them evenly along the full length. Hang the twine across a wall, fireplace mantel, or doorway for the December display.
Fill Ideas for a Homemade Advent Calendar
Suitable fills for children aged 5 to 10 include: chocolate coins, small stickers, temporary tattoos, hair accessories, mini Play-Doh pots, small erasers, and activity cards with a simple craft or game printed on them. Suitable fills for adults include: herbal tea bags, chocolate squares, small perfume samples, lip balm tins, folded movie ticket vouchers, and handwritten notes with a kind message or memory. Mixing edible and non-edible items across the 24 bags maintains daily anticipation better than using the same category of fill throughout the full calendar.
14. Homemade Vanilla Extract
Homemade vanilla extract steeps split vanilla beans in vodka for 8 weeks to produce a pure, concentrated baking extract as a homemade Christmas gift for bakers and home cooks. I started 6 bottles in October last year using 250 ml dark glass bottles, 3 vanilla beans per bottle, and 80-proof vodka. By December the extract was deeply colored and fragrant. Total cost was 18 dollars for all 6 bottles. Commercially produced pure vanilla extract of equivalent quality costs 8 to 12 dollars per 100 ml bottle.
This gift requires an 8-week preparation lead time before Christmas delivery, which means it needs to start in early October for a December 25th gifting date.

Making a Bottle of Homemade Vanilla Extract
Split 3 vanilla beans lengthwise using a sharp knife, cutting from end to end without separating the two halves completely. Place the split beans in a clean 250 ml dark glass bottle. Fill the bottle to the top with 80-proof vodka, submerging the beans completely. Seal the bottle tightly. Store in a cool, dark cupboard for a minimum of 8 weeks, shaking once per week to distribute the vanilla compounds through the alcohol. The extract deepens in color from pale gold to dark amber over the 8-week steeping period.
Labeling and Packaging Vanilla Extract
Apply a handwritten or printed label to the bottle front listing: product name, ingredients (vanilla beans and vodka), bottling date, and usage notes. Recommend 1 teaspoon per standard cake or cookie recipe as the standard substitution rate for commercial vanilla extract. Tie a fresh vanilla bean to the bottle neck with kitchen twine as a decorative and informative detail that communicates the primary ingredient before the label is read. Package in a small kraft box with tissue paper for a finished gift presentation that suits any recipient who bakes regularly.
15. DIY Personalized Mug
A DIY personalized mug uses oil-based paint markers to write or draw a design on a plain white ceramic mug, which is then oven-baked to set the paint permanently on the glazed surface. I made 4 personalized mugs last Christmas for family members, each with a different design: a name in brush lettering, a simple mountain scene, a star pattern, and a short meaningful phrase. Total material cost was 14 dollars for all 4 mugs including the plain mugs and paint markers.
Personalized mug gifts suit coffee and tea drinkers of any age and produce the highest daily visibility of any homemade Christmas gift because the recipient uses the mug every morning.
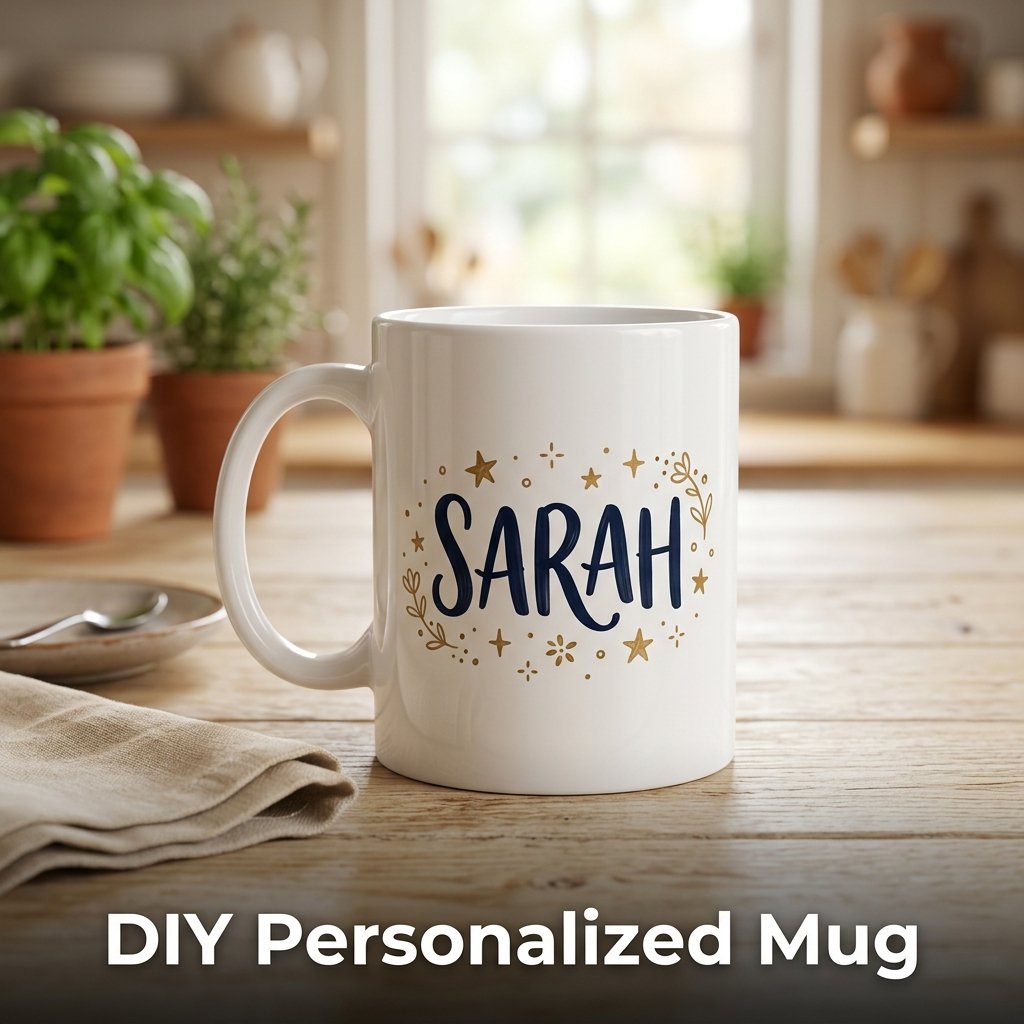
How to Paint a Design on a Ceramic Mug
Clean a plain white ceramic mug with rubbing alcohol and allow it to dry completely. Draw the design onto the mug surface with a pencil before applying paint. Trace over the pencil design with an oil-based paint marker. Allow the paint to dry for 24 hours before baking. Place the painted mug in a cold oven. Set the temperature to 190 degrees Celsius and bake for 30 minutes. Turn the oven off and allow the mug to cool inside the oven before removing. Do not place the mug in a preheated oven as the temperature shock can crack the ceramic glaze.
Design Ideas for a Painted Christmas Mug
Simple designs that suit beginner hand lettering include: the recipient’s first name in block letters, a short phrase including “Joy,” “Noel,” or a personal inside reference, a simple line drawing of a Christmas tree or snowflake, and a geometric pattern of triangles or dots around the mug circumference. Use a ruler and pencil to mark a straight baseline before lettering for consistent alignment on the curved mug surface. A single well-executed simple design reads as more intentional than a busy multi-element design on a small mug surface.
16. Homemade Infused Honey
Homemade infused honey steeps dried herbs, spices, or dried citrus zest in raw honey to produce a flavored condiment as a homemade Christmas gift for food lovers and tea drinkers. I made 5 jars of lavender and lemon infused honey last Christmas using 500 grams of raw wildflower honey, dried lavender buds, and dried lemon zest. Total cost was 10 dollars for all 5 jars. The same infused honey sells in specialty food stores for 8 to 14 dollars per 200-gram jar.
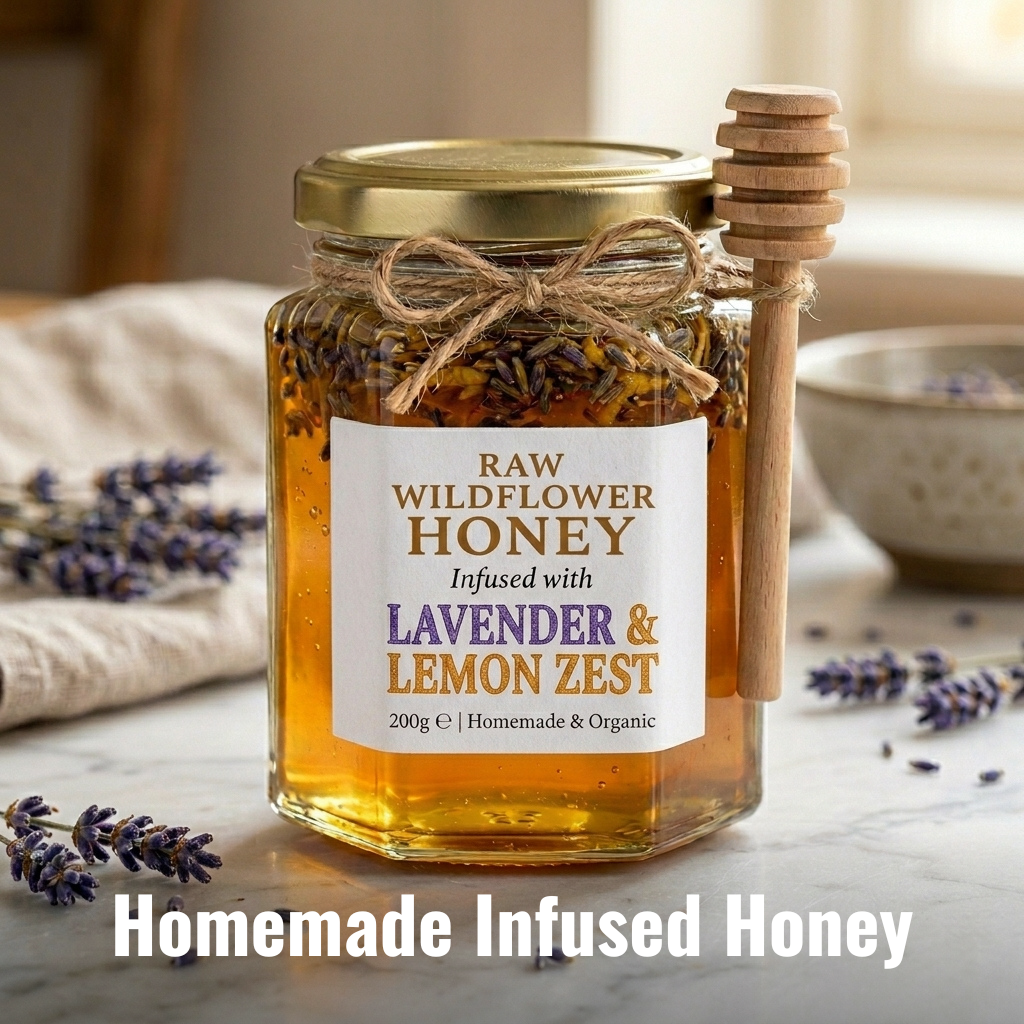
Infusing Honey at Home
Add 1 tablespoon of dried lavender buds and 1 tablespoon of dried lemon zest to a clean 200-gram glass jar. Fill the jar to the top with raw honey. Stir gently to distribute the dried ingredients throughout the honey. Seal the jar and allow it to infuse at room temperature for 7 to 10 days, turning the jar upside down and back once daily to redistribute the infusing ingredients. The honey absorbs the flavors of the dried additions over the infusion period without any heating required. Use only dried ingredients to prevent fermentation inside the sealed jar.
Labeling and Presenting Infused Honey
Apply a label listing the honey type, infusion ingredients, and a suggested use: stir into chamomile or green tea, spread on toast, or drizzle over soft cheese. Attach a small wooden honey dipper to the jar neck with kitchen twine as both a decorative and functional gift addition. The honey dipper costs under 50 cents and significantly improves the presentation quality and daily usability of the finished gift. Present in a small kraft bag or box. Infused honey at room temperature keeps for 6 months from the infusion date without refrigeration.
FAQ
What are the cheapest homemade Christmas gift ideas on a budget?
The cheapest homemade Christmas gift ideas on a budget are hot chocolate mix jars at 2 dollars per jar, salt dough ornaments at 50 cents per ornament, homemade shortbread at 3 dollars per tin of 12 cookies, and paper scrapbooks at 9 dollars total for printed photos and a plain album. All 4 projects use grocery store or craft store materials costing under 5 dollars per finished gift. Hot chocolate mix jars and shortbread tins qualify as last-minute gifts because both complete in under 30 minutes without any drying, curing, or cooling time required before packaging and giving.
What are the best homemade Christmas gift ideas for her?
The best homemade Christmas gift ideas for her are DIY spa gift baskets, homemade bath salts, beeswax lip balm sets, soy wax candles, and personalized photo albums. All 5 gifts suit adult women of any age. Spa baskets and bath salts suit recipients who enjoy self-care products. Lip balm sets suit recipients who prefer natural skincare. Candles suit recipients who decorate their home with scented products. Photo albums suit mothers, grandmothers, and close friends who value personal memories and photographs over consumable products. Each of these 5 gifts costs under 20 dollars in materials to produce.
How do I make last-minute homemade Christmas gifts in under an hour?
Five homemade Christmas gift ideas complete in under 60 minutes: hot chocolate mix jars at 15 minutes assembly, homemade bath salts at 20 minutes mixing and jarring, flavored olive oil at 10 minutes bottling with a 5-day passive infusion period, decorated shortbread tins using pre-baked cookies at 30 minutes decorating and packing, and painted ceramic mugs at 30 minutes painting plus 24 hours drying before baking. Hot chocolate jars and bath salts are the fastest options because they require no drying or curing time and are ready to gift immediately after assembly and packaging.
What homemade Christmas gifts are best for family?
The best homemade Christmas gift ideas for family are personalized recipe books, DIY photo albums, handmade advent calendars, salt dough ornaments with family members’ names, and homemade shortbread in decorated tins. All 5 gifts suit multiple family members simultaneously because they reference shared memories, names, or family traditions rather than individual personal preferences. Recipe books and photo albums suit parents and grandparents specifically. Advent calendars suit children aged 3 to 12 most strongly. Salt dough ornaments suit any family member who decorates a Christmas tree annually. Shortbread tins suit every family member regardless of age, lifestyle, or taste.
How do I package homemade Christmas gifts to look professional?
Homemade Christmas gifts look professional when packaged using 4 consistent elements: a clean, labeled container, a fabric or paper lid cover, a ribbon or twine closure, and a handwritten gift tag. Mason jars with fabric lid covers and ribbon bows produce a consistent professional appearance across multiple different gift types. Kraft paper bags with tissue paper filler and a ribbon-tied gift tag work for non-jar gifts including lip balm sets and ornaments. Printed labels applied cleanly and straight on the gift container surface produce a more professional appearance than handwritten labels on plain paper stuck directly to glass or tin surfaces.