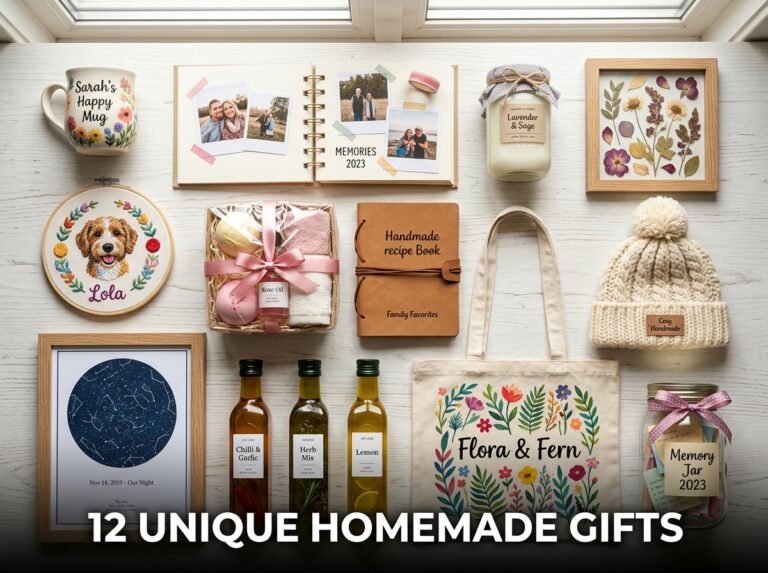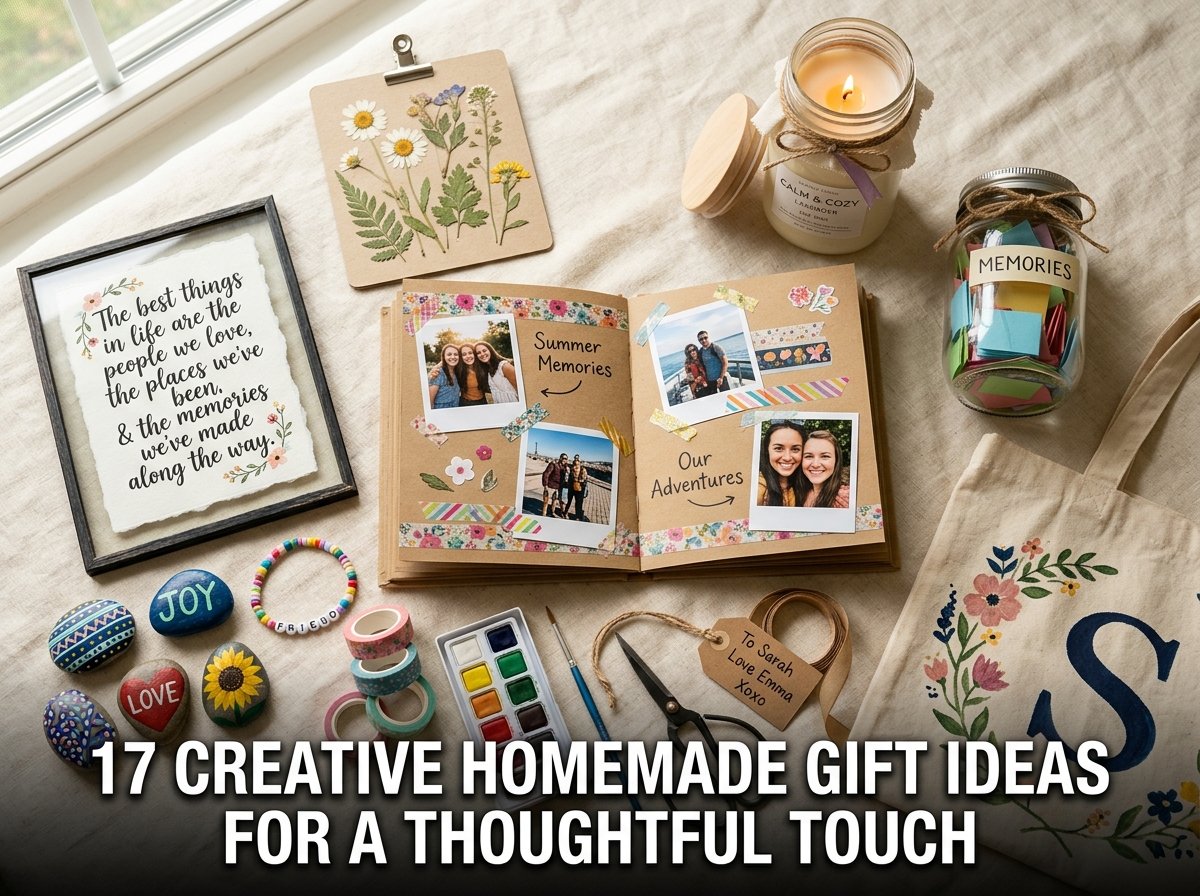
17 Creative Homemade Gift Ideas for a Thoughtful Touch
I once spent forty dollars on a store-bought gift set for my friend’s birthday. She smiled, said thank you, and I never saw it again. The next year, I made her a small scrapbook filled with photos from our college trips. She cried. She still has it on her shelf three years later.
Creative homemade gift ideas work better than purchased gifts in most cases because they carry personal effort and specific details that a store cannot replicate. You do not need a large budget or professional craft skills. Most of the ideas in this guide cost under ten dollars and take between 20 and 60 minutes to complete.
I have made homemade gifts for friends, family members, coworkers, and my girlfriend over the past several years. Some were simple. Some took planning. All of them landed better than anything I bought at a shop.
This guide covers 17 creative handmade gift ideas that I have personally made or researched in detail. Each idea includes clear steps, a list of materials, and practical advice based on real experience. Whether you are making a gift for him, for her, or for a friend, you will find a workable idea here.
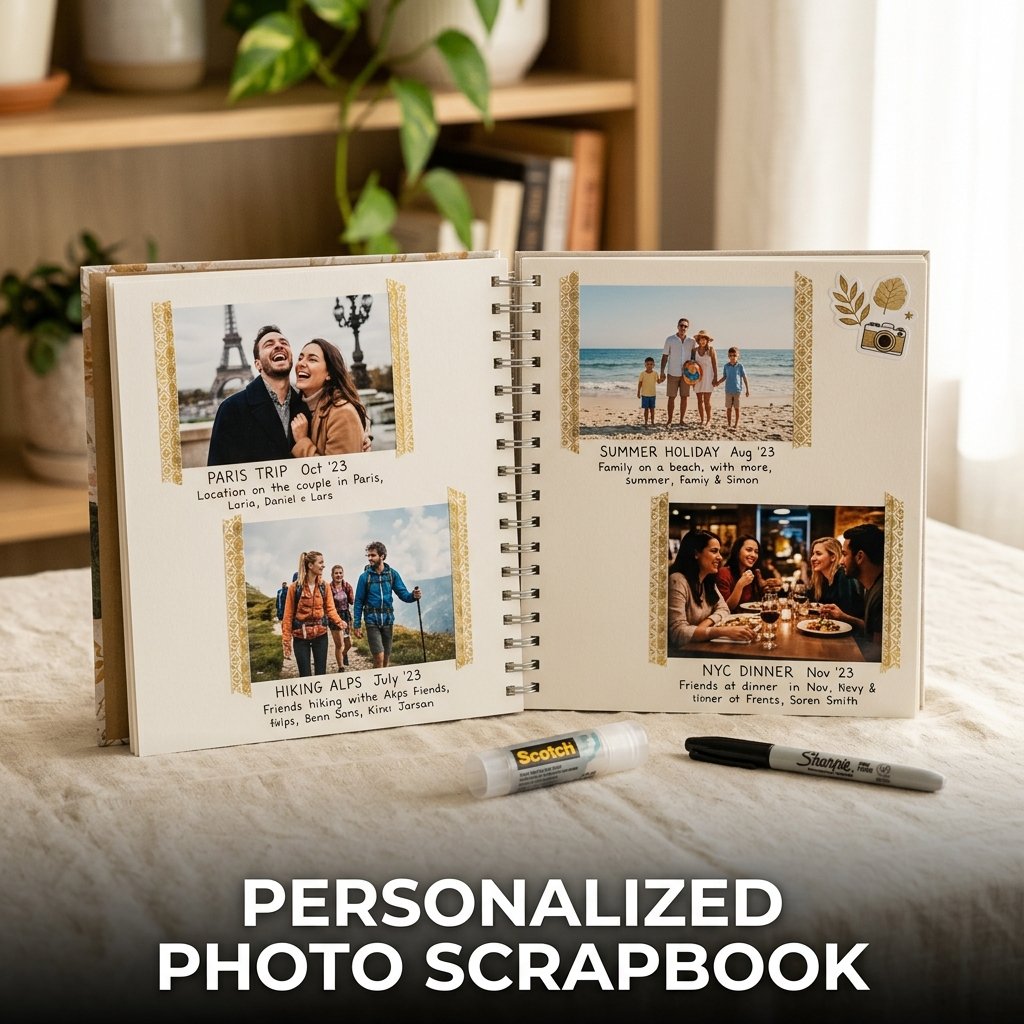
1. Personalized Photo Scrapbook
A personalized photo scrapbook is a handmade book filled with printed photos, written memories, ticket stubs, and decorative elements organized around a specific person or relationship. I made one for my mother’s birthday using a plain spiral notebook, printed photos, and washi tape. She called it the best gift she had received in years.
Gathering Your Materials
You need a spiral notebook or blank journal, printed photos sized between 3×3 and 4×6 inches, a glue stick, washi tape, markers, and decorative stickers. Print photos at a local pharmacy or on a home printer. Matte finish photos glue down flatter than glossy ones. Collect any physical items like ticket stubs, receipts, or small notes to include alongside the photos.
Building Each Page
Dedicate each page or spread to one memory or theme. Glue the photo first, then add written captions in your own handwriting below or beside it. Use washi tape to create borders or divide sections. I kept my captions short, under two sentences per photo, so each page felt clean rather than crowded. Add stickers or small drawings to fill empty corners.
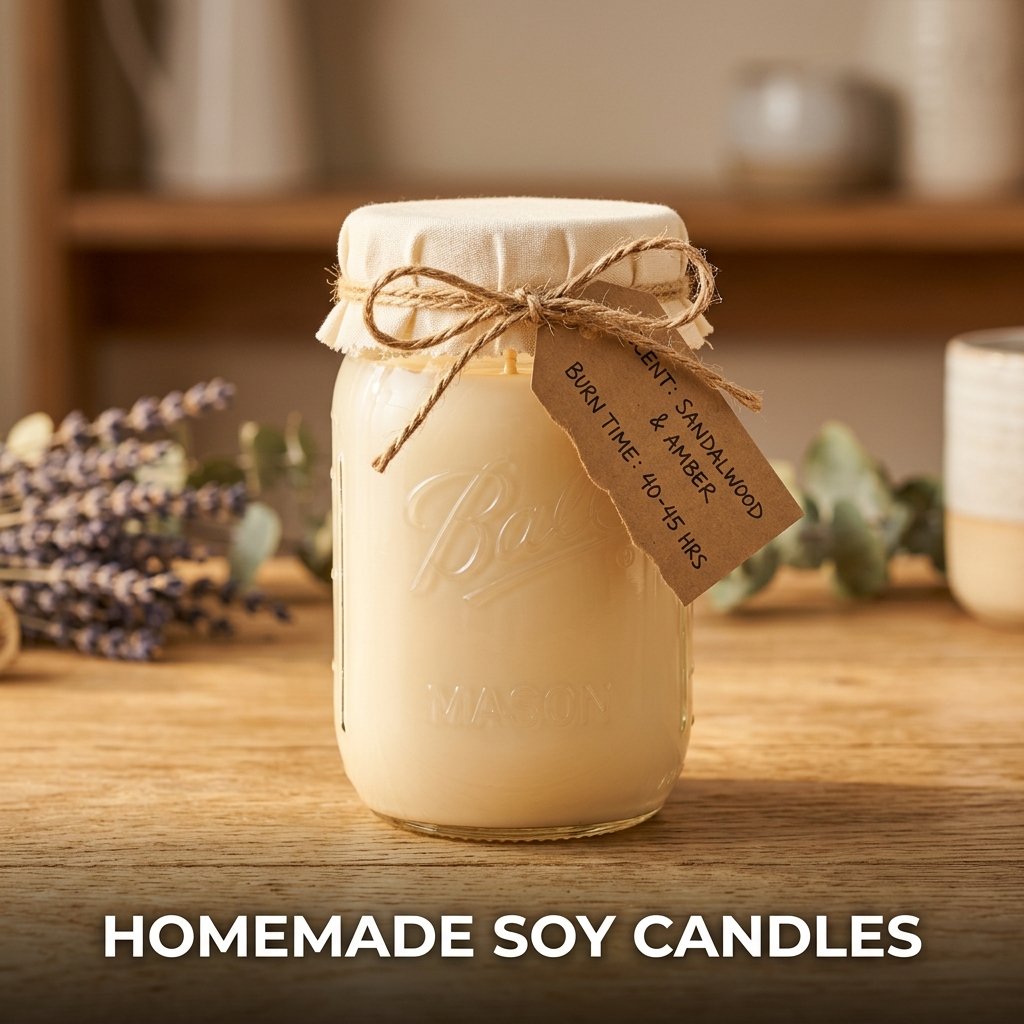
2. Homemade Soy Candles
Homemade soy candles are poured candles made from soy wax flakes, fragrance oil, and a cotton wick set inside a glass jar or tin container. I made a batch of six candles for under twelve dollars total and gave them as gifts at a family gathering. Every person who received one asked me where I bought them.
Melting and Mixing the Wax
Use a double boiler to melt soy wax flakes over medium heat. Add fragrance oil once the wax reaches 185 degrees Fahrenheit, using roughly one ounce of fragrance per pound of wax. Stir slowly for two minutes to combine. Remove from heat and allow the wax to cool to 135 degrees before pouring into containers.
Setting the Wick and Pouring
Place a pre-tabbed cotton wick at the center of each container and hold it upright using a pencil or chopstick laid across the top of the jar. Pour the cooled wax slowly to avoid air bubbles. Let the candle set at room temperature for at least 24 hours before trimming the wick to one quarter inch. Trim before every use.
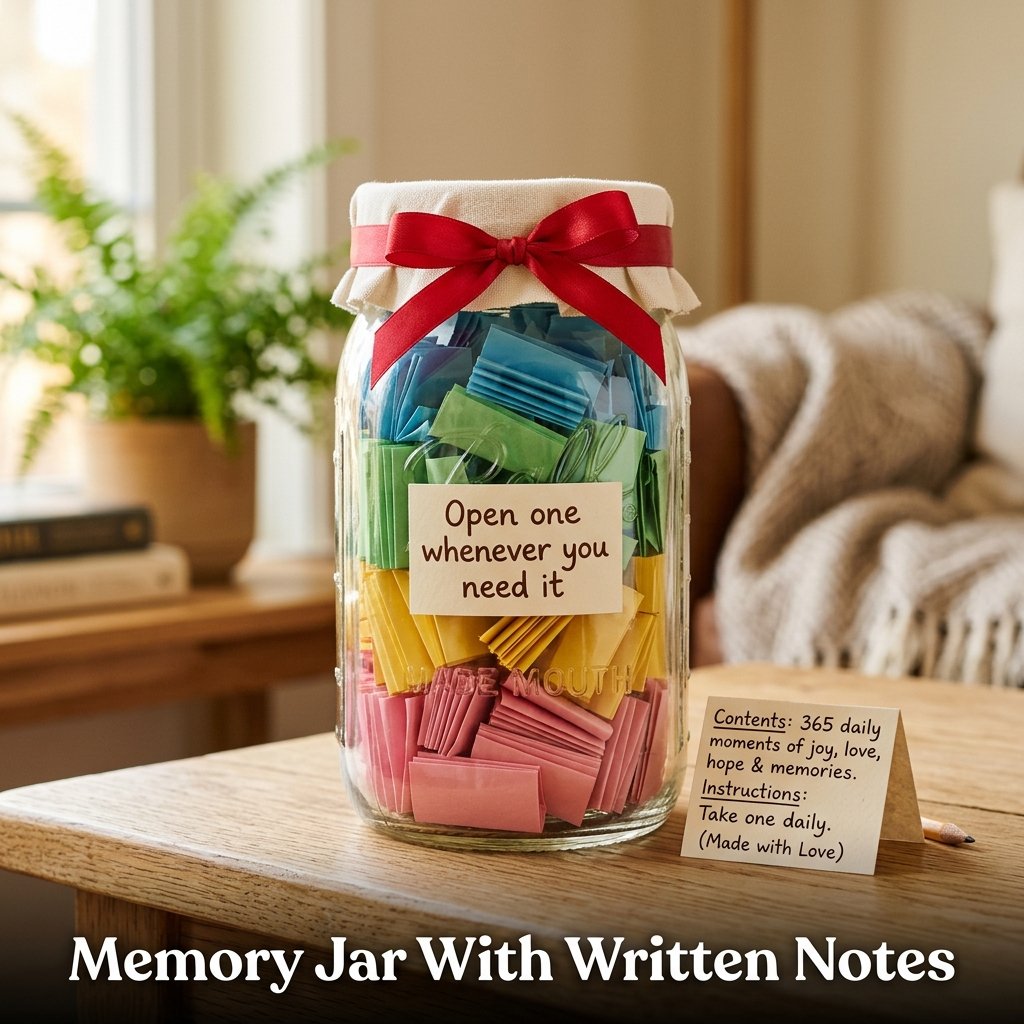
3. Memory Jar With Written Notes
A memory jar is a glass jar filled with small folded paper notes, each containing a written memory, compliment, or wish for the recipient. I filled a mason jar with 52 notes for my girlfriend, one for each week of the year. She reads one every Sunday morning and says it is her favorite gift I have ever given her.
Writing the Notes
Use small strips of paper cut from colored cardstock. Write one memory, compliment, or wish on each strip. Keep each note to two sentences maximum. I organized mine into four categories: memories, things I appreciate, inside jokes, and future plans. Color-coding each category by paper color made the jar look organized and intentional from the outside.
Decorating the Jar
Tie a ribbon around the neck of the jar. Attach a small handwritten label on the front that says what the jar contains and how to use it. I added a note on top of the folded papers inside that said “Open one whenever you need it.” That instruction changed how she interacted with the gift from day one.
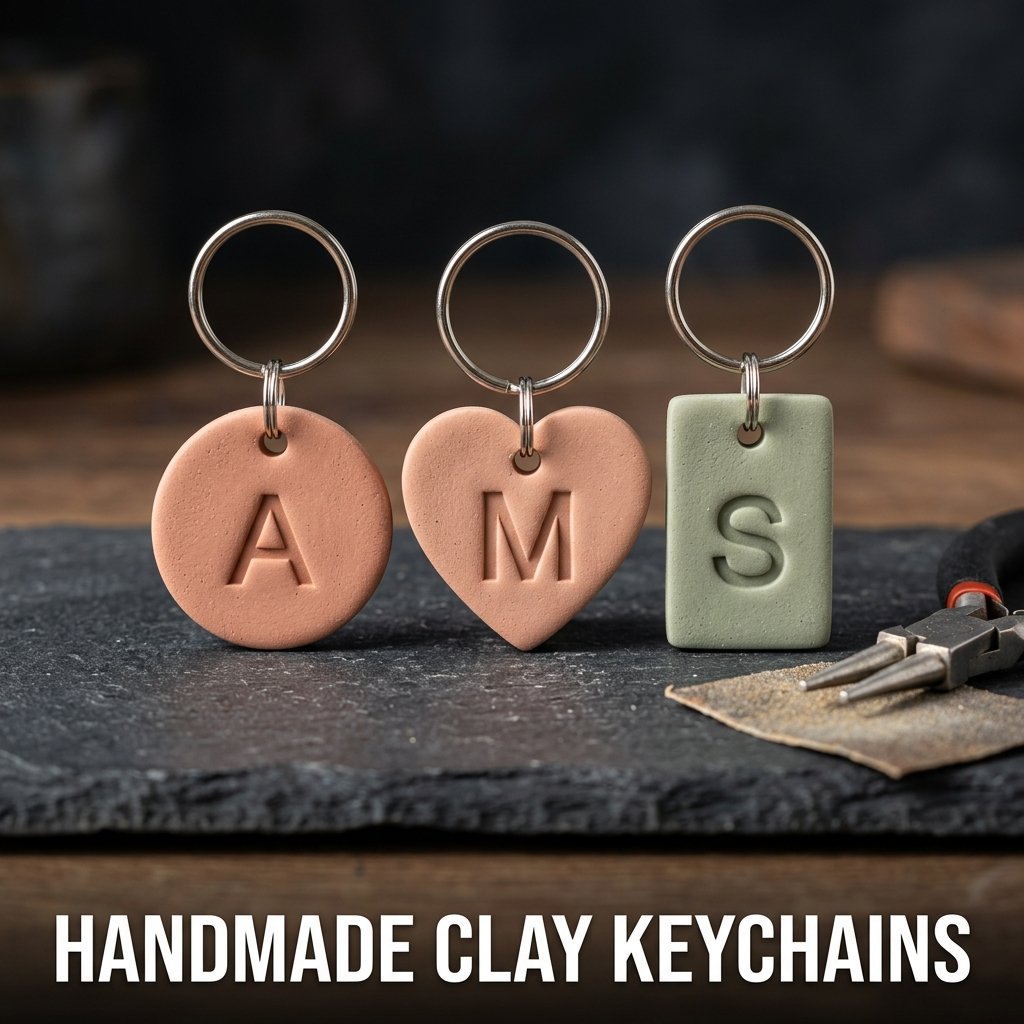
4. Handmade Clay Keychains
Handmade clay keychains are small shaped pieces of air-dry or oven-bake clay attached to a keyring after drying. I used polymer clay to make initial keychains for three friends as Christmas gifts. The total material cost was under six dollars for all three. Each keychain took about 25 minutes to make and bake.
Shaping the Clay
Roll a small piece of polymer clay into a ball roughly the size of a large marble. Flatten it slightly and shape it into a circle, heart, or rectangle. Press a letter stamp or toothpick into the surface to add initials or a small design. Use a straw to punch a hole at the top before baking so the keyring can pass through.
Baking and Finishing
Bake the shaped clay pieces on a lined baking sheet following the package instructions, typically 275 degrees Fahrenheit for 15 minutes per quarter inch of thickness. Let them cool completely before handling. Sand the edges lightly with fine sandpaper for a smooth finish. Attach a jump ring and keyring through the punched hole using small pliers.
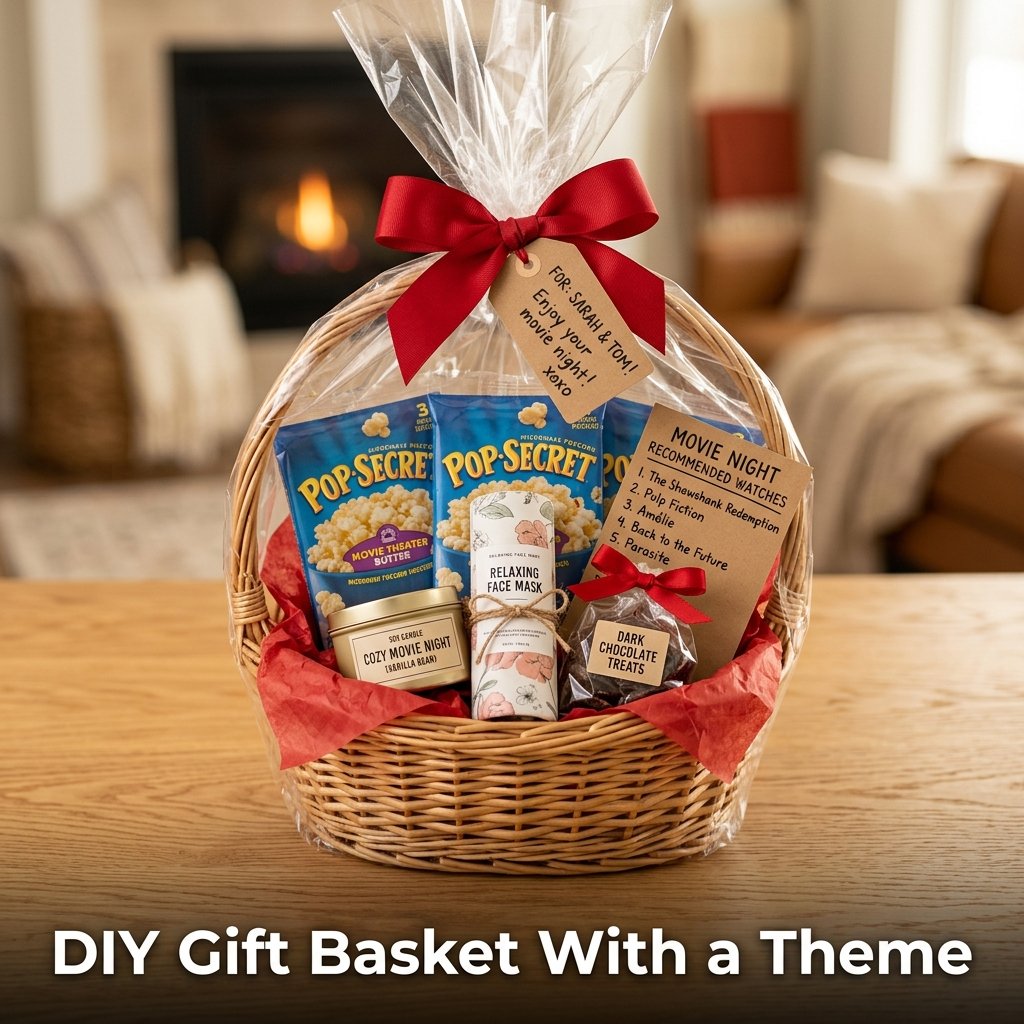
5. DIY Gift Basket With a Theme
A DIY gift basket groups several small items around a single theme and presents them together in a basket, box, or tray. I built a “movie night” basket for a friend using microwave popcorn, a candle, a face mask, and a handwritten list of movie recommendations. The whole basket cost fourteen dollars and took 20 minutes to put together.
Choosing a Theme
Select a theme based on the recipient’s interests. Useful themes include: spa night, coffee lover, book reader, and self-care. Pick three to five items that fit the theme and stay within your budget. I found that five smaller items create a fuller-looking basket than two or three larger ones, even when the total cost stays the same.
Packaging the Basket
Line the inside of the basket with tissue paper or shredded paper filler in a color that matches the theme. Arrange taller items at the back and shorter ones at the front. Wrap the finished basket in clear cellophane and tie it closed with a ribbon. Attach a handwritten tag to the ribbon with the recipient’s name and a short message.
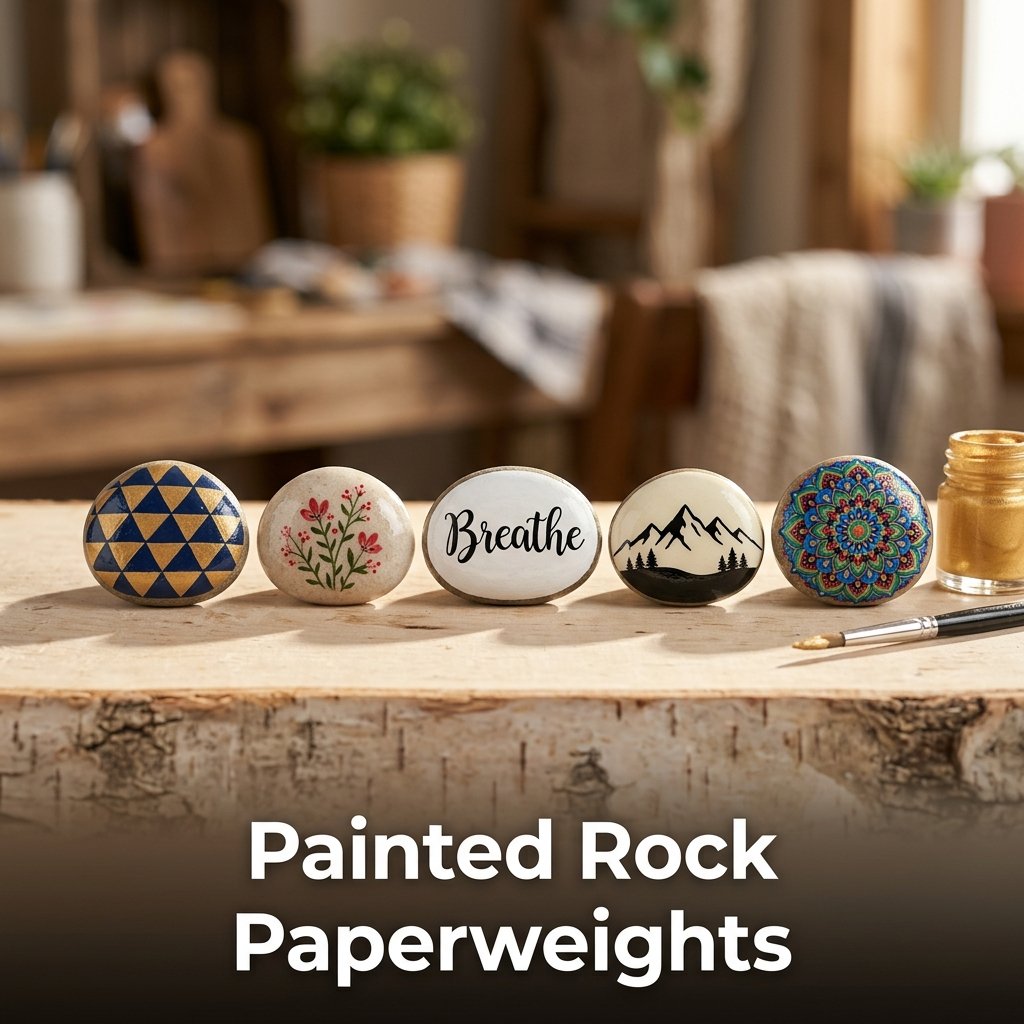
6. Painted Rock Paperweights
Painted rock paperweights are smooth stones decorated with acrylic paint and sealed with clear varnish, given as desk or shelf decorations. I collected five smooth rocks from a local park, painted each one with a different design, and gave them to coworkers as desk gifts. The cost was nearly zero since I already had acrylic paint at home.
Preparing the Rocks
Select rocks that are smooth, flat, and at least the size of a golf ball. Wash them with soap and water and let them dry completely. Apply a white base coat of acrylic paint using a flat brush and allow it to dry for 30 minutes before adding any design on top. The white base makes colors appear brighter and more accurate.
Painting the Design
Paint simple designs on top of the dried base coat. Good options include: geometric patterns, florals, initials, simple animals, and short words or quotes. Use fine-tip paint brushes for detail work. Once the design dries fully, apply two coats of clear acrylic varnish over the entire rock. The varnish protects the paint from chipping during regular handling.
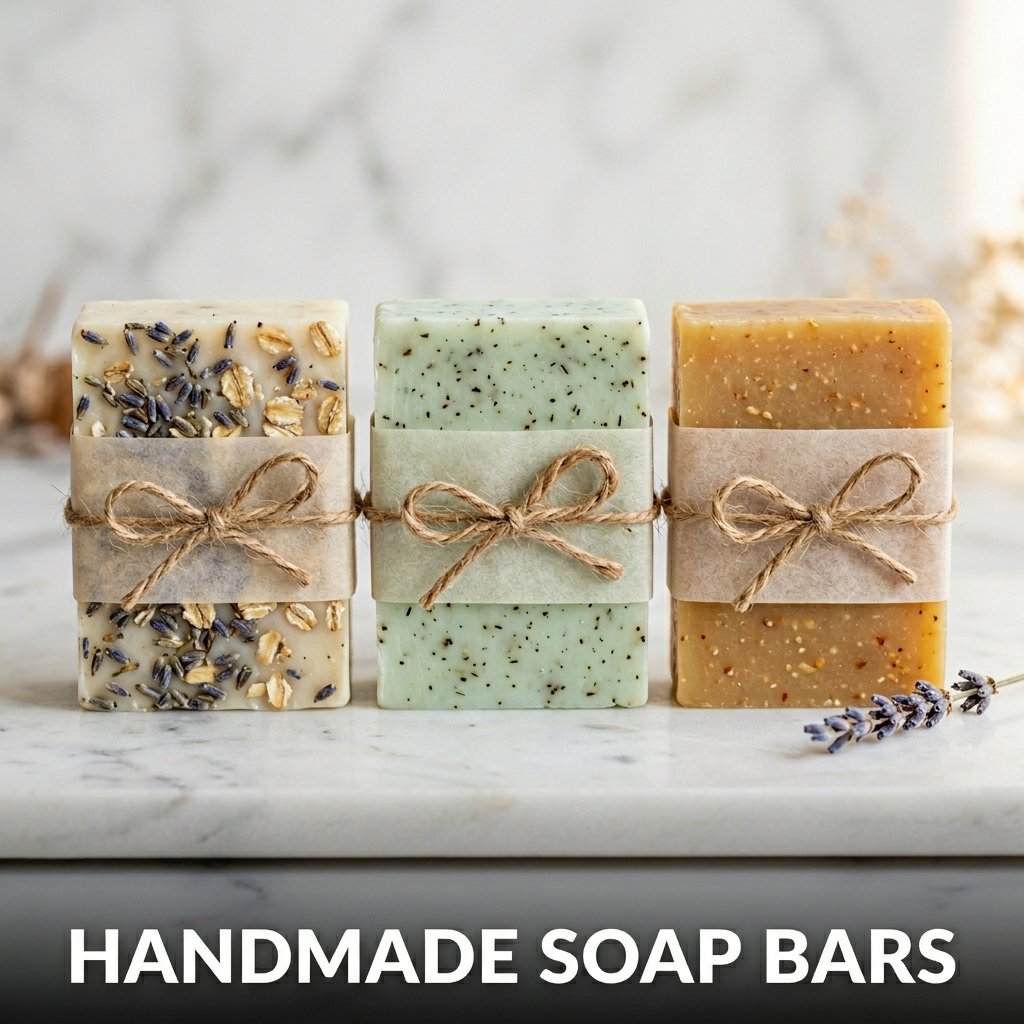
7. Handmade Soap Bars
Handmade soap bars made from a melt-and-pour soap base are one of the most practical creative homemade gift ideas because the recipient uses the gift rather than storing it. I made lavender and oat soap bars for three family members last winter. Each bar cost roughly 1.50 dollars to make and looked like a product from a specialty shop.
Melting the Soap Base
Cut a melt-and-pour soap base into one-inch cubes and place them in a microwave-safe container. Heat in 30-second intervals, stirring between each, until fully melted. Do not overheat or the base will scorch. Once melted, add five to ten drops of essential oil per cup of liquid soap base and stir gently for 30 seconds.
Adding Mix-Ins and Pouring
Add dry mix-ins like oat flakes, dried lavender, or poppy seeds to the melted base and stir slowly. Pour the mixture into silicone molds and tap the molds gently on the counter to release air bubbles. Let the soap set at room temperature for at least four hours before unmolding. Wrap finished bars in parchment paper and tie with twine.
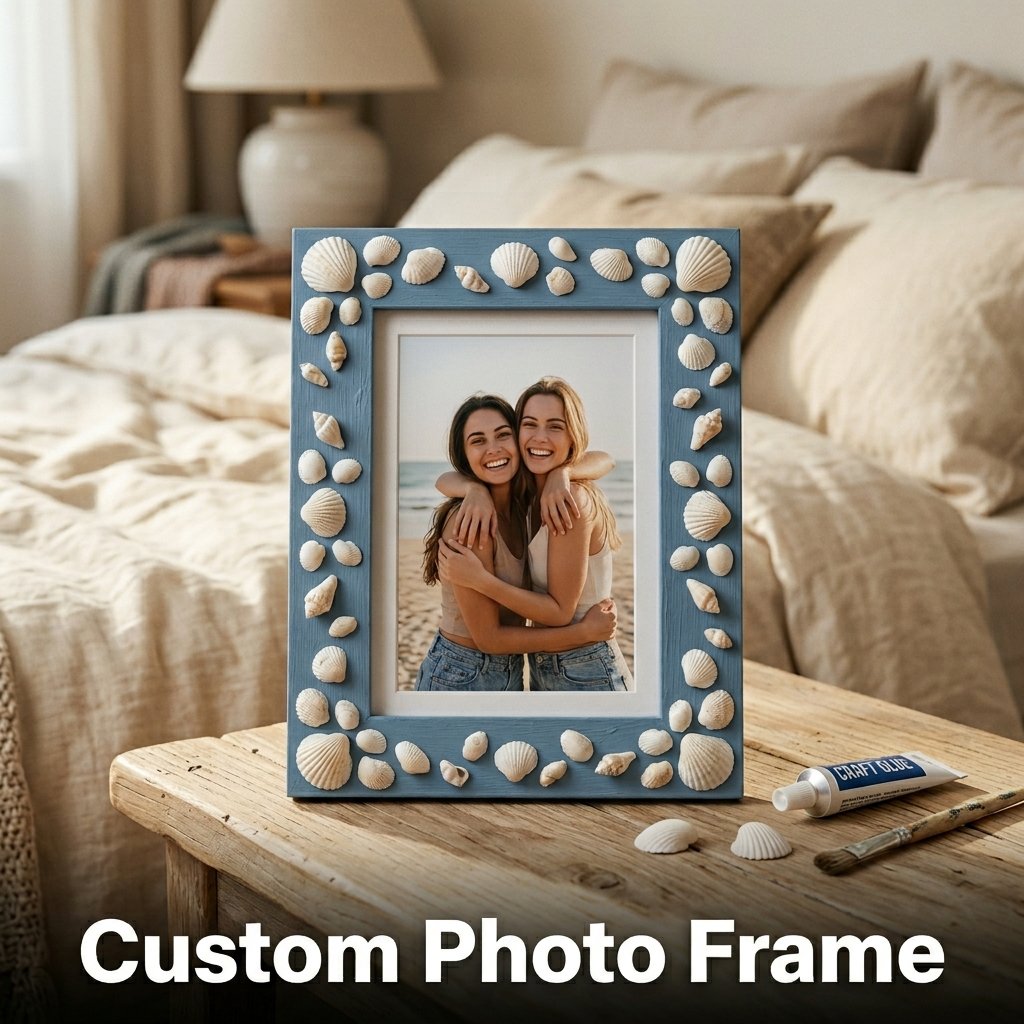
8. Custom Photo Frame
A custom photo frame is a plain wooden or cardboard frame decorated by hand using paint, washi tape, buttons, shells, or other small items, then fitted with a printed photo inside. I bought a plain wooden frame for one dollar, painted it in my friend’s favorite color, and glued small seashells around the border. She placed it on her nightstand immediately.
Decorating the Frame
Apply a base coat of acrylic paint to the frame and let it dry completely. Then add decorative elements like: buttons, dried flowers, small tiles, ribbon strips, or washi tape borders. Use strong craft glue for heavier items. I applied two layers of glue to each shell and pressed them firmly for 60 seconds before releasing.
Selecting and Inserting the Photo
Choose a photo that means something specific to both you and the recipient. Print it at the correct size for the frame opening. I always print one size smaller than the frame opening, then trim to fit precisely on the day of assembly. Place the photo inside, secure the frame backing, and wrap the finished piece in tissue paper before gifting.
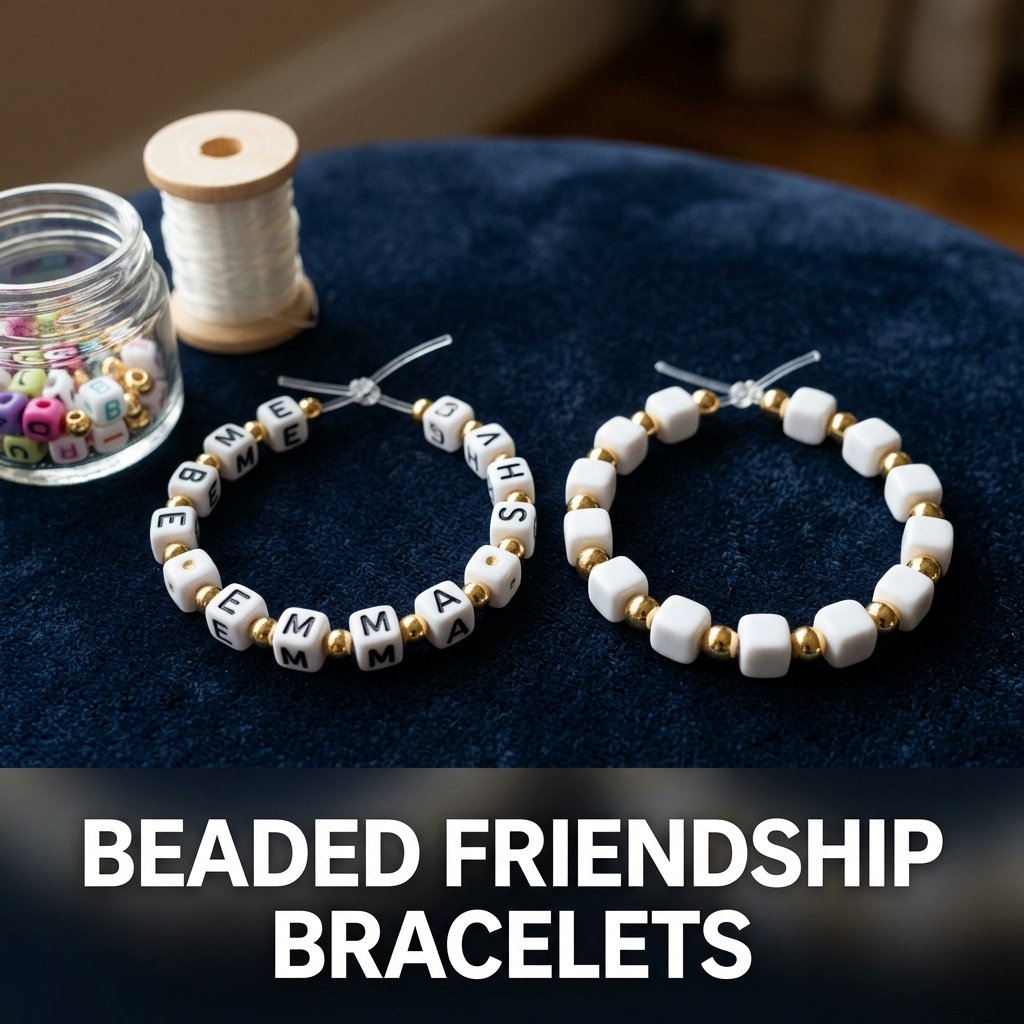
9. Beaded Friendship Bracelets
Beaded friendship bracelets use small plastic, glass, or wooden beads strung on elastic cord to create wearable gifts that cost very little to produce. I made matching bracelets for myself and my best friend using letter beads to spell our names. The materials cost three dollars for both and the process took about 15 minutes per bracelet.
Choosing the Beads
Select beads with holes large enough for your elastic cord to pass through twice. Mix solid-color beads with letter beads or patterned beads for variety. I used a color palette of three shades that I knew my friend preferred. Lay the beads out in order on a flat surface before stringing so you can adjust the pattern without unstringing.
Stringing and Finishing
Cut a piece of elastic cord roughly eight inches long for an adult wrist. String the beads in your planned order, then tie the two ends together with three tight knots. Trim the excess cord close to the last knot. Apply a small dot of clear nail polish or craft glue over the knot to prevent it from loosening during wear.
10. Fabric Tote Bag With a Painted Design
A fabric tote bag with a painted design is a plain canvas tote decorated using fabric paint, stencils, or stamps to create a personalized, reusable bag. I bought a plain canvas tote for two dollars and used fabric paint to stencil my friend’s initials on the front. She uses it every week for grocery shopping.
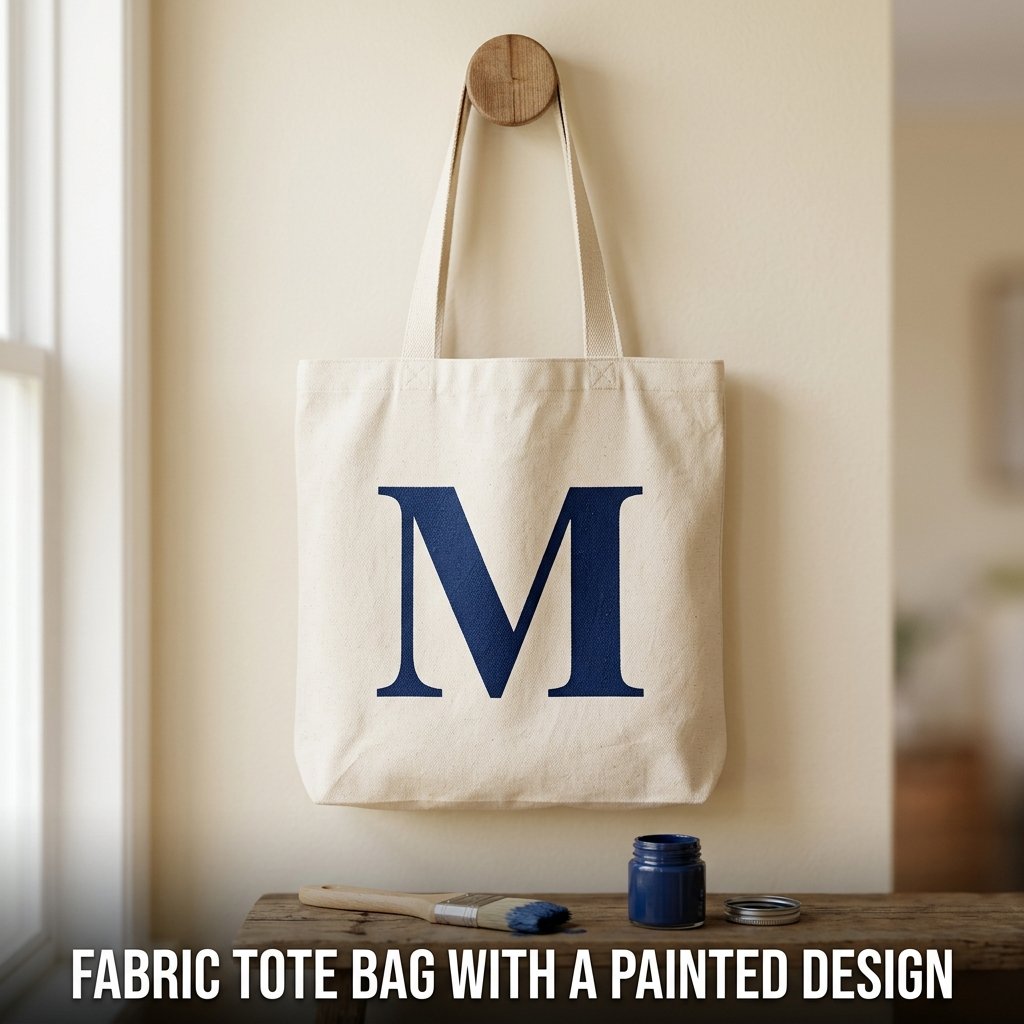
Preparing the Bag
Place a piece of cardboard inside the tote before painting to prevent the paint from bleeding through to the back panel. Lay the tote flat on a covered work surface. If using a stencil, tape it firmly to the fabric so it does not shift while painting. Use a stiff stencil brush with minimal paint on it for the cleanest result.
Painting and Setting the Design
Apply fabric paint over the stencil using a light dabbing motion. Remove the stencil carefully while the paint is still wet. Allow the design to dry for at least two hours. Once dry, set the paint permanently by pressing a warm iron over the design for 30 seconds, using a thin cloth between the iron and the paint to protect the design surface.
11. Handmade Bookmarks
Handmade bookmarks are small decorated strips of cardstock, leather, or laminated paper used to mark pages in a book. I made a set of five bookmarks for a friend who reads constantly. I used watercolor paint, a fine marker, and small tassels. She said she finally had bookmarks worth keeping instead of using receipts and random scraps of paper.
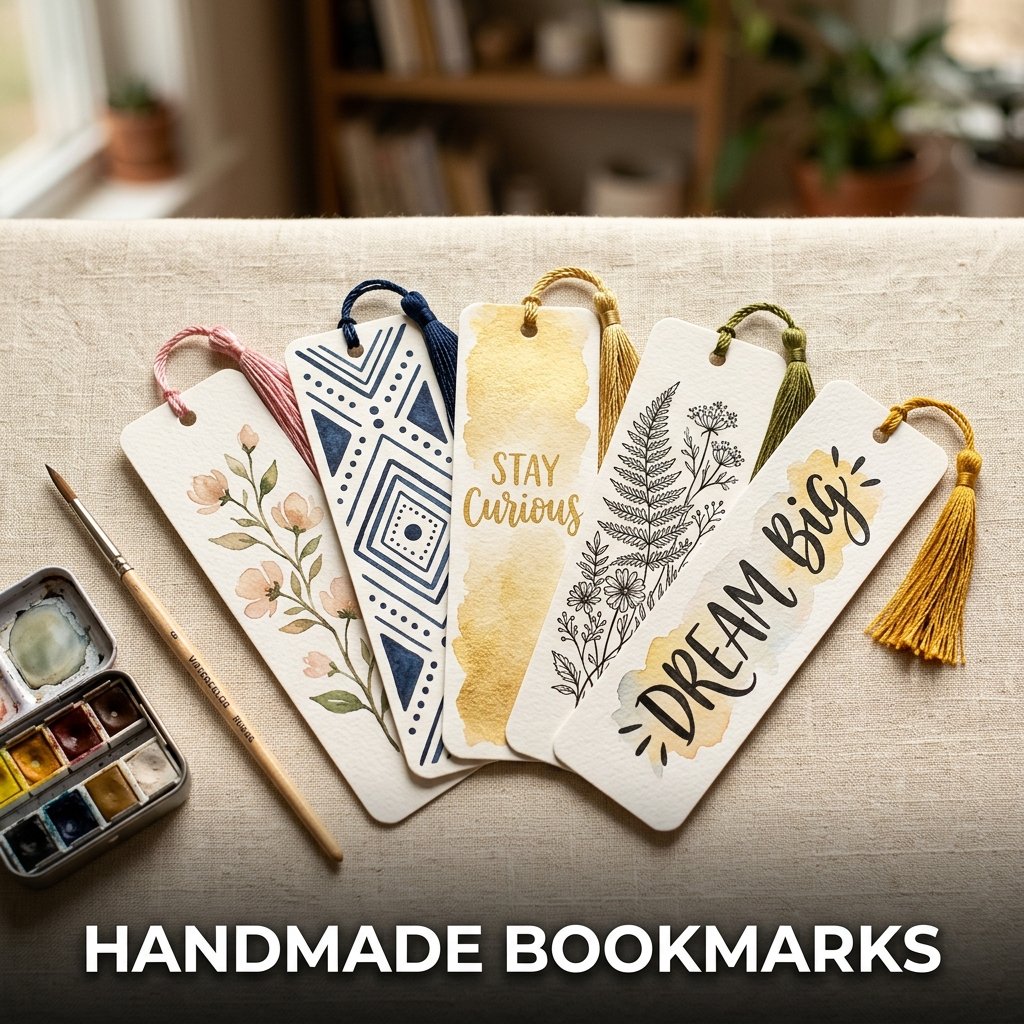
Cutting and Decorating the Base
Cut cardstock strips measuring two inches wide and seven inches tall. Round the corners using scissors or a corner punch for a more finished look. Decorate the front using watercolor paint, stamp designs, hand lettering, or printed patterns. I painted a simple floral design on each bookmark using a thin brush and let them dry flat for 20 minutes.
Adding the Tassel
Cut ten to twelve strands of embroidery floss, each about five inches long. Fold the bundle in half and thread the folded loop through a hole punched at the top of the bookmark. Pass the loose ends through the loop and pull tight to secure the tassel. Trim the ends evenly with scissors so the tassel hangs at a uniform length.
12. DIY Herb Garden Kit
A DIY herb garden kit is a grouped set of small pots or containers filled with soil and herb seeds, packaged together as a gift for someone who cooks or enjoys plants. I put together a three-pot kit with basil, mint, and parsley seeds for my aunt. I used small terracotta pots, craft paint, and seed packets purchased for under eight dollars total.
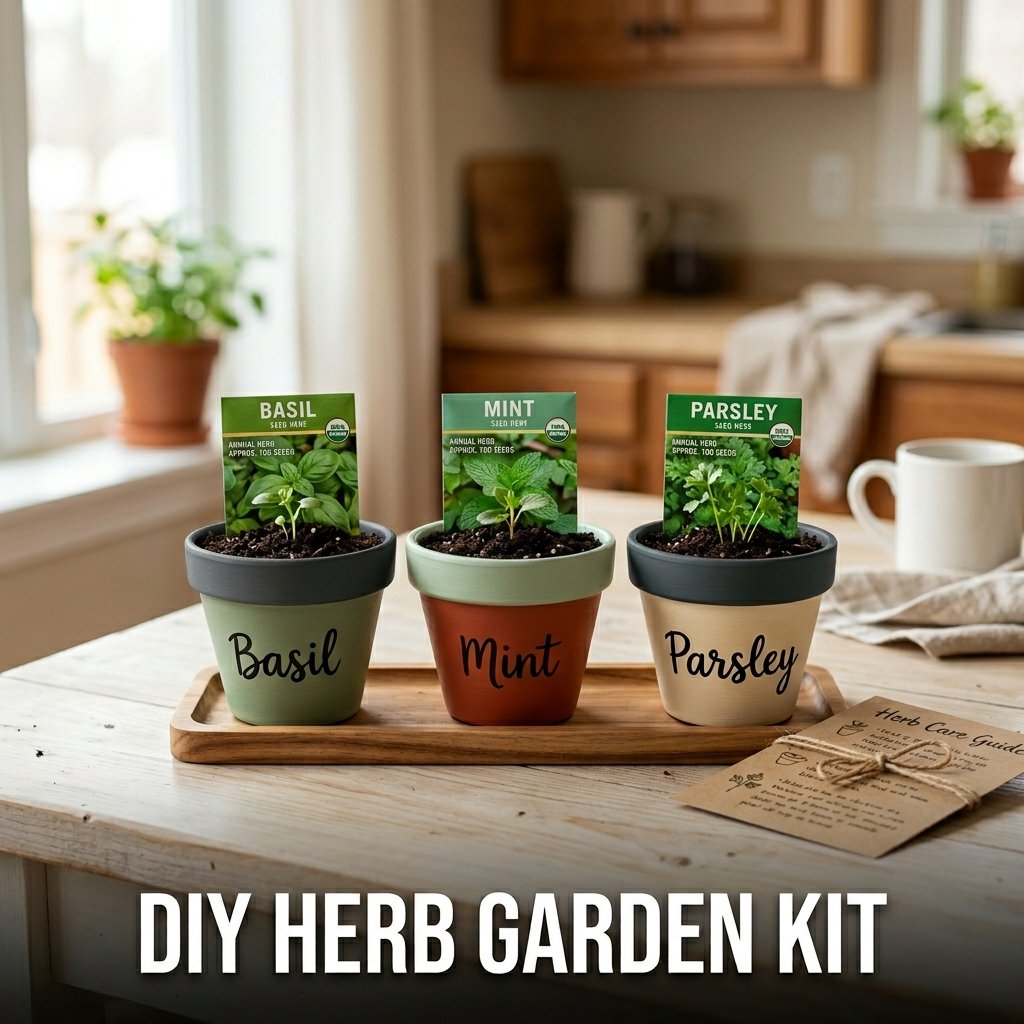
Painting and Labeling the Pots
Paint each small terracotta pot in a different color using acrylic paint. Let the base coat dry, then write the herb name on the front of each pot using a fine paint marker or a permanent marker. I painted the pot rims in a contrasting color to add a second detail without making the design complicated.
Assembling the Kit
Fill each pot with potting soil up to half an inch below the rim. Place the seed packet for each herb inside its corresponding pot so the recipient knows which seeds go where. Arrange the three pots on a small wooden tray or in a shallow basket. Write a care card by hand explaining how much water and sunlight each herb needs.
13. Watercolor Portrait
A watercolor portrait is a hand-painted image of a person, pet, or place created using watercolor paints on watercolor paper, given as a personalized piece of art. I painted a portrait of my friend’s dog from a photo she sent me. I had no formal painting training. The portrait was loose and simple, but she cried when she opened it.
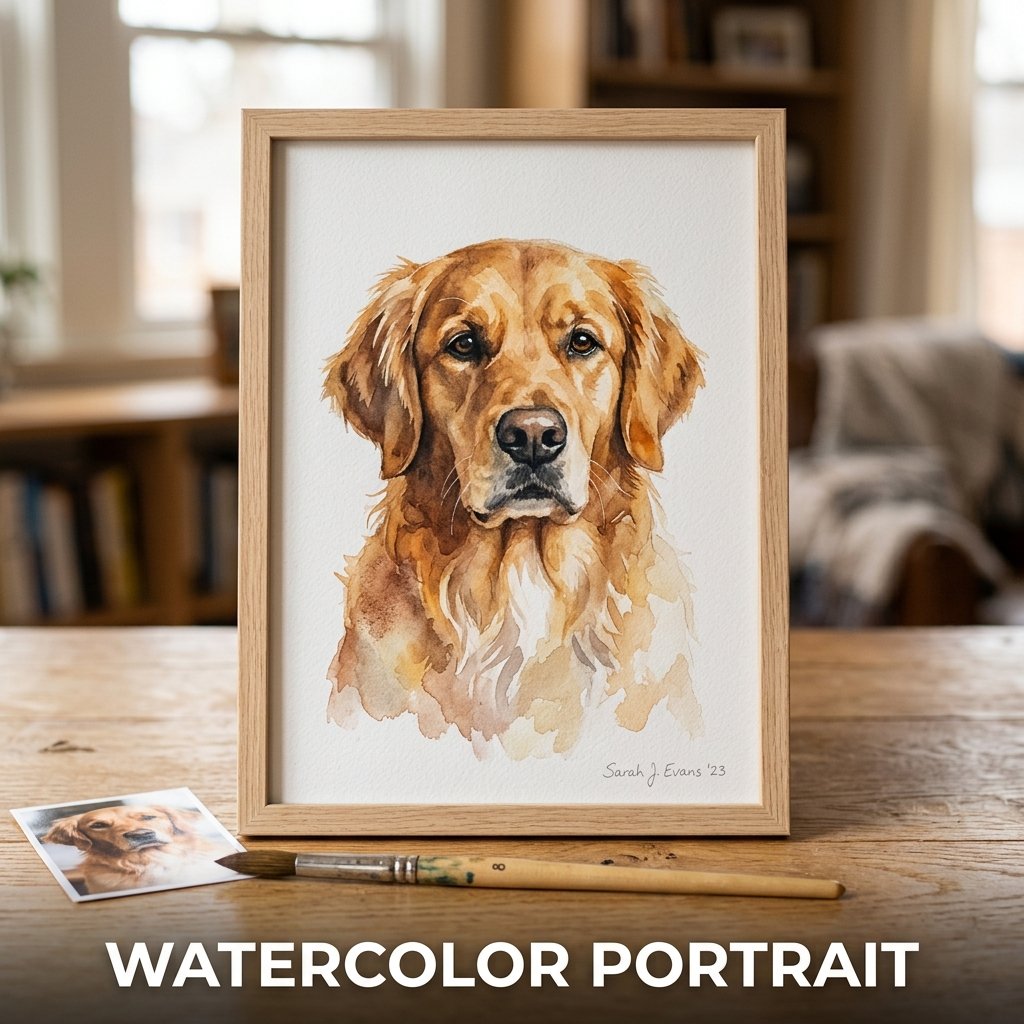
Setting Up the Painting
Print or prop up a clear reference photo at eye level beside your work surface. Lightly sketch the basic outline of the subject onto watercolor paper using a pencil. Keep the sketch minimal since watercolor paint covers pencil lines but detailed sketches can bleed through. I used a 140-pound cold press watercolor paper for a smooth, absorbent surface.
Painting in Layers
Start with the lightest colors and work toward the darkest. Apply each layer only after the previous one dries completely to keep the colors clean. I used three main colors for the dog portrait and mixed them in different ratios for shading. Sign and date the finished painting in the bottom corner. Mat and frame it before gifting for a more finished presentation.
14. Hand-Stitched Felt Coasters
Hand-stitched felt coasters are small square or circular pieces of felt sewn together with embroidery floss and used as drink coasters. I made a set of four for a housewarming gift using two colors of felt and a simple blanket stitch around the edges. The full set took about 45 minutes and cost under four dollars in materials.
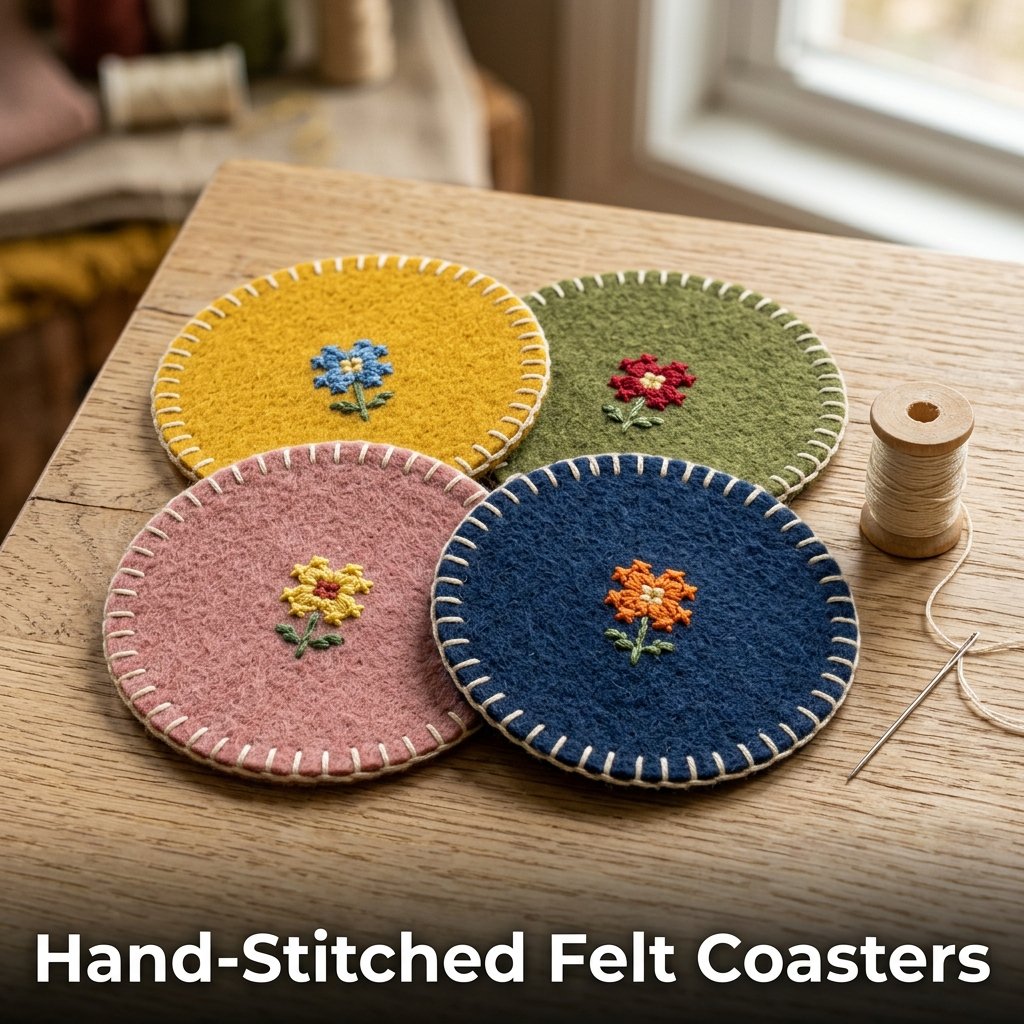
Cutting the Felt Pieces
Cut felt into four-inch squares or four-inch diameter circles. Cut two pieces per coaster so each one has a front and back layer. Use sharp fabric scissors for clean edges. I cut all pieces at once using a template traced from a glass to keep all circles the same size. Stack the pairs neatly before stitching.
Stitching the Edges
Thread a needle with embroidery floss and knot one end. Use a blanket stitch around the entire outer edge, passing the needle through both layers of felt together. Space each stitch about a quarter inch apart. I added a small cross-stitch design at the center of each coaster before joining the layers, which added a decorative element visible on the front face.
15. Personalized Recipe Book
A personalized recipe book is a handmade collection of written or printed recipes organized inside a blank notebook, decorated and assembled as a gift. I made one for my sister when she moved into her first apartment. I included 20 recipes from our family, written in my own handwriting on index cards and glued into a hardcover blank journal.

Selecting the Recipes
Choose recipes that mean something specific to the recipient. Include family recipes, their personal favorites, and a few practical everyday meals. I divided the book into sections: breakfast, lunch, dinner, and desserts. Write each recipe clearly with the ingredient list first and the steps numbered below. Include any tips or notes from experience at the bottom of each page.
Decorating the Book
Cover the journal with patterned paper or fabric to create a custom cover. Add a printed or handwritten title label on the front. Use washi tape to create divider tabs for each section inside. I glued a small photo of our family kitchen on the inside front cover with a short handwritten note explaining why I chose each recipe.
16. DIY Pressed Flower Frame
A DIY pressed flower frame places dried, pressed flowers arranged under glass inside a picture frame to create a decorative botanical display. I pressed wildflowers between two heavy books for two weeks, then arranged them inside a simple clip frame. The finished piece looked like botanical artwork from a specialty store.
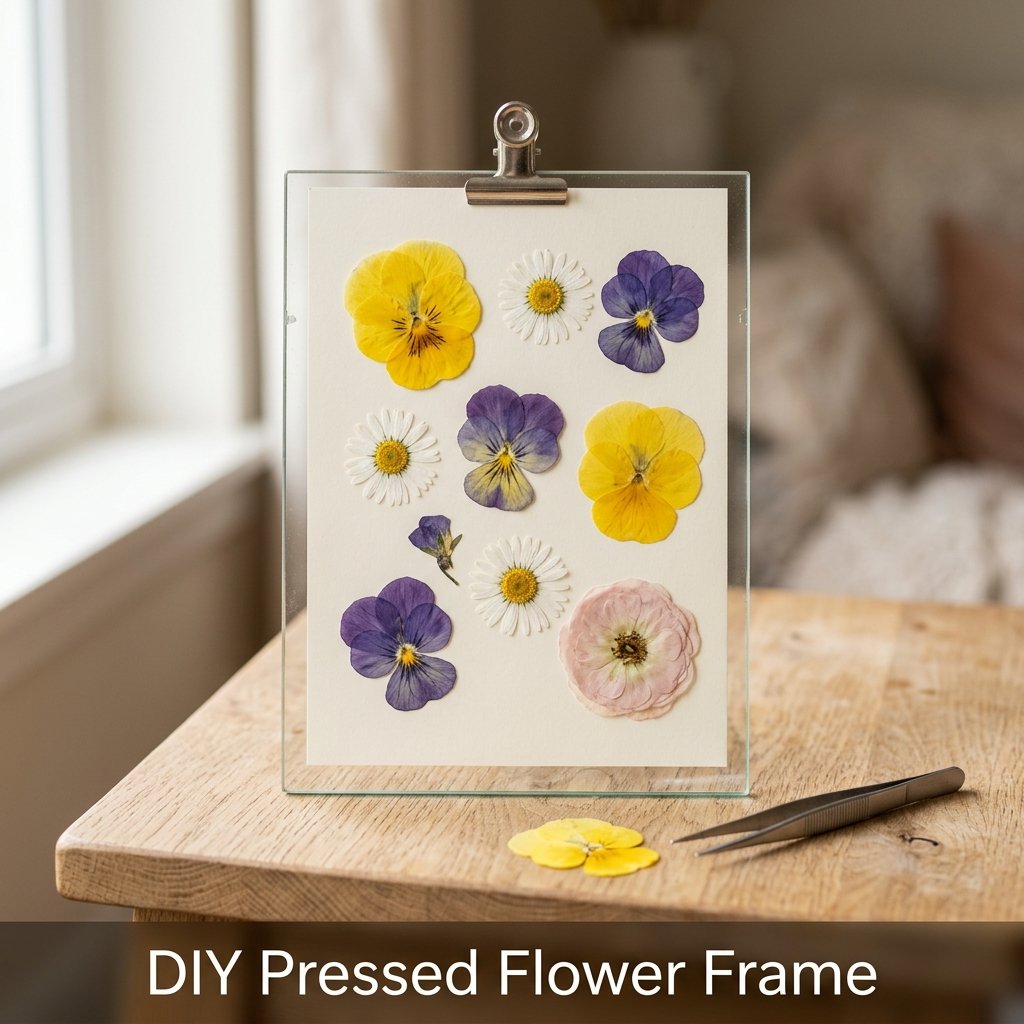
Pressing the Flowers
Place fresh flowers face-down between two sheets of parchment paper. Stack heavy books on top and leave them undisturbed for 10 to 14 days. Thinner flowers like pansies and daisies press well within 10 days. Thicker flowers like roses need the full 14 days. Check after 10 days by gently lifting one corner of the parchment paper.
Arranging and Framing
Remove the pressed flowers carefully using tweezers. Arrange them on a sheet of white or cream cardstock cut to fit the frame. Try several arrangements before gluing. Apply a small dot of clear-drying craft glue to the back of each flower using a toothpick and press it onto the cardstock. Let the glue dry before placing the cardstock inside the frame and sealing it closed.
17. Hand-Lettered Quote Print
A hand-lettered quote print is a piece of cardstock or watercolor paper with a meaningful quote written by hand using brush pens or markers, framed and given as wall art. I wrote a quote that my friend repeats often, framed it in a simple black frame, and gave it to her for her birthday. She hung it in her home office the same day.
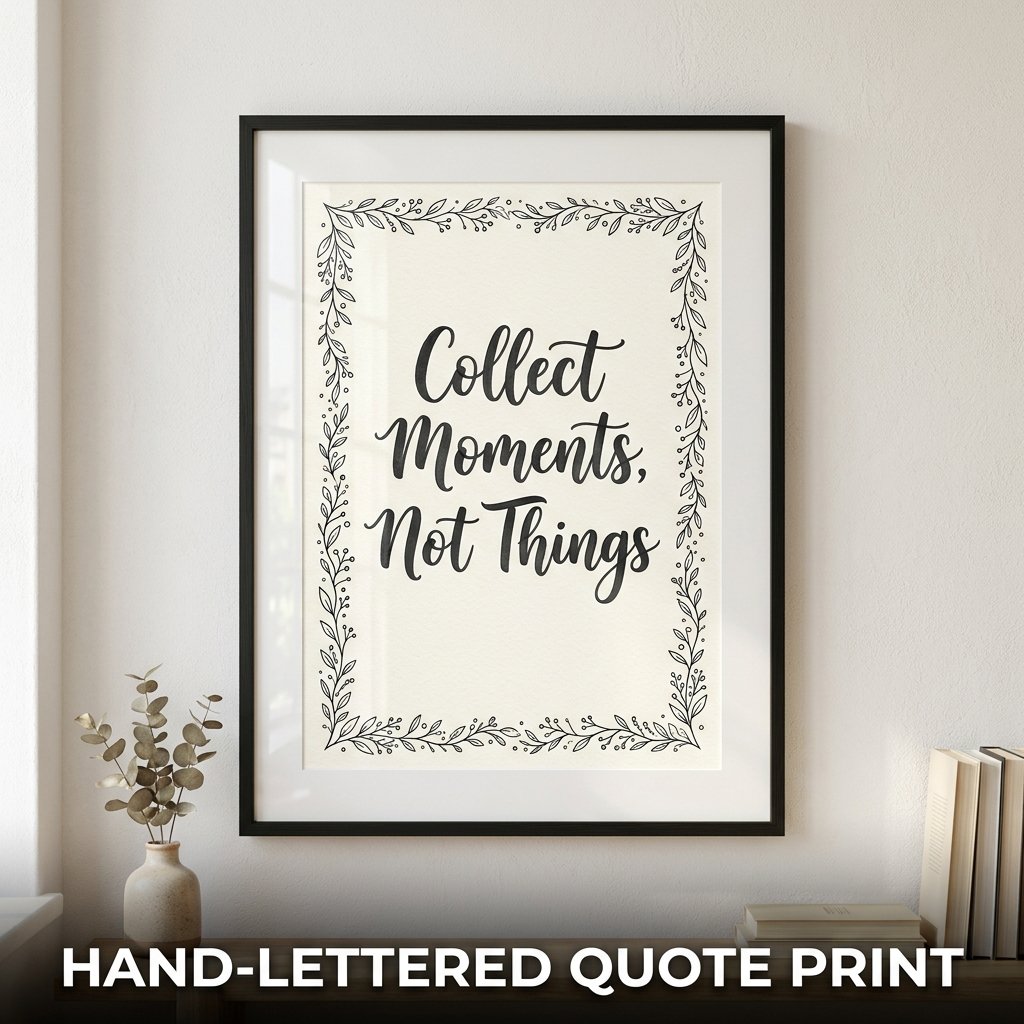
Choosing the Quote
Select a quote that is directly relevant to the recipient. It works best when it references something they say often, believe in, or have shared with you personally. Keep the quote under 15 words so it fits clearly on a standard sheet of paper. I always confirm the exact wording of a quote before writing it to avoid errors on the final piece.
Lettering and Framing
Use brush pens for thick-and-thin lettering or a fine-tip marker for clean block letters. Practice the layout on plain paper first. Once satisfied, write the final version on watercolor paper or heavy cardstock. Add a small decorative border using a fine marker or watercolor paint around the edges. Let it dry completely, then trim it to fit a standard frame size before gifting.
Frequently Asked Questions
What are the easiest creative homemade gift ideas for beginners?
The easiest creative homemade gift ideas for beginners are memory jars, beaded bracelets, and painted rock paperweights. All three require minimal tools, no advanced skill, and cost under five dollars in materials. Memory jars need only paper, a jar, and a pen. Beaded bracelets need elastic cord and beads available at any craft store. Painted rocks need only acrylic paint and a clear sealant. I completed all three of these projects during my first year of making homemade gifts, and each one was received better than any store-bought item I gave that same year.
How much does it cost to make creative handmade gift ideas at home?
Most creative handmade gift ideas cost between two and fifteen dollars in materials when made at home. Simple projects like bookmarks, memory jars, and clay keychains cost under five dollars. Mid-range projects like soy candles, soap bars, and photo scrapbooks cost between six and twelve dollars. More detailed projects like watercolor portraits or pressed flower frames cost between eight and fifteen dollars depending on whether you already own the basic supplies. Buying materials in bulk reduces the per-gift cost significantly, especially for projects like candles or soap where the base materials make multiple units.
Which homemade gift ideas work best for a girlfriend?
The homemade gift ideas that work best for a girlfriend are the memory jar, the personalized photo scrapbook, the hand-lettered quote print, and the watercolor portrait. All four of these involve personal details specific to the relationship, which increases their sentimental value beyond the material cost. I made a memory jar for my girlfriend filled with 52 written notes and she still reads from it weekly. The key factor is personalization. A gift that references a specific shared memory or inside detail always performs better than a generic handmade item, regardless of how well it is crafted.
Can I sell these creative homemade gift ideas on Etsy?
Yes, most of these creative homemade gift ideas sell well on Etsy when presented with clear photography and detailed product descriptions. The strongest sellers in this list for Etsy include: personalized recipe books, hand-lettered quote prints, soy candles, handmade soap bars, and beaded bracelets. Price each item by adding material costs, packaging costs, and your hourly labor rate together. Research existing Etsy listings in each category before setting your price. Most handmade candles on Etsy sell between 12 and 28 dollars. Most personalized prints sell between 15 and 40 dollars depending on size and complexity.
How do I make homemade gifts look professional and well-packaged?
Homemade gifts look professional when the packaging matches the quality of the item inside. Use tissue paper, kraft paper boxes, ribbon, and handwritten tags for wrapping. Clean edges, straight cuts, and fully dried paint or glue all improve the final appearance of any handmade item. I always photograph my finished gifts before wrapping them to check for any unfinished details I missed during assembly. Consistent color choices across the item and its packaging create a more intentional, polished result. A simple handwritten note tucked inside adds a personal layer that store-bought packaging cannot replicate.