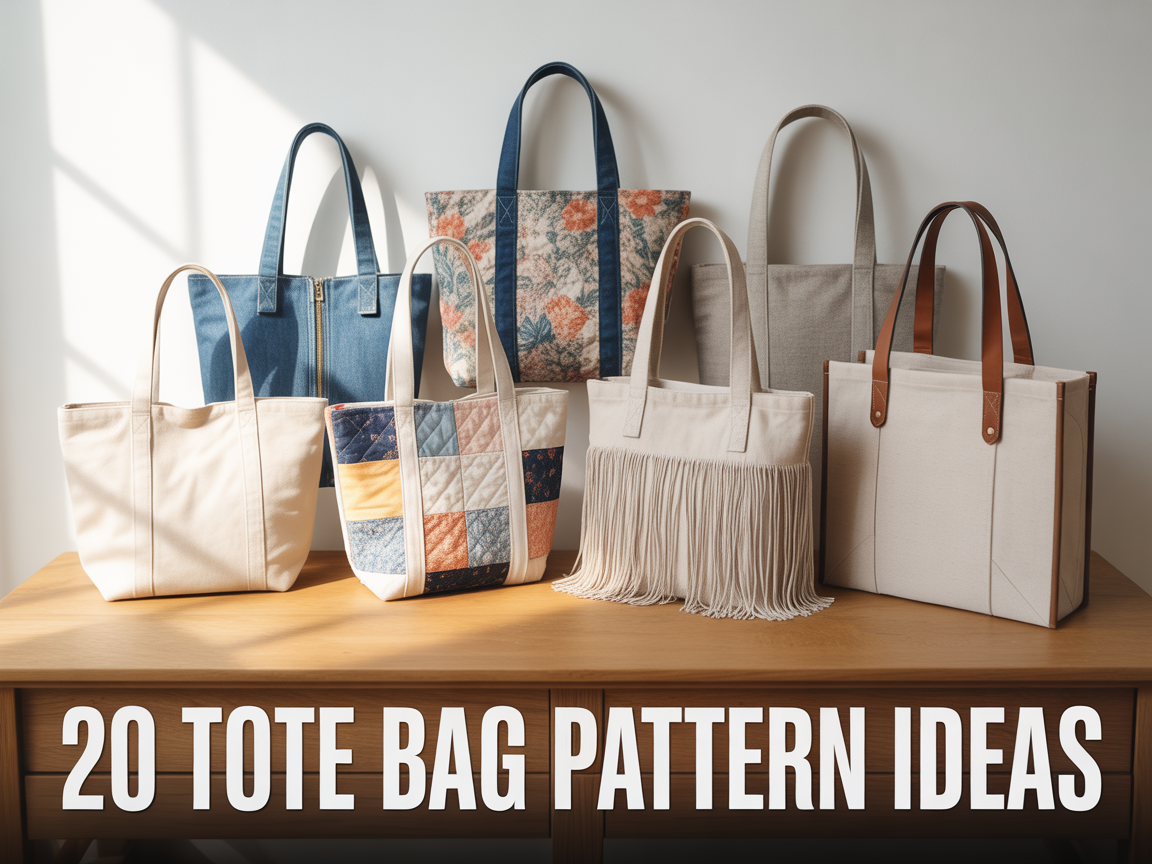
20 Tote Bag Pattern Ideas You Can Make Today
I picked up a needle and thread for the first time three years ago, and my first project was a simple tote bag. I had no idea that one small project would turn into a full obsession. Now I have fabric stacked in every corner of my room, and I still cannot stop. Tote bags are one of the best starting points for anyone who wants to sew. They are simple enough for beginners, but they have enough room to get creative.
If you are looking for tote bag pattern ideas, you have 20 solid options right here. From canvas to denim, from zipper closures to drawstring tops, every pattern on this list is something you can actually make today. No advanced skills needed for most of them.
I have tested several of these myself. Some took me under an hour. Others took a full afternoon. Either way, every single one gave me something I could use the next day. That is the best part about making your own tote bag. You get a product that fits your style, your size, and your needs. No two bags look exactly alike, and that is what makes handmade worth it.
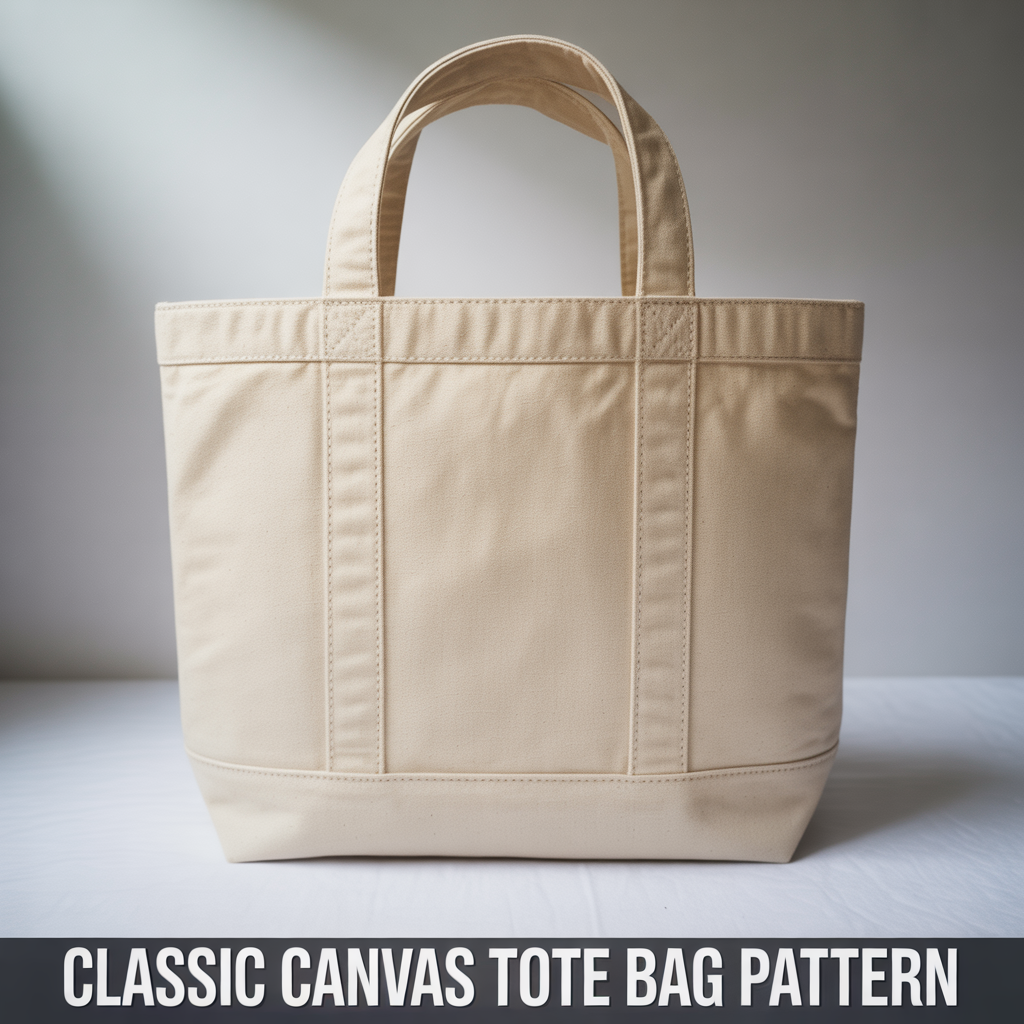
1. Classic Canvas Tote Bag Pattern
The classic canvas tote bag is the most popular starting point for beginner sewers. It uses straight seams, no zipper, and minimal fabric, which makes it fast to finish. I made my first one in 45 minutes using a basic cotton canvas from a local fabric store. The result was a clean, sturdy bag I still use for grocery runs.
What Makes Canvas the Best Fabric Choice
Canvas fabric holds its shape without any interfacing. It is thick enough to carry heavy items and does not fray as quickly as lighter fabrics. A 10 oz canvas works well for most tote bag sewing patterns. I prefer natural cotton canvas because it is washable and gets softer over time.
How to Cut and Stitch a Basic Canvas Tote
Cut two rectangles at 15 x 16 inches for the body and two strips at 3 x 22 inches for the handles. Fold handles lengthwise, press, and topstitch. Attach handles to the main panels, sew side and bottom seams, and press flat. Box the corners by pinching 2 inches at each bottom corner and stitching across. Turn right side out and press again.
2. Zippered Tote Bag Pattern
A zipper tote bag keeps contents secure, which makes it practical for daily use. I added a zipper to my third tote bag and immediately noticed how much more confident I felt carrying it in a crowd. The zipper sits at the top opening and adds only 15 extra minutes to the total sewing time.
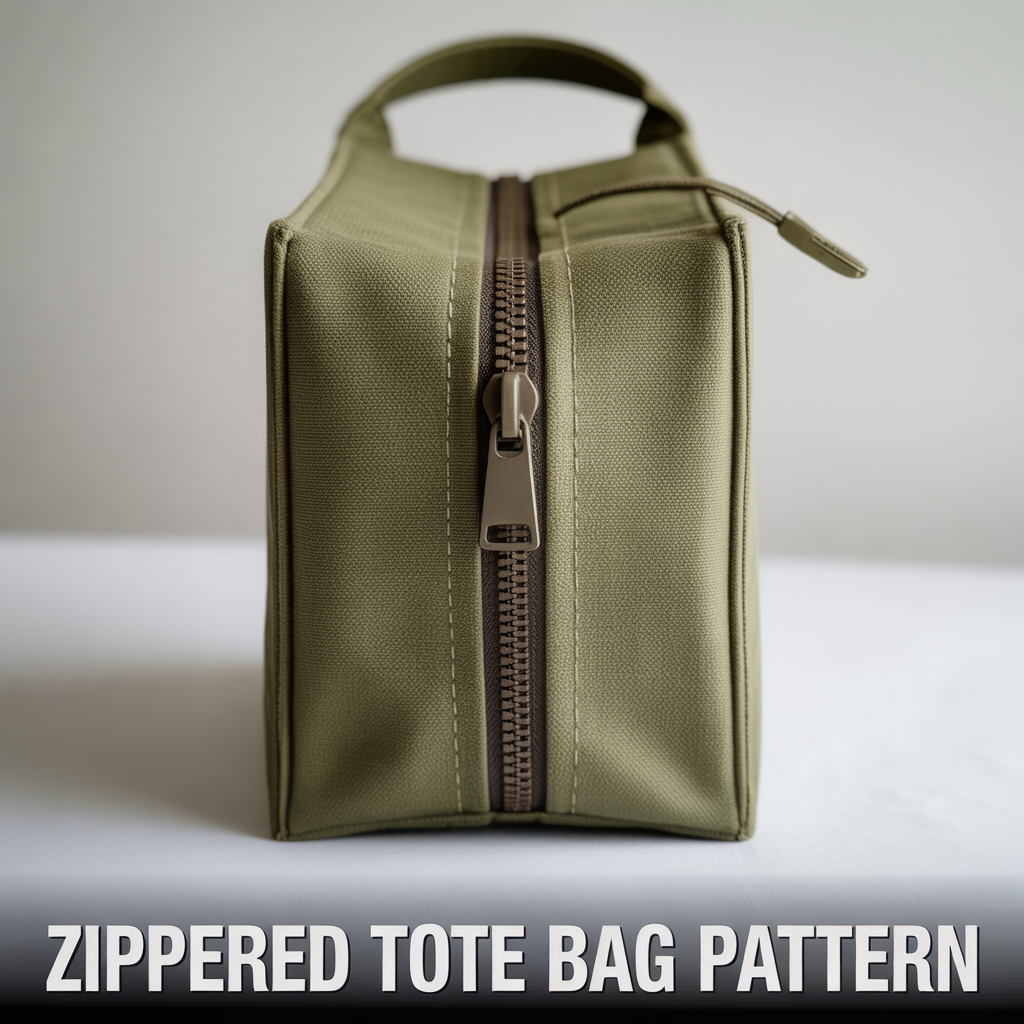
Choosing the Right Zipper for a Tote Bag
A 14-inch nylon coil zipper works for most standard tote sizes. Metal zippers are heavier but more durable. I use nylon zippers for lightweight linen bags and metal ones for denim or canvas. Match the zipper color to your fabric or go with a contrasting color for a design detail.
Steps to Attach a Zipper to a Tote Bag
Pin the zipper face-down along the top edge of one fabric panel. Sew with a zipper foot close to the teeth. Fold the fabric back, press, and topstitch. Repeat on the second panel. Once both sides are attached, sew the side and bottom seams as normal. Open the zipper halfway before sewing the final seams to make turning easier.
3. Reversible Tote Bag Pattern
A reversible tote bag gives two bags in one. I made a floral print and a solid navy version that flip inside out depending on my outfit. It uses two sets of fabric panels stitched together at the top opening, with no raw edges showing on either side.
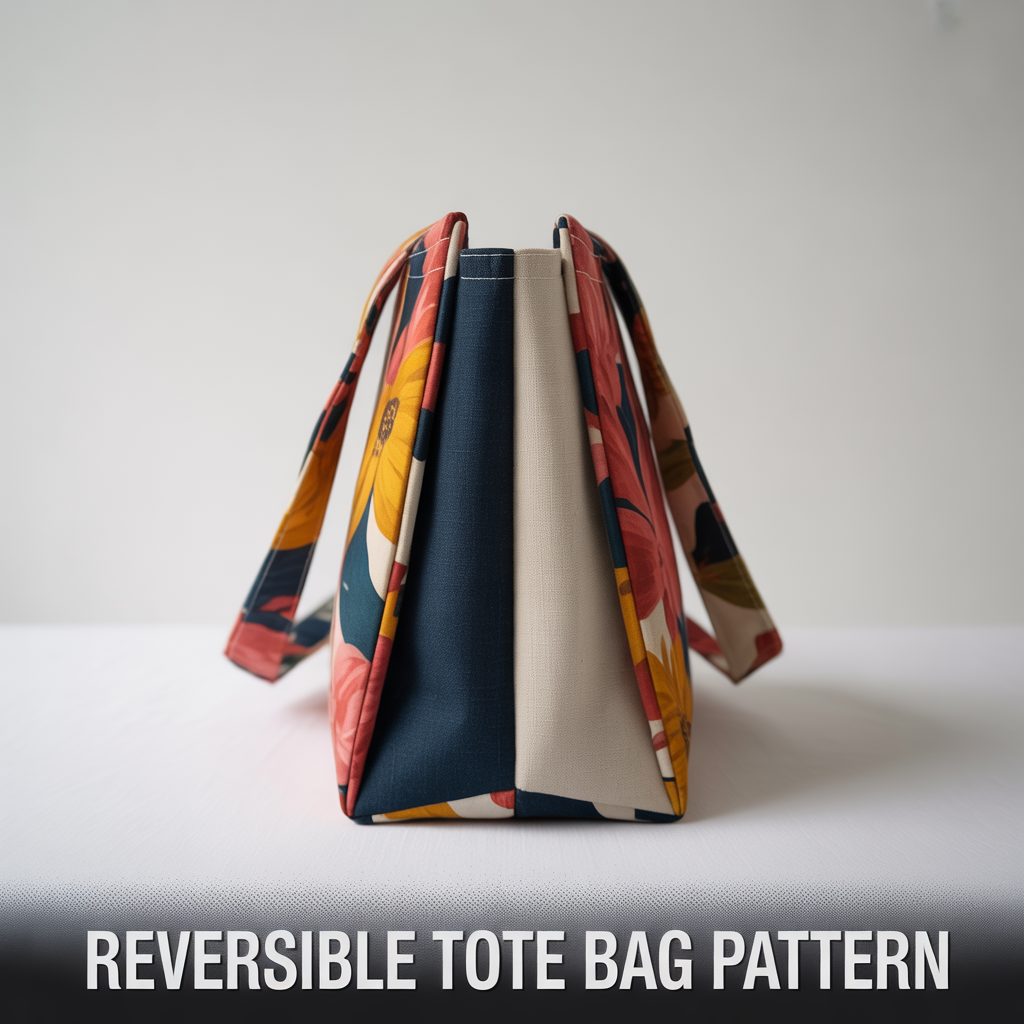
Best Fabric Combinations for a Reversible Bag
Pair a printed cotton with a solid linen for the most versatile result. Both fabrics should have similar weight so the bag hangs evenly. I avoid pairing canvas with lightweight cotton because the heavier side pulls the bag out of shape. A quilting cotton with a denim lining works well for a structured reversible tote.
How to Finish the Top Edge on a Reversible Tote
Sew both bag bodies separately and leave them inside out. Place one inside the other with right sides together, align the top edges, and stitch around the opening. Leave a 4-inch gap for turning. Pull through, press the seam flat, and topstitch around the entire top edge to close the gap and add a clean finish.
4. Quilted Tote Bag Pattern
A quilted tote bag has a padded, structured look that sets it apart from basic flat bags. The quilting adds thickness without using interfacing. I made one using scraps from an old project, and it became one of the most-used bags I own.
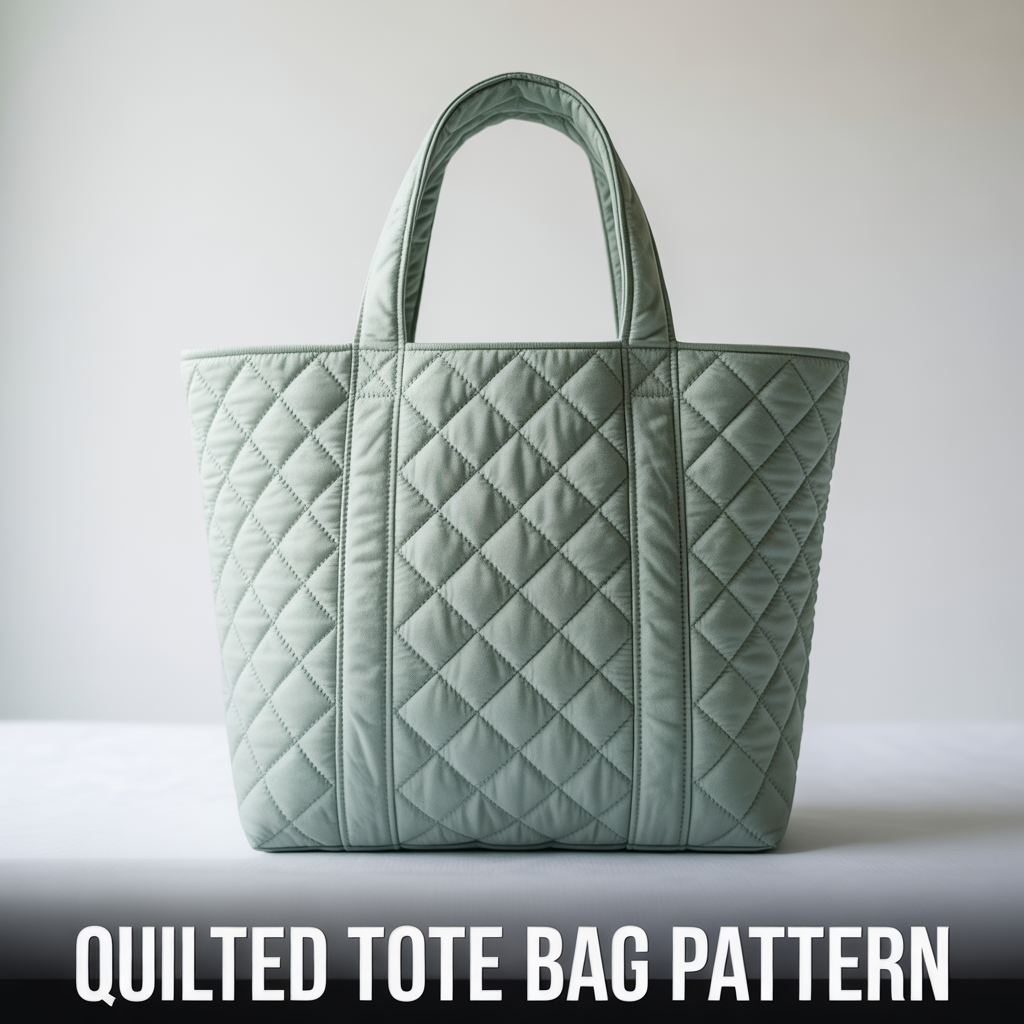
How to Quilt Fabric for a Tote Bag
Layer your outer fabric over batting and a backing cloth. Pin the three layers together and stitch diagonal lines every 1.5 inches across the entire surface. Trim to size after quilting is complete. This method creates a firm panel that holds its shape and gives the bag a polished, handmade look.
Assembling the Quilted Tote Body
Use the quilted panels as you would any regular tote panel. Sew side seams with a half-inch seam allowance. The extra thickness requires a sturdy needle, size 90/14 or higher. I always use a walking foot when sewing quilted layers because it feeds all three layers through the machine evenly without shifting.
5. Patchwork Tote Bag Pattern
A patchwork tote bag uses fabric scraps sewn together to create the outer panel. It is one of the most creative tote bag design ideas because no two bags ever look the same. I built my first patchwork panel from leftover denim and cotton prints, and it used up fabric I would have thrown away.
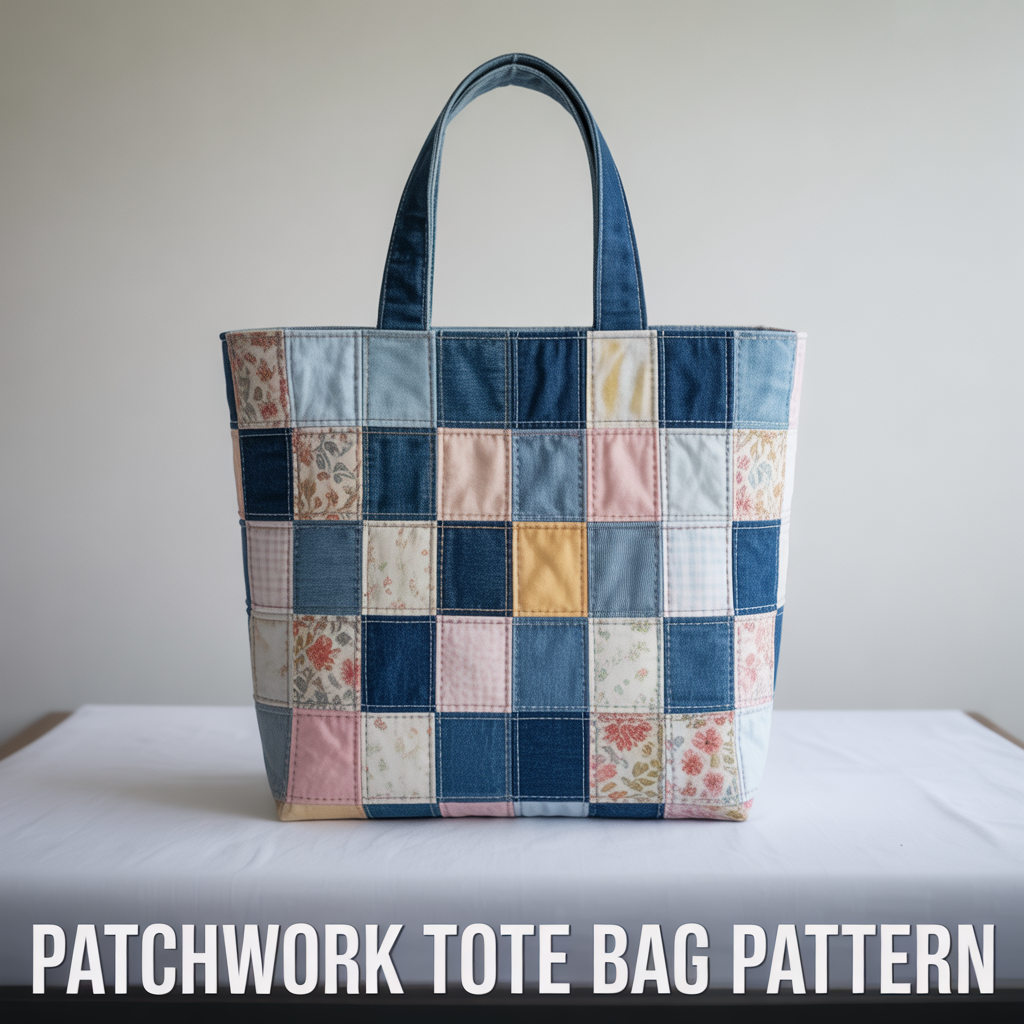
How to Piece a Patchwork Panel for a Tote
Cut scraps into uniform squares or rectangles. A 4-inch square grid works well for a standard 15 x 16-inch tote. Sew squares into rows, press seams open, then join the rows. Press again and trim to the final size needed. Back the finished panel with interfacing before assembling the bag to prevent stretching at the seams.
Fabric Choices That Work Best for Patchwork Totes
Cotton quilting fabric is the easiest to piece because it holds a crease and does not stretch. Denim adds weight and structure. I avoid stretchy fabrics in patchwork panels because they shift during sewing and distort the finished pattern. Mixing solid colors with small prints gives the most balanced result visually.
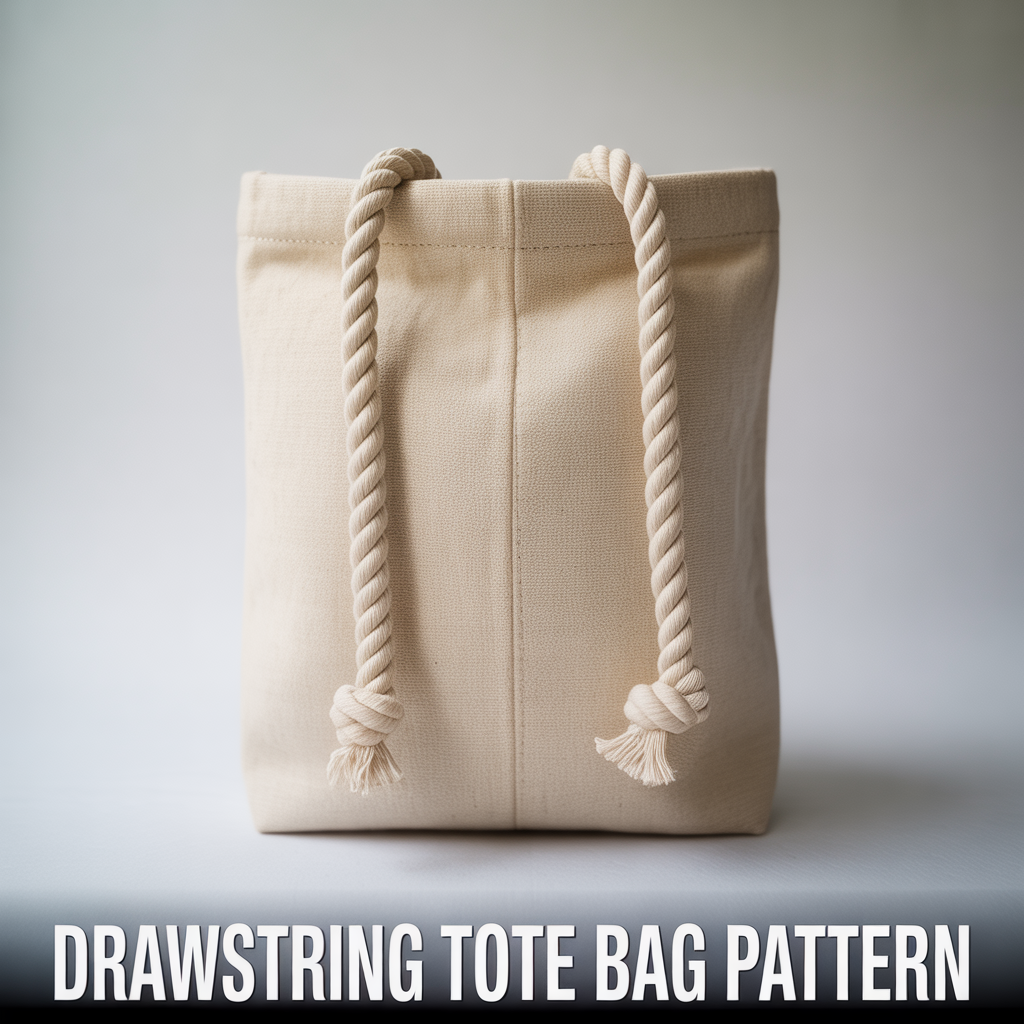
6. Drawstring Tote Bag Pattern
A drawstring tote bag closes with a cord pulled through a casing at the top. It is one of the easiest free bag patterns available because it skips zippers and closures entirely. I made three of these in one afternoon as gift bags, and each one took under 30 minutes.
How to Sew the Drawstring Casing
Fold the top edge down 1 inch, press, fold again 1.5 inches, and stitch close to the bottom fold, leaving both side ends open. This creates a tunnel for the cord. Thread a safety pin onto the cord and guide it through the casing. Knot both ends of the cord to prevent them from pulling through.
Best Cord Types for a Drawstring Tote
A 4mm cotton rope gives a clean, natural look. Nylon cord is more durable for heavy use bags. I use leather cord on canvas bags for a modern look. Cut the cord to twice the width of the bag plus 12 inches for enough length to pull and tie comfortably at the top.
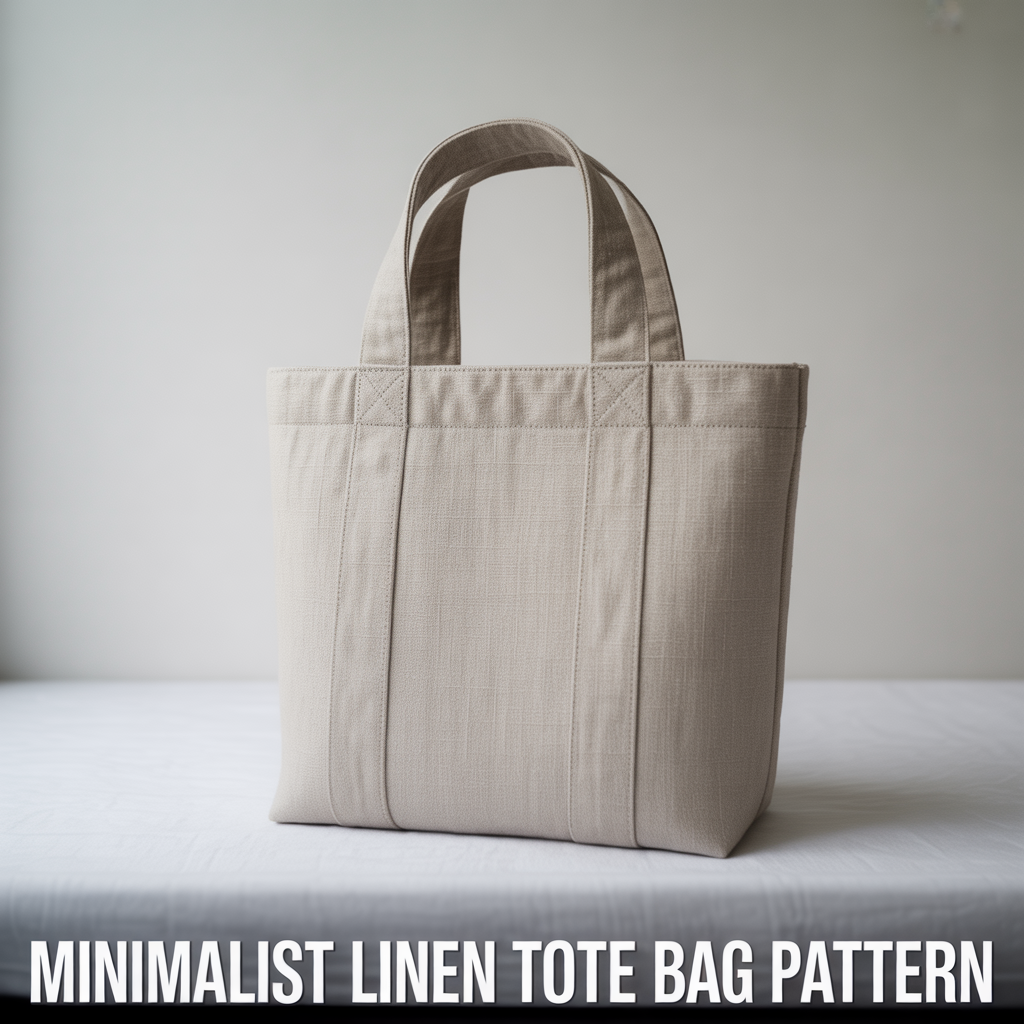
7. Minimalist Linen Tote Bag Pattern
A minimalist linen tote bag uses clean lines, neutral colors, and no added decorations. It is the most versatile everyday bag because it pairs with almost any outfit. I carry mine to the market, the library, and casual meetings without it looking out of place.
Why Linen Works for a Minimalist Tote Design
Linen has a natural texture that looks polished without extra styling. It is lightweight but strong enough for daily use. A medium-weight linen at 185 gsm is ideal for a tote bag sewing pattern. It wrinkles slightly, which adds to the relaxed aesthetic rather than looking like a flaw.
Finishing Details That Keep the Look Clean
Skip embellishments entirely on a minimalist design. Use a matching thread color for all topstitching so it blends into the fabric. Flat handles sewn flush against the bag body look neater than bulky rolled handles. A single interior pocket stitched in the same linen keeps the inside as clean as the outside.
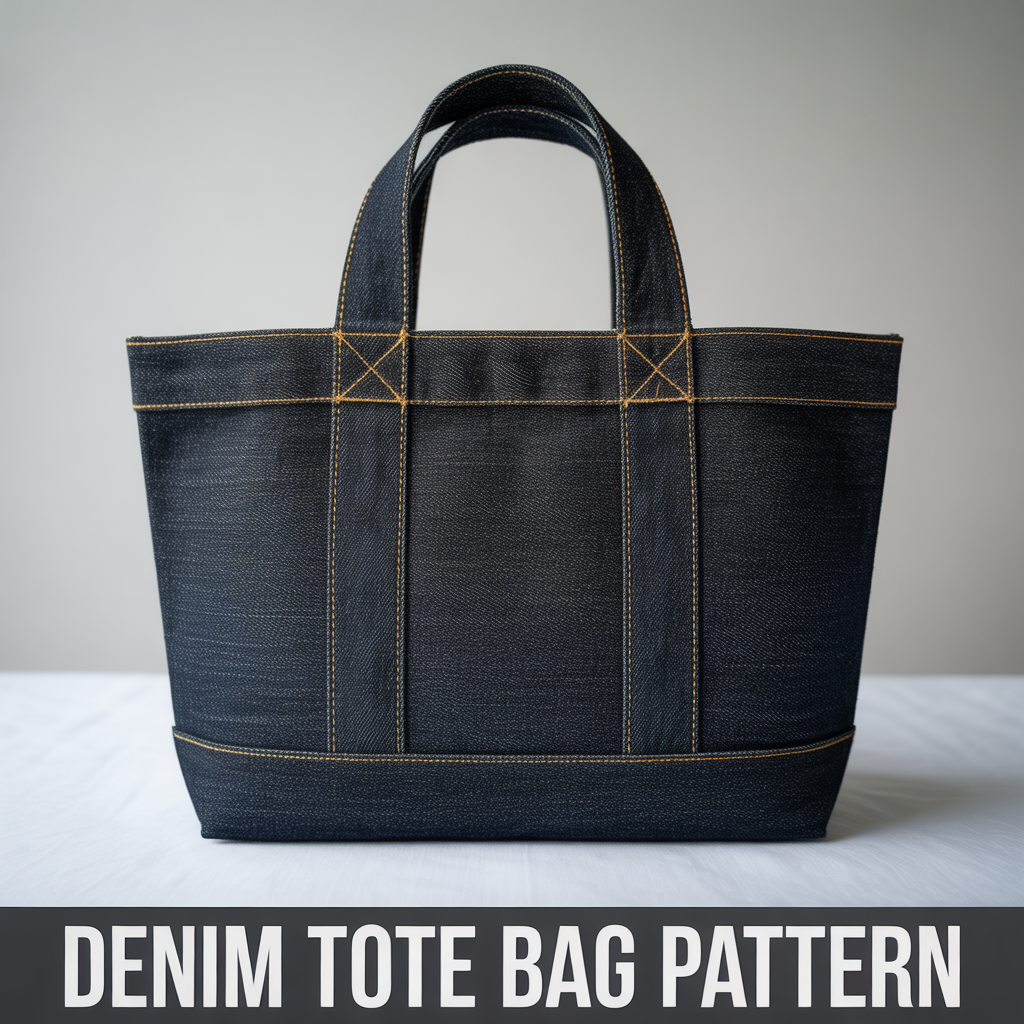
8. Denim Tote Bag Pattern
A denim tote bag is one of the most durable DIY tote bag ideas because denim handles heavy loads without tearing. I repurposed an old pair of jeans into a structured denim tote, and it has lasted two years of weekly use without showing wear.
Cutting Denim for a Tote Bag Pattern
Use fabric scissors rated for heavy materials. A rotary cutter and mat give cleaner cuts on denim than standard scissors. Cut with the grain to prevent the panels from twisting after washing. Pre-wash denim before cutting to prevent shrinkage that could distort the finished bag dimensions.
Stitching Tips for Denim Tote Bags
Use a denim needle, size 100/16, and heavy-duty thread for all seams. Increase stitch length to 3.5 mm to prevent the thread from perforating the fabric. At thick seam intersections, use a hump jumper or fold a small piece of denim under the presser foot to keep it level and prevent skipped stitches.
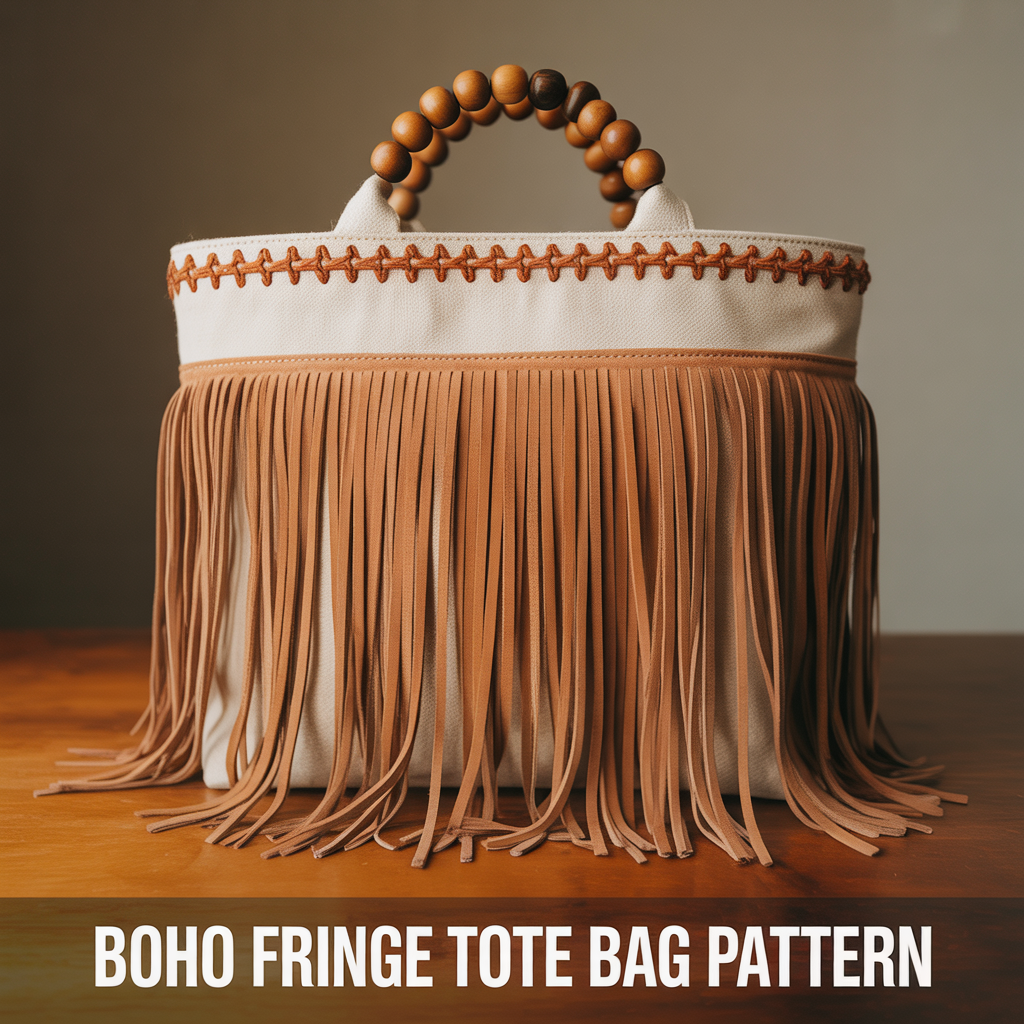
9. Boho Fringe Tote Bag Pattern
A boho tote bag uses fringe, tassels, or woven trim to create a relaxed, textured look. I added a suede fringe trim to a plain canvas bag and it looked like something from a boutique store. The entire modification took 20 minutes and cost under three dollars in materials.
How to Attach Fringe to a Tote Bag
Purchase pre-made fringe trim from a fabric store or cut your own from suede fabric. Pin the trim along the bottom edge of the outer bag panel before assembling the bag. Sew with a straight stitch close to the fringe header. Assemble the bag as normal after the fringe is attached so the raw edge of the header gets enclosed in the seam.
Other Boho Details to Add to a Tote Bag
Wooden bead handles replace fabric straps for a handcrafted look. Embroidery stitched along the top edge adds color without bulk. Pom-pom trim along the seams gives a playful boho effect. I combined leather handles with embroidery floss stitching on one bag, and it became the most-requested pattern from friends who saw me carry it.
10. Printed Cotton Tote Bag Pattern
A printed cotton tote bag uses fabric with a pre-existing pattern as the design feature. No added embellishments are needed because the print does the work. I used a large tropical leaf print for one bag, and the finished result looked intentional and well-designed without any extra effort.
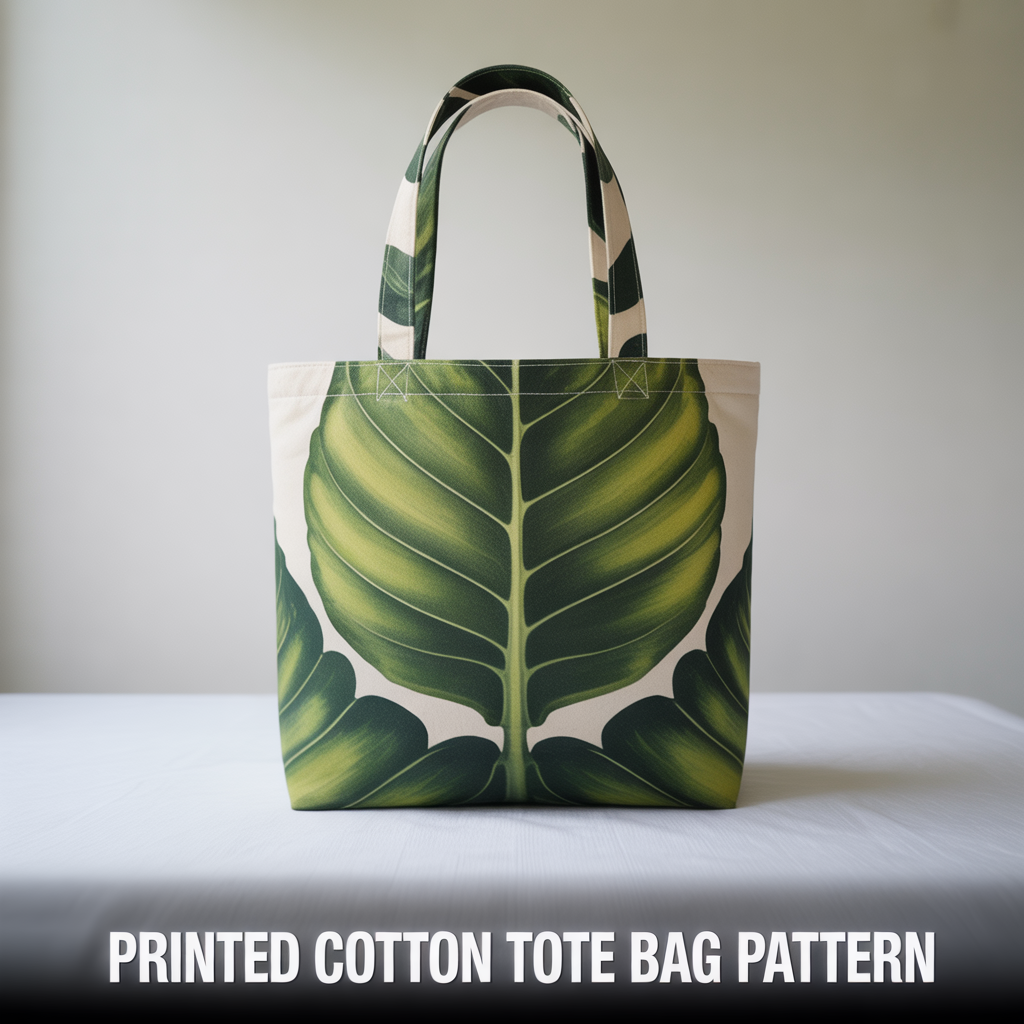
How to Center a Print on a Tote Bag Panel
Identify the dominant motif in the print before cutting. Position the motif at the center of the panel using a ruler and fabric marker. Cut around the marked lines, not the print lines, to keep both panels symmetrical. Centering a print adds a professional look that makes the finished bag appear tailored rather than random.
Best Print Scales for a Tote Bag
Large-scale prints work best on tote bags because the full panel shows the design clearly. Small prints can read as texture rather than pattern on a large bag surface. I use medium-scale geometric prints when I want a clean, modern look and large florals when I want the bag to stand out as a statement piece.
11. Foldable Tote Bag Pattern
A foldable tote bag collapses into a small pouch for easy storage. It is one of the most practical reusable bag patterns because it fits in a jacket pocket or purse. I keep one folded in my bag at all times for unexpected grocery stops.
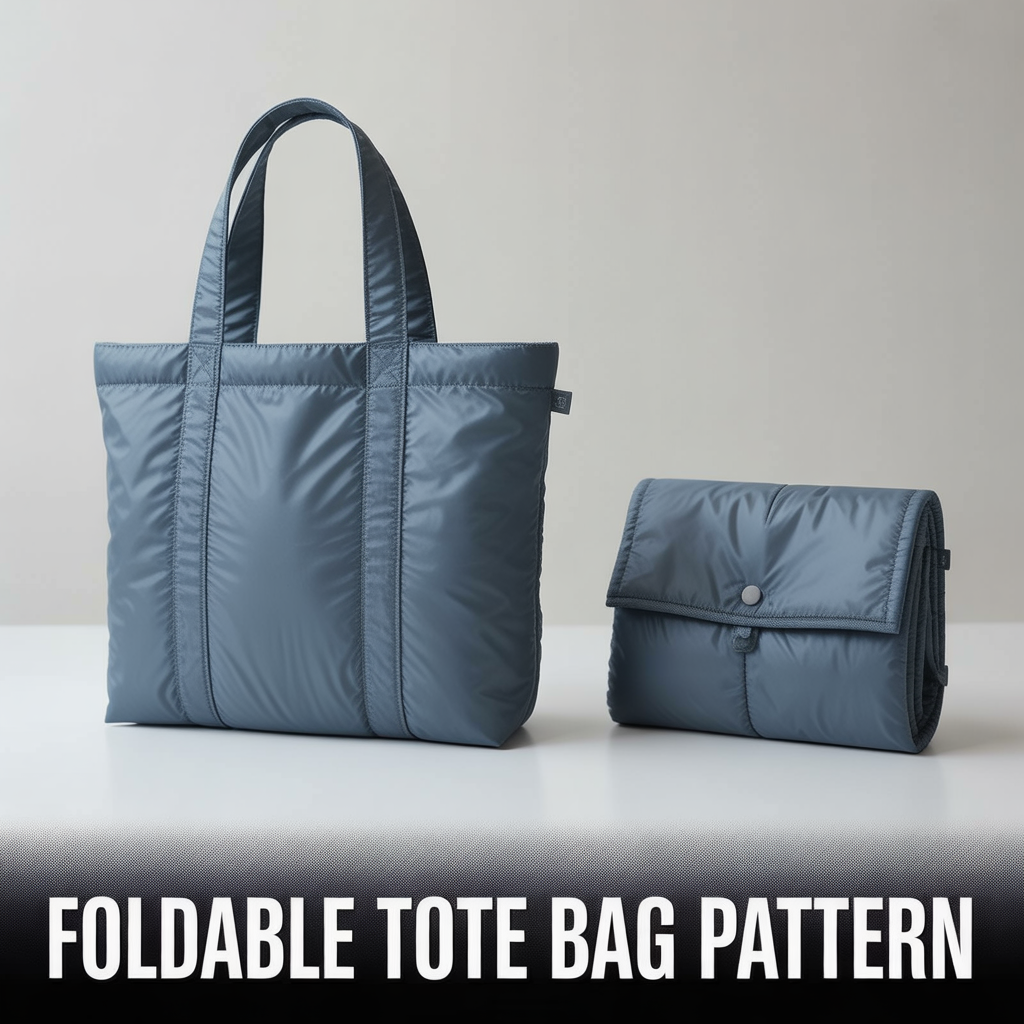
Best Fabric for a Foldable Tote Bag
Ripstop nylon is the lightest option and folds down to almost nothing. Lightweight cotton works too but takes up slightly more space when folded. I avoid canvas and denim for foldable bags because the thickness makes the folded pouch too bulky to carry conveniently in a pocket.
How to Make the Storage Pouch for a Foldable Bag
Cut a small rectangle from the same fabric, roughly 5 x 6 inches. Sew three sides closed, leaving the top open. Attach this pouch to the inside of the bag at the bottom center. Fold the bag inward toward the pouch and tuck everything inside it. Secure with a snap or button closure sewn onto the pouch flap.
12. Vintage-Style Tote Bag Pattern
A vintage tote bag uses retro fabrics, aged hardware, and classic shapes to create a nostalgic look. I sourced a printed feedsack-style fabric from an online shop and built a tote that looked like it came from a 1950s general store. The style gets noticed every time I carry it.
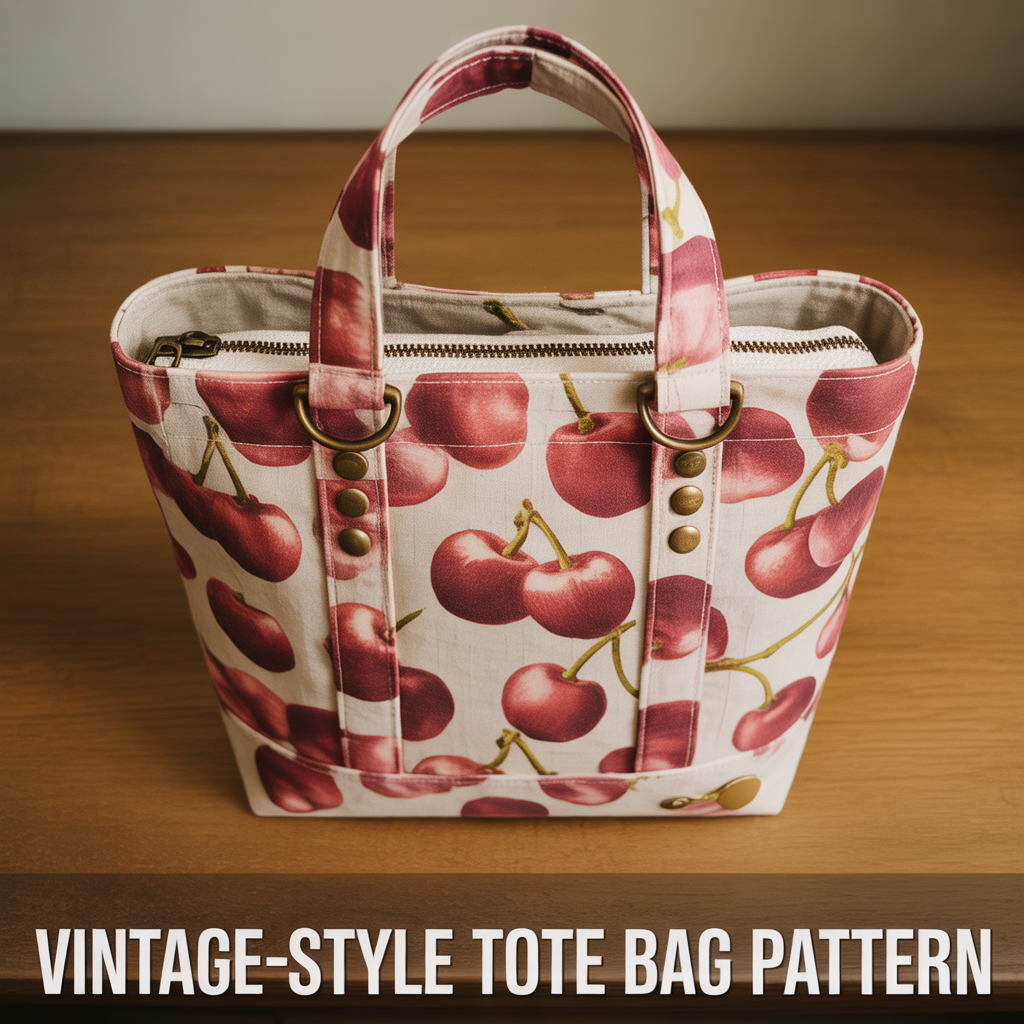
Fabric and Hardware Choices for a Vintage Tote
Choose fabrics with classic motifs: cherries, gingham, toile, or small florals. Brass D-rings and roller buckles give handles an antique appearance. Aged brass zippers are available from specialty notions stores and add to the overall look. I line vintage-print bags with a solid cream or ivory fabric to keep the period-accurate feel consistent throughout.
Structural Features of a Vintage Tote Bag
Vintage bags often have structured bases. Cut a piece of heavyweight interfacing or a plastic bag base insert to the bottom panel dimensions. Slip it inside the finished bag to keep the base flat and the sides upright. Binding the top edge with contrast tape rather than folding it under gives a hand-finished look common in vintage construction.
13. Embroidered Tote Bag Pattern
An embroidered tote bag uses hand or machine embroidery on the outer fabric panel before assembly. I stitched a simple floral cluster on a plain white canvas bag, and it became one of the most personal bags I have made. The embroidery took two hours, but the result is permanent and unique.
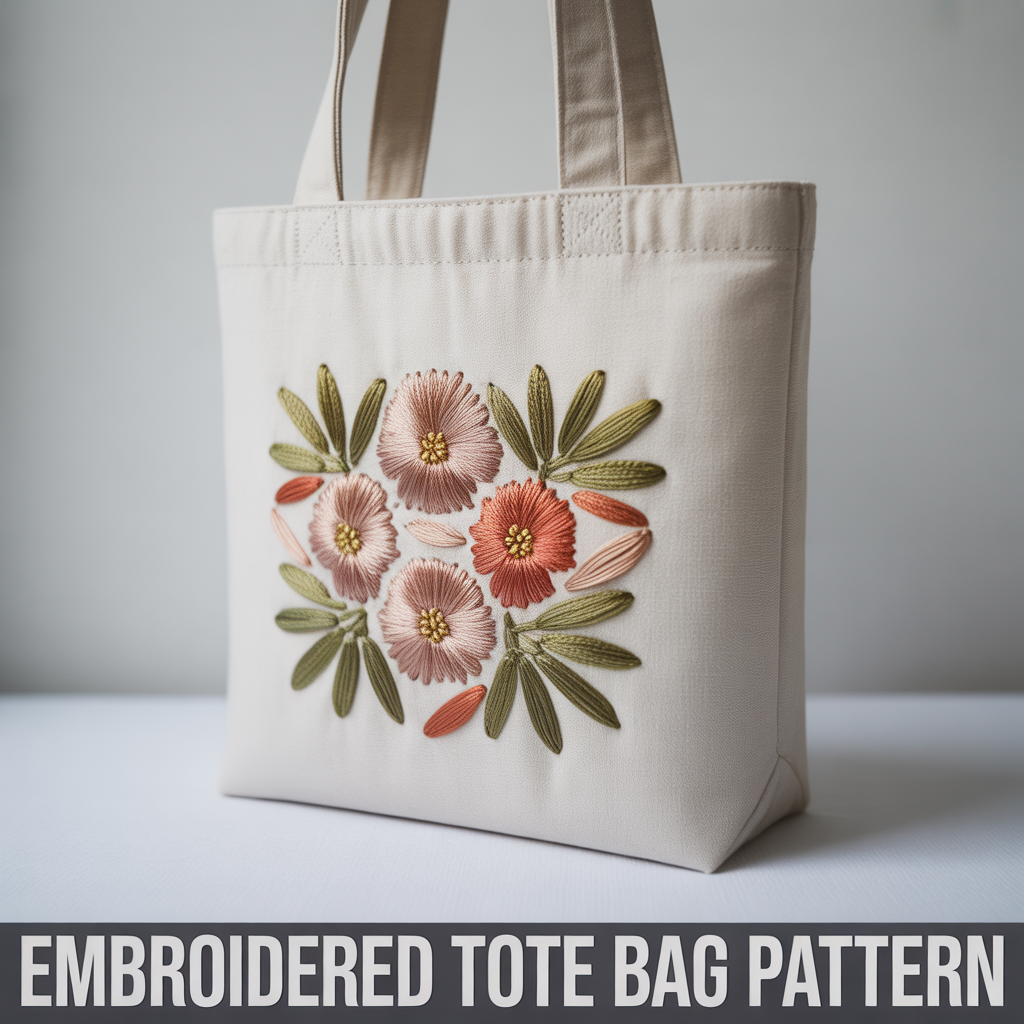
How to Transfer an Embroidery Design to a Tote Panel
Print or draw the design on tracing paper. Place water-soluble stabilizer over the fabric and the design under it. Trace the design onto the stabilizer with a marking pen. Hoop the fabric with the stabilizer on top and stitch through both layers. Rinse with cold water after stitching to dissolve the stabilizer completely.
Best Embroidery Stitches for a Tote Bag Surface
Satin stitch fills solid shapes with smooth coverage. Stem stitch outlines curves cleanly. French knots add texture and dimension at flower centers or as scattered dots. I use three strands of embroidery floss on canvas for coverage and two strands on linen for a finer, more delicate appearance that suits the lighter fabric weight.
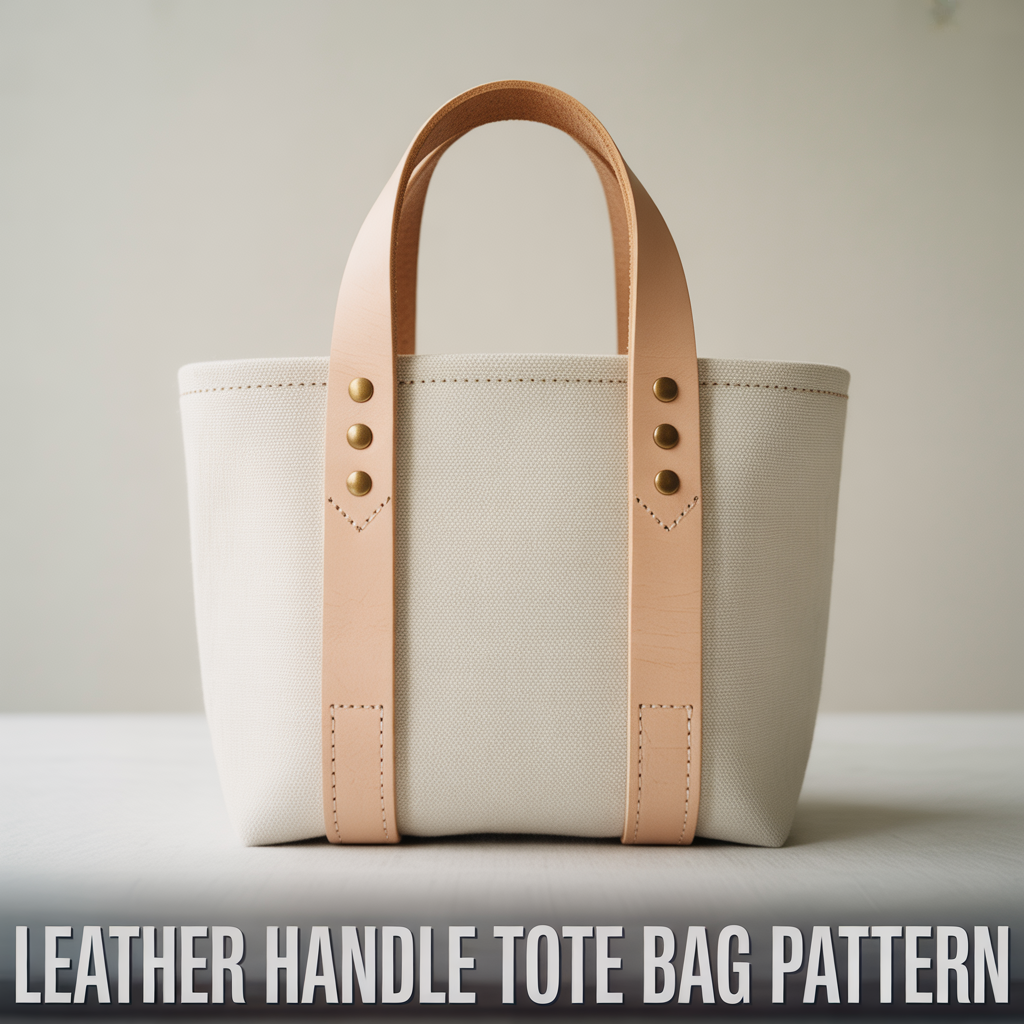
14. Leather Handle Tote Bag Pattern
Leather handles upgrade any basic fabric tote bag into a polished, structured accessory. I replaced the cotton handles on an existing canvas bag with 1-inch wide vegetable-tanned leather straps, and the bag immediately looked more expensive. The swap took 15 minutes.
How to Attach Leather Handles to a Fabric Tote
Cut leather straps to 22 inches for a shoulder carry length. Punch holes 1 inch from each end using a leather hole punch. Rivet or hand-sew the straps to reinforced sections of the bag top using a leather needle and waxed thread. Reinforce the attachment point with a small square of leather on the inside of the bag to distribute the load and prevent tearing.
Leather Types That Work for Tote Handles
Vegetable-tanned leather stiffens over time and develops a patina with use. Chrome-tanned leather stays soft and flexible from the start. I use 2–3 mm thick leather for handles because thinner leather cuts into the shoulder under heavy loads and thicker leather becomes too rigid to fold when the bag is empty.
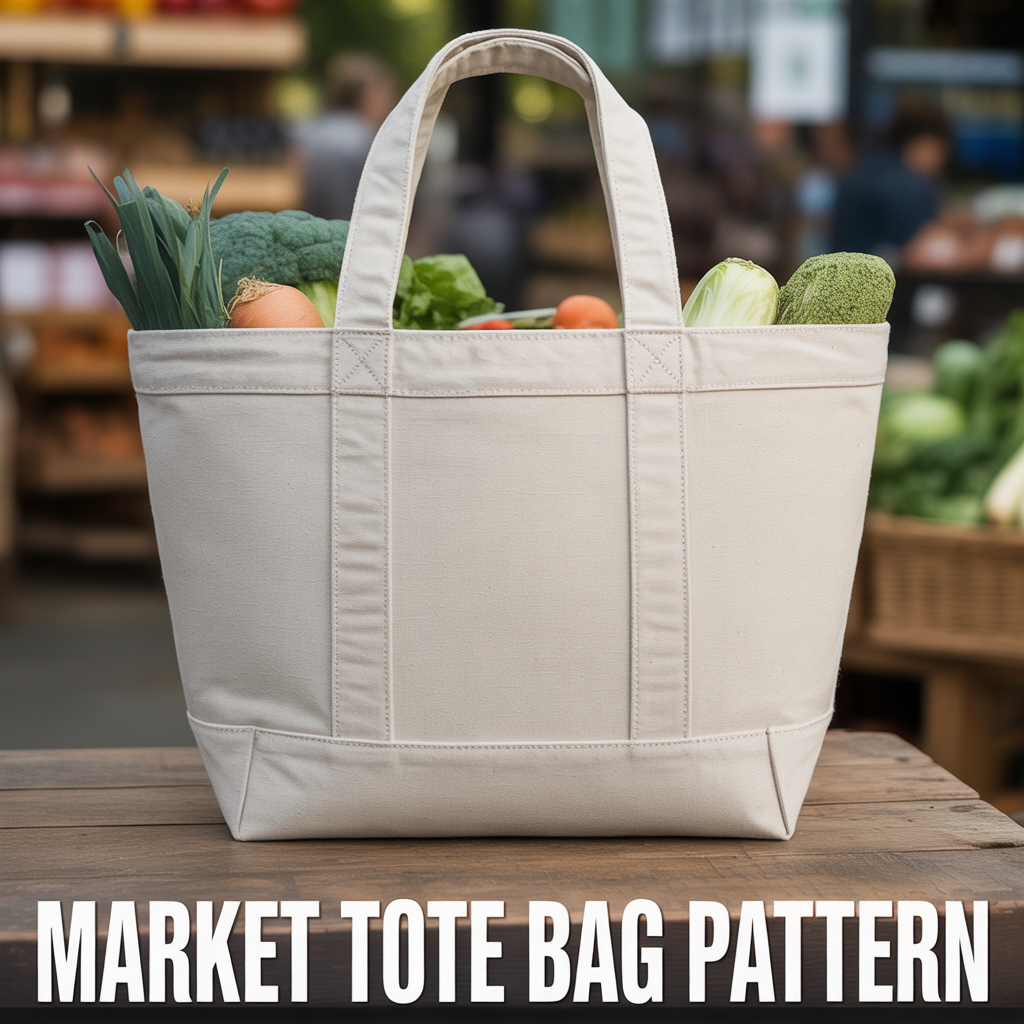
15. Market Tote Bag Pattern
A market tote bag is wider and deeper than a standard tote, designed to carry groceries and bulky items. I made one at 18 x 20 inches with reinforced base seams, and it holds a full week of vegetables without straining. It is one of the most useful free bag patterns for daily life.
Dimensions and Seam Allowance for a Market Tote
Cut panels at 18 x 20 inches for the body. Use a 5/8-inch seam allowance for stronger seams. Box the corners at 3 inches each to create a flat base 6 inches wide. This base width accommodates round produce and boxed items without the bag collapsing inward at the sides.
How to Reinforce the Base of a Market Tote
Cut a rectangle of heavy interfacing or two layers of canvas to fit the inside base. Slip stitch it to the interior bottom after the bag is assembled. Alternatively, sew a fabric-covered plastic insert to size and drop it in as a removable base board. This prevents the base seam from stretching under heavy loads over repeated use.
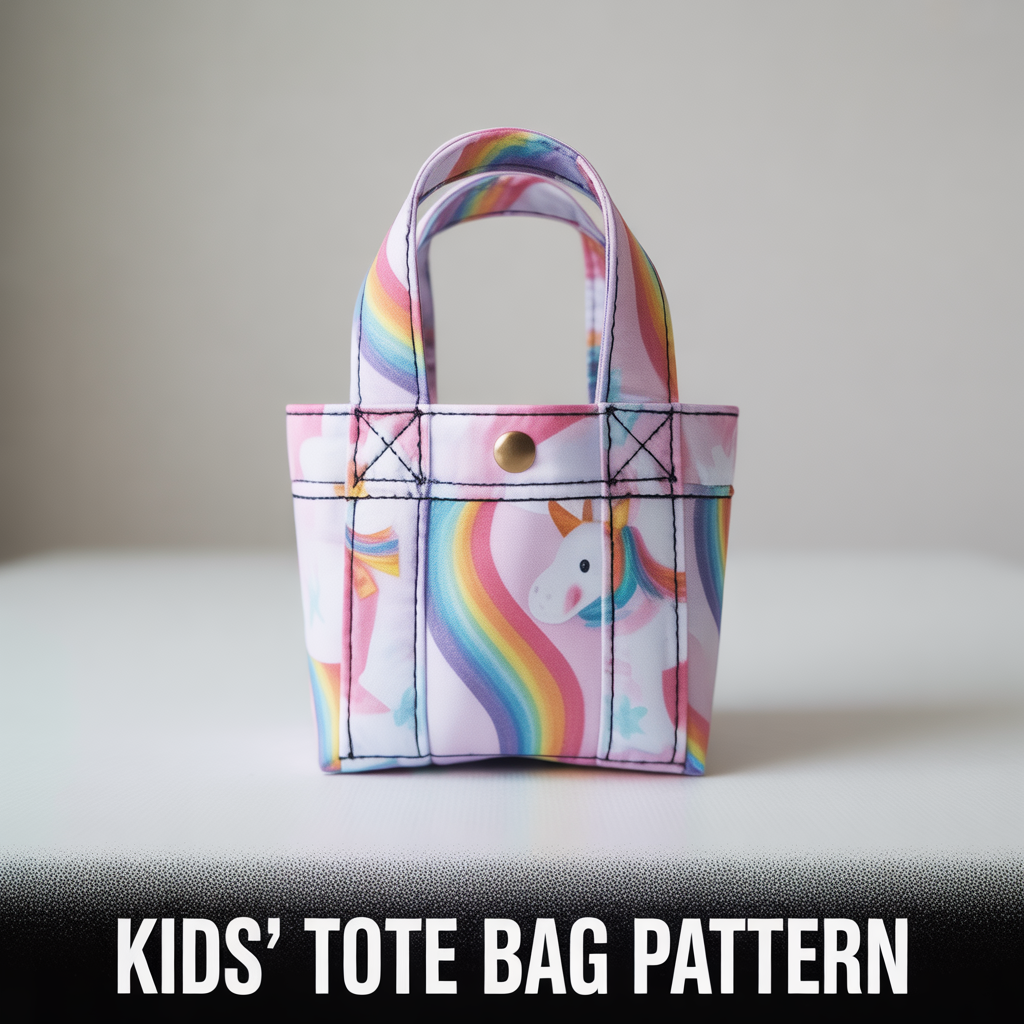
16. Kids’ Tote Bag Pattern
A kids’ tote bag uses bright prints, smaller dimensions, and simple closures that children can operate independently. I made one for my niece at 10 x 12 inches with a single magnetic snap closure, and she carries it to school every day. It is one of the easiest tote bag sewing patterns to finish in under one hour.
Size and Strap Length for a Child’s Tote Bag
Cut the body panels at 10 x 12 inches. Cut handles at 2 x 18 inches for a comfortable fit on a child’s shoulder. Shorter handles prevent the bag from dragging on the ground when carried by a younger child. Reinforce handle attachment points with a box-X stitch because children pull on handles more aggressively than adults.
Safe Closures for a Kids’ Tote Bag
Magnetic snaps are the easiest closure for children to use independently. Avoid small buttons or snap fasteners on bags for children under 5 because they present a choking risk if they detach. A hook-and-loop fastener tape strip sewn across the inside top edge also works well and requires no hardware that could come loose.
17. Aesthetic Tote Bag Pattern
An aesthetic tote bag uses color blocking, minimalist typography, or abstract shapes to create a visually distinct design. I made a two-tone bag with a black bottom panel and a cream top panel divided by a single contrast stitch line, and it received more compliments than any other bag I have made.

How to Create a Color Block Tote Bag
Cut the bottom third of each panel from one fabric and the top two-thirds from another. Sew the two pieces together along the horizontal seam with a half-inch seam allowance. Press the seam open and topstitch on both sides of the seam for a clean, flat join. Use this assembled panel as a single piece for the rest of the bag construction.
Adding Text or Graphic Details to a Tote Bag
Iron-on vinyl cut with a cutting machine adds text or graphics to a finished bag surface. Screen printing with fabric-safe ink gives a professional printed result at home. I use iron-on vinyl for one-off bags and screen printing when I make multiple bags with the same design, as the setup time for screen printing only pays off at higher quantities.
18. Interior Pocket Tote Bag Pattern
A tote bag with an interior pocket keeps small items like phones, keys, and cards organized inside the bag. I added a divided pocket to a plain canvas tote and it changed how I use the bag completely. It is one of the most practical tote bag pattern ideas for everyday carry.

How to Sew a Divided Interior Pocket
Cut a pocket rectangle at 12 x 8 inches. Hem the top edge by folding down half an inch twice and stitching. Pin the pocket to the lining panel, centered, with the bottom and side edges raw. Sew the sides and bottom with a quarter-inch seam. Stitch a vertical line down the center to divide the pocket into two equal sections of 6 inches each.
Placement and Sizing Tips for Interior Pockets
Position the pocket so the top hem sits 3 inches below the bag’s top edge. This prevents items from falling out when the bag is open. A pocket 8 inches tall holds a standard smartphone upright with room to grip it easily. For a taller bag, add a second pocket on the opposite lining panel for additional organization.
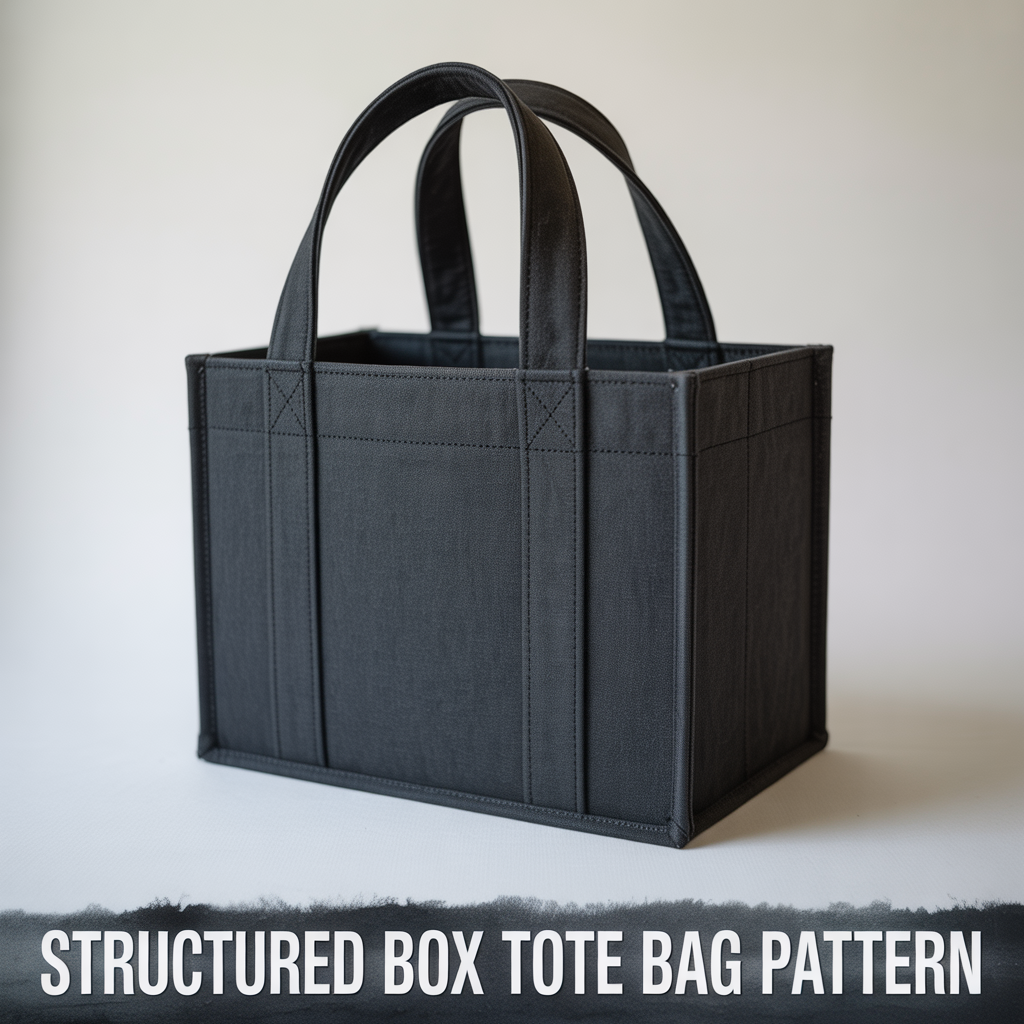
19. Structured Box Tote Bag Pattern
A structured box tote bag has flat sides, a defined rectangular base, and upright walls that hold their shape when the bag is set down. I made one using interfaced canvas, and it looks like a store-bought bag. This is one of the most advanced tote bag sewing patterns on this list but still finishable in an afternoon.
Interfacing Choices for a Structured Tote Bag
Fusible woven interfacing gives the firmest result without adding excessive weight. Apply it to all outer fabric panels before cutting to final size. For maximum structure, also interface the base panel with a second layer of heavy interfacing or a piece of thick stabilizer. Press with a damp cloth for the strongest bond between the interfacing and fabric.
How to Construct the Box Base on a Structured Tote
Cut the base as a separate rectangle at 12 x 5 inches. Sew the short ends of the side panel to create a loop. Attach the base panel to the bottom of the loop by pinning and stitching around all four edges. Clip the corners of the base panel before attaching to help the fabric ease around the corners without bunching or pulling.
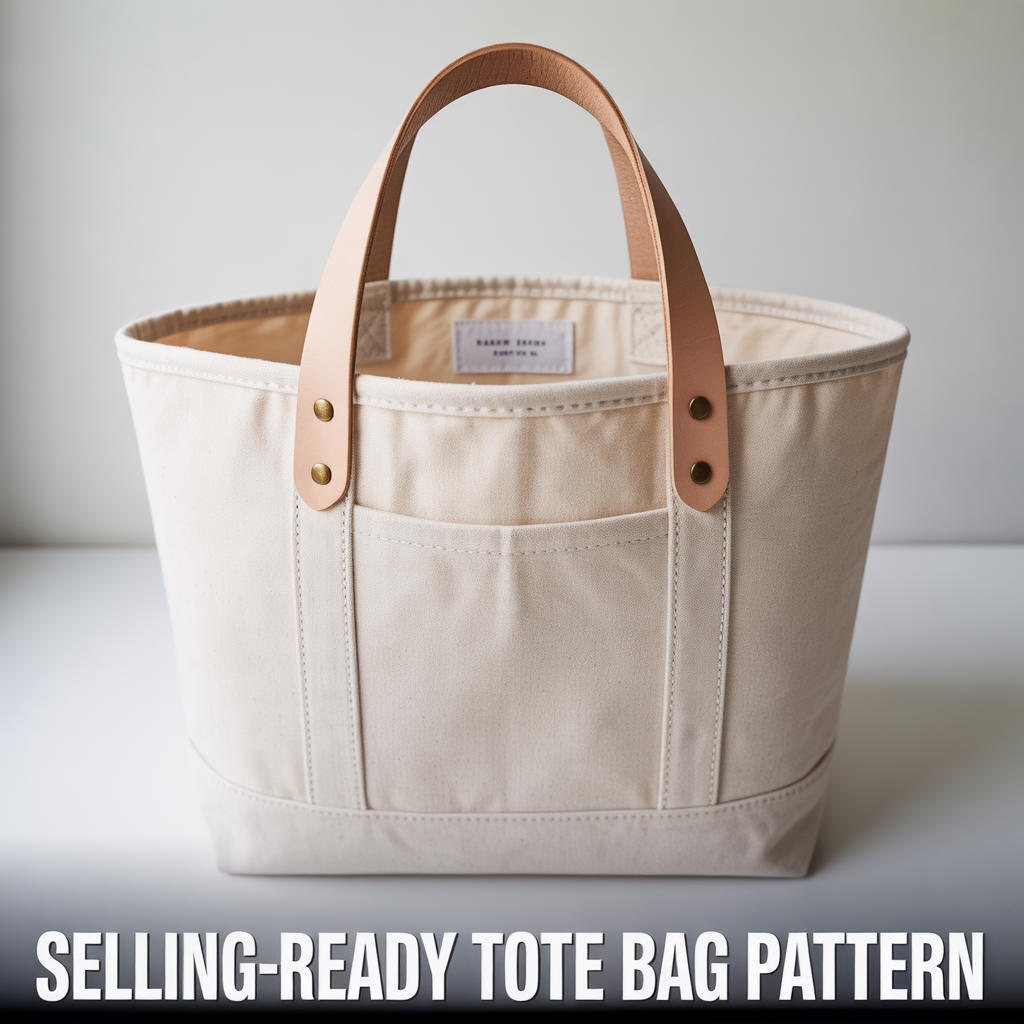
20. Selling-Ready Tote Bag Pattern
A tote bag made for selling requires consistent sizing, clean finishing, and professional details that justify a retail price. I sell bags on a local craft market and learned quickly that buyers notice the inside of a bag as much as the outside. A fully lined bag with a clean interior sells faster than an unlined version at the same price.
Finishing Details That Increase Perceived Value
Bind all interior seams with bias tape for a clean look. Add a fabric label with your brand name stitched or ironed onto the interior. Use consistent handle length across all bags in a batch. Press every seam before turning the bag right side out. These four details take an extra 20 minutes per bag and significantly improve the finished appearance.
Pricing Your Handmade Tote Bags for Sale
Calculate material cost per bag first. Add your hourly rate multiplied by the time each bag takes to make. A standard canvas tote with interior pocket and leather handles takes approximately 90 minutes to sew at an intermediate skill level. Material cost typically runs between 4 and 8 dollars per bag depending on fabric choice and hardware used.
Frequently Asked Questions
What are the best tote bag pattern ideas for beginners?
The best tote bag pattern ideas for beginners are the classic canvas tote, the drawstring tote, and the printed cotton tote. Each of these uses straight seams, minimal hardware, and basic stitching that a first-time sewer can complete in under two hours. Canvas is forgiving because it does not shift on the cutting mat and holds its shape during sewing without pinning every inch. Starting with a flat, unlined tote before moving to lined or zippered versions gives beginners the confidence to try more involved patterns next.
What fabric works best for a tote bag sewing pattern?
Cotton canvas, linen, and denim are the three most reliable fabrics for a tote bag sewing pattern. Canvas holds its shape without interfacing and carries heavy items without stretching. Linen is lighter and more breathable, making it suitable for everyday use in warm climates. Denim is the most durable of the three and resists abrasion over years of use. All three fabrics are available at most fabric stores, cut cleanly with standard fabric scissors, and sew consistently on a basic home sewing machine without special feet or settings.
How do I make a free tote bag pattern at home?
To make a free tote bag pattern at home, cut two rectangles of paper or fabric at 15 x 16 inches for the body and two strips at 3 x 22 inches for the handles. These dimensions produce a standard-size tote that fits a laptop, groceries, or books. No special software or tools are needed to draft this pattern. Mark a half-inch seam allowance on all edges before cutting the fabric. This basic pattern serves as the foundation for every variation on this list, including zippered, reversible, and patchwork versions.
What is the easiest tote bag pattern for selling?
The easiest tote bag pattern for selling is a fully lined canvas tote with flat handles and one interior pocket. It uses consistent dimensions, requires no zippers or complex closures, and produces a clean finished result that buyers recognize as quality. Lining the bag hides all raw seams and gives the interior a polished appearance that justifies a higher price point. A standard size of 15 x 16 inches fits the widest range of buyers because it is large enough for daily use but not oversized for smaller frames.
How long does it take to sew a tote bag?
A basic unlined canvas tote takes 30 to 45 minutes to sew at a beginner pace. A lined tote with an interior pocket takes 60 to 90 minutes. A structured box tote or a patchwork tote takes 2 to 3 hours because of the additional cutting, pressing, and assembly steps involved. Preparation time, including cutting and pressing interfacing, adds 15 to 20 minutes to any version. Sewing speed increases significantly after the first two or three bags because the construction sequence becomes familiar and requires less stopping to check measurements or instructions.